
Why a 12×24 Workshop Needed a Design-Linked Material Takeoff

Ilya Tkachov
Updated
A Virginia Beach owner-builder was moving quickly on a 12-by-24-foot backyard workshop. Thepermit set was under review, the building inspector had helped clarify the foundation and zoning requirements, and family members were arriving over Labor Day weekend to help with framing. The concrete slab had to be poured and curing before they arrived.
The schedule left little room for a generic shed material list. The customer still had to choose the large equipment door, refine the window wall, decide how to finish the interior, and order materials. Every design change could alter the framing, sheathing, sheet goods, hardware, and cost at the same moment quotes were being requested.
“Between now and then I need to order materials etc. I’m still mulling window size and positions and what I want to do for a large opening door (overhead, rollup, double door), and which elevation I want to put the big opening on.”
The slab deadline turned design questions into purchasing decisions
This was not a someday project. The customer was already excavating to understand the soil, coordinating the permit, and working backward from a narrow construction window. Once the slab was poured, nearly everything except part of the electrical work would be DIY.
That made the order of decisions important. The slab established the footprint, but the wall framing still depended on the openings. The openings affected the interior work zones. The wall finish affected sheet counts. A material takeoff created before those choices settled could look precise while becoming obsolete after the next revision.
The first walkthrough nailed the style—and exposed the open questions
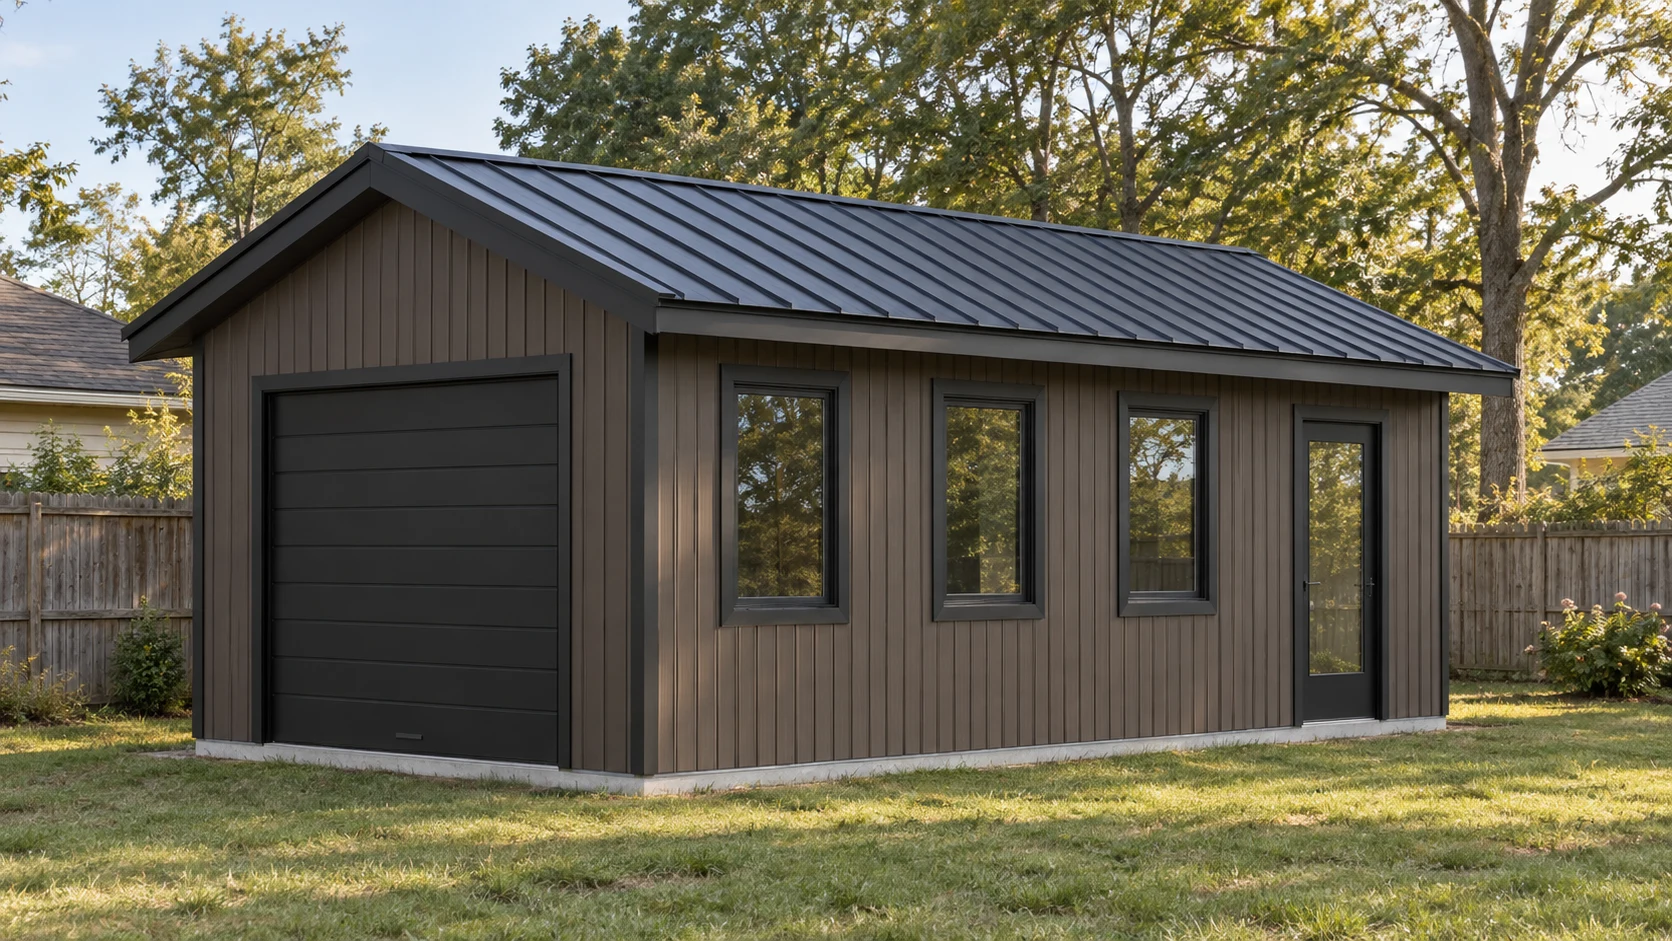
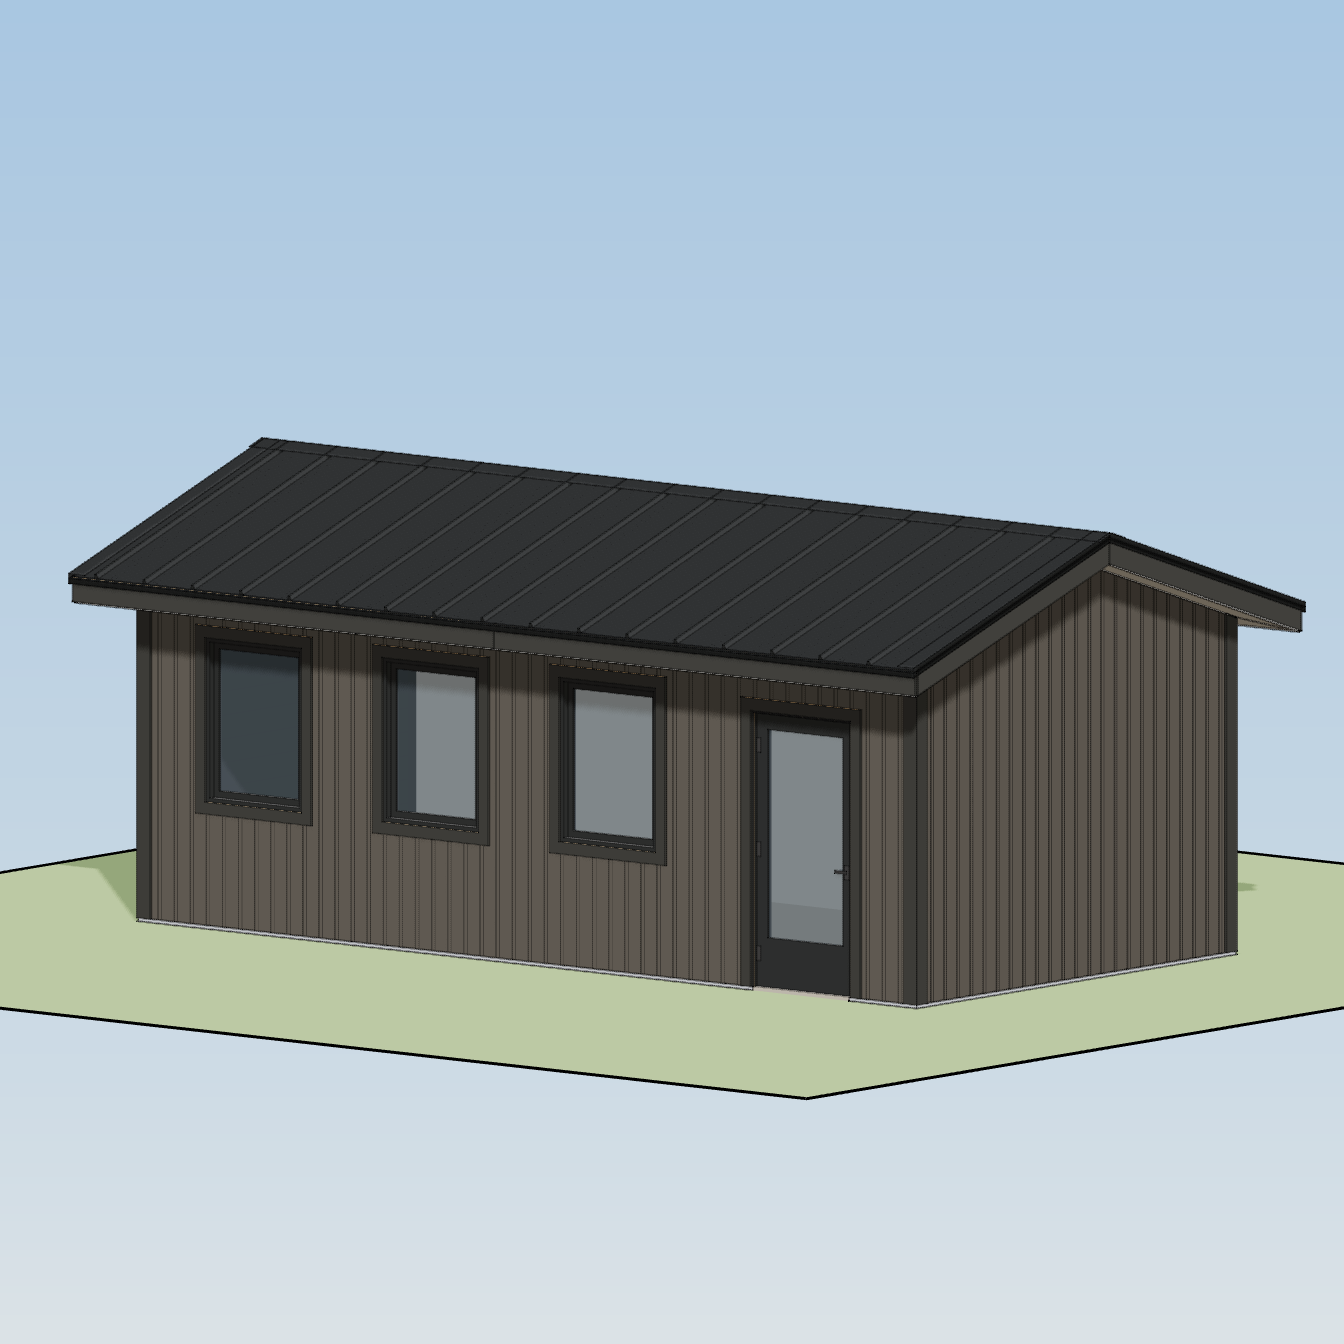
HomeCat first delivered a browser-based 3D walkthrough of the workshop. The model used a simple gable form, dark vertical siding, a standing-seam metal roof, a garage door on the 12-foot end, and a long side wall with three windows and a separate glazed entry door.
The customer felt the model captured the style well. The walkthrough was especially useful for colour, the overall layout, and the feel of the room. It also made the metal roof more compelling, even though the customer still needed to learn how that roofing system would be sourced and installed.
At the same time, the customer asked to review the detail views for code compliance. That distinction matters: a walkthrough can reveal proportions and conflicts, but local code review still depends on the actual foundation, loads, framing, connections, and inspector’s requirements—not on a photorealistic scene.
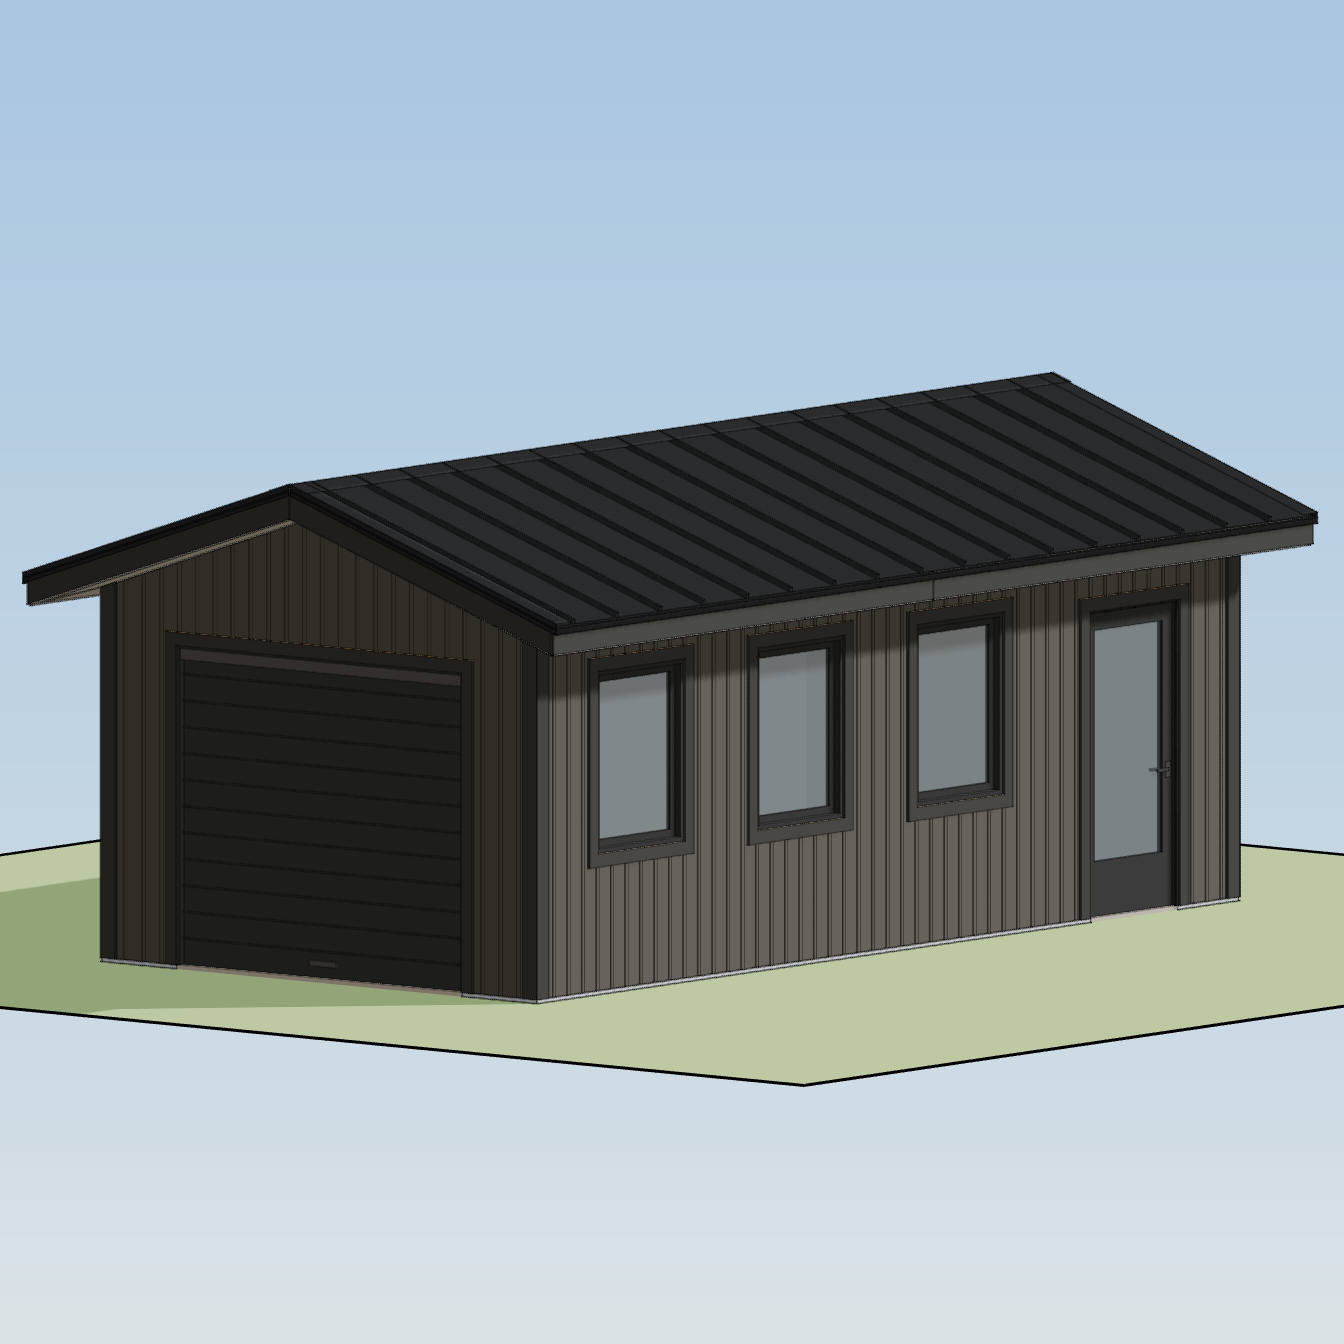
“The 3D renderings/walkthrough are really good for color and getting a sense for the overall layout. […] I think you nailed the style details based on the description/info I gave.”
Windows, workbenches, and the large door competed for wall space
The first review immediately produced useful revisions. The three side windows felt slightly awkward because their heads sat above the top of the full-lite entry door. The customer wanted to explore wider windows with sills raised by roughly a foot so a workbench could run beneath them without blocking the glass.
The large equipment opening was even less settled. The customer was comparing an overhead door, a roll-up door, and double swing doors—and had not decided which elevation should hold it. Each option changed more than appearance. It could affect the header, wall bracing, weather sealing, hardware, clear interior space, approach path, and the quantity of wall materials on two elevations.
The customer needed to keep editing without SketchUp
Ordinarily the customer would have tested these ideas in SketchUp. Their 2017 version would not run on a new computer, leaving them without the familiar tool just as the project moved from permit review toward purchasing and framing.
HomeCat made the workshop available as an editable project. Instead of rebuilding the model manually, the customer could describe a change in chat—move a window, add a door, or adjust a wall—and review the result from a phone or computer. When the customer tried to add interior walls and found that support was missing, HomeCat added interior-wall and ceiling editing, then asked them to try the new workflow.
That mattered because this design was not waiting for one final presentation. It was being used as a working decision model while the real slab, permit, quotes, and construction schedule continued moving.
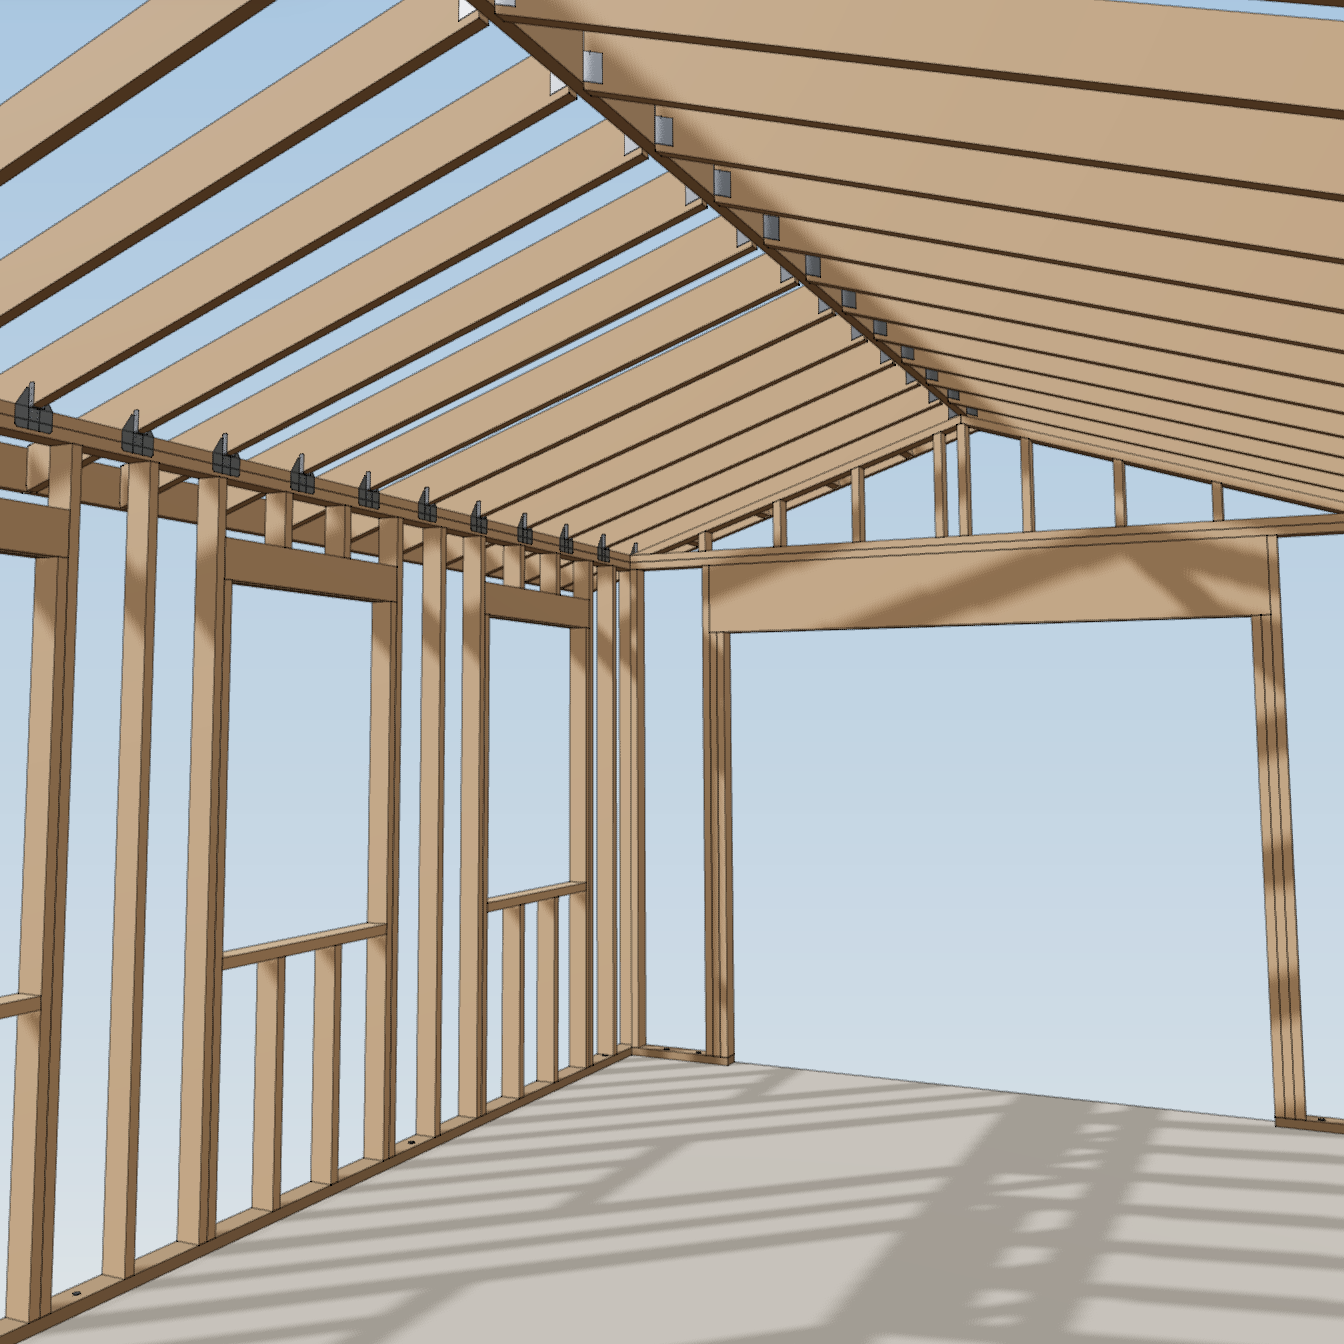
Sheet-quantity comparisons made material choices concrete
The proposed interior finish was specific to how the workshop would be used. After insulating, the customer planned to cover the walls above roughly three to four feet with half-inch or three-quarter-inch prefinished birch plywood screwed directly into the studs. Compared with drywall or permanently fixed OSB, the panels would create a finished surface quickly, support tools almost anywhere, and remain removable if electrical work ever needed to be accessed.
The customer used HomeCat to test horizontal brick-bond layouts with standard 4×8 sheets and 5×5 sheets. The project chat returned the required sheet quantity for each arrangement. A visual pattern choice could therefore be compared in purchasing terms before the customer committed to a supplier or panel format.
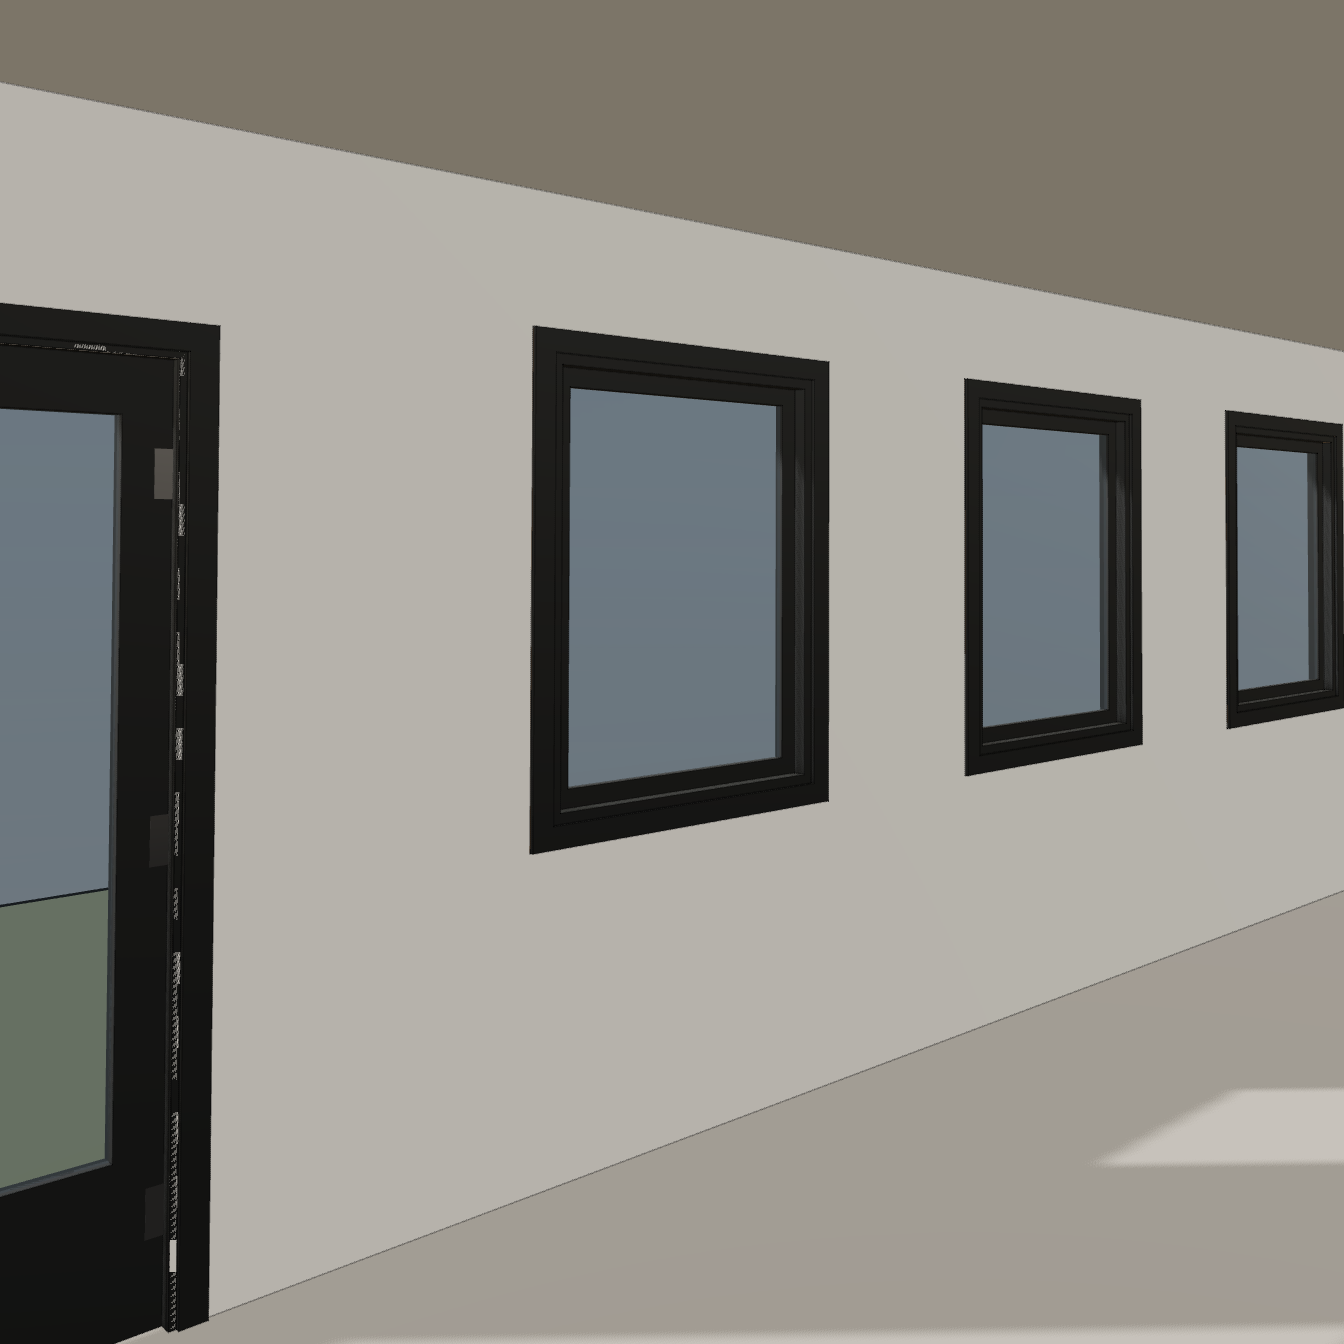
“I was able to get a comparison of required sheet quantity for each in the chat as well, which is helpful to compare options.”
A useful takeoff had to change with the design
By the time the slab was poured—slightly ahead of schedule—the customer was already seeking material quotes. They wanted a bill of materials that could be sent directly to a builder’s supply or lumber yard with enough confidence to request pricing. A takeoff generated elsewhere had required every line item to be checked manually before they felt comfortable sharing it with a salesperson.
Their best product suggestion followed directly from the project: put material quantities in a table with a comparison column for the previous plan iteration. In a generative design workflow, moving a window or changing an opening is easy; remembering how that decision changed studs, headers, panels, trim, fasteners, and cost is harder.
The customer also valued counts down to individual fasteners, not because every nail should be purchased one at a time, but because a minimum count plus a sensible waste margin reduces the chance of another hardware-store trip. A useful takeoff would combine that detail with practical purchasing units and keep it tied to the exact design revision being quoted.
“Generating a takeoff/BOM you can just send to a builders supply or lumber yard would be super helpful in getting quotes. Could be interesting to have a comparison to previous plan iteration column if it were in a table format.”
What the customer received
HomeCat did not present the first model as a frozen final answer. It became a shared workspace for making and measuring decisions while construction moved forward. The delivered project included:
- a full-scale 12×24 workshop model and browser-based 3D walkthrough;
- an editable chat workflow for testing doors, windows, walls, and ceilings;
- exterior and interior views tied to the same building geometry;
- an exposed-framing view for understanding the structure behind the finishes;
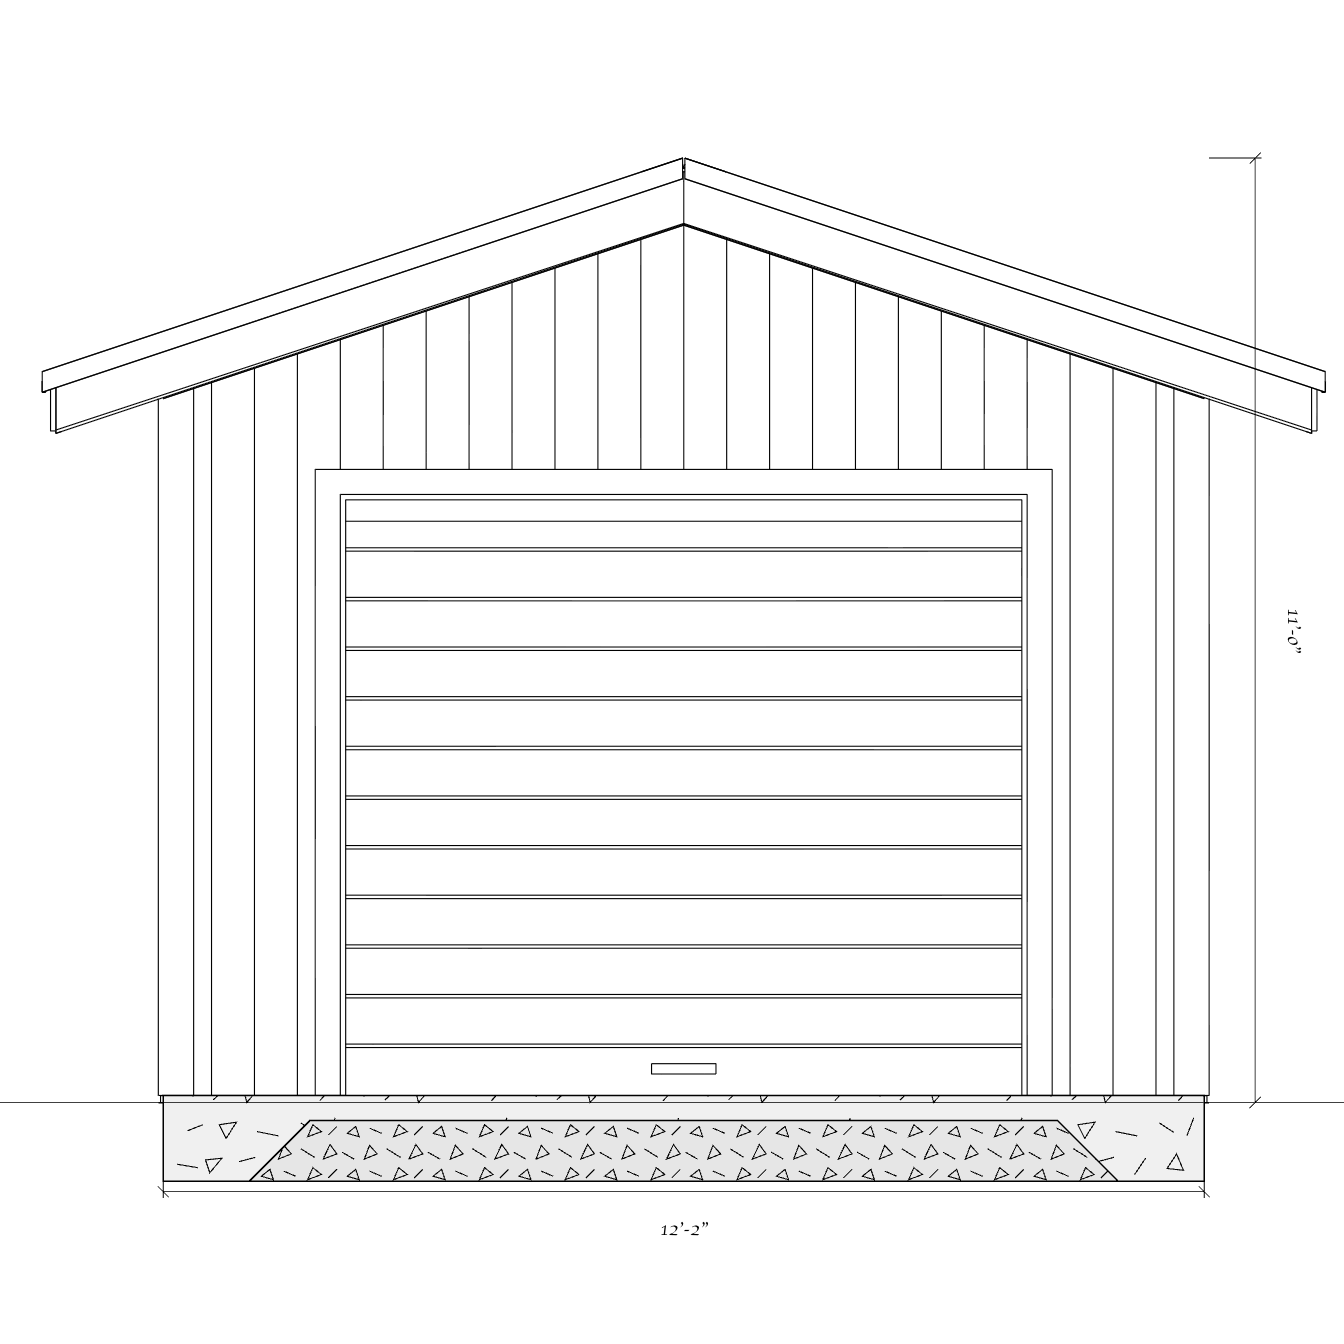
- dimensioned elevations for the garage end and window wall;
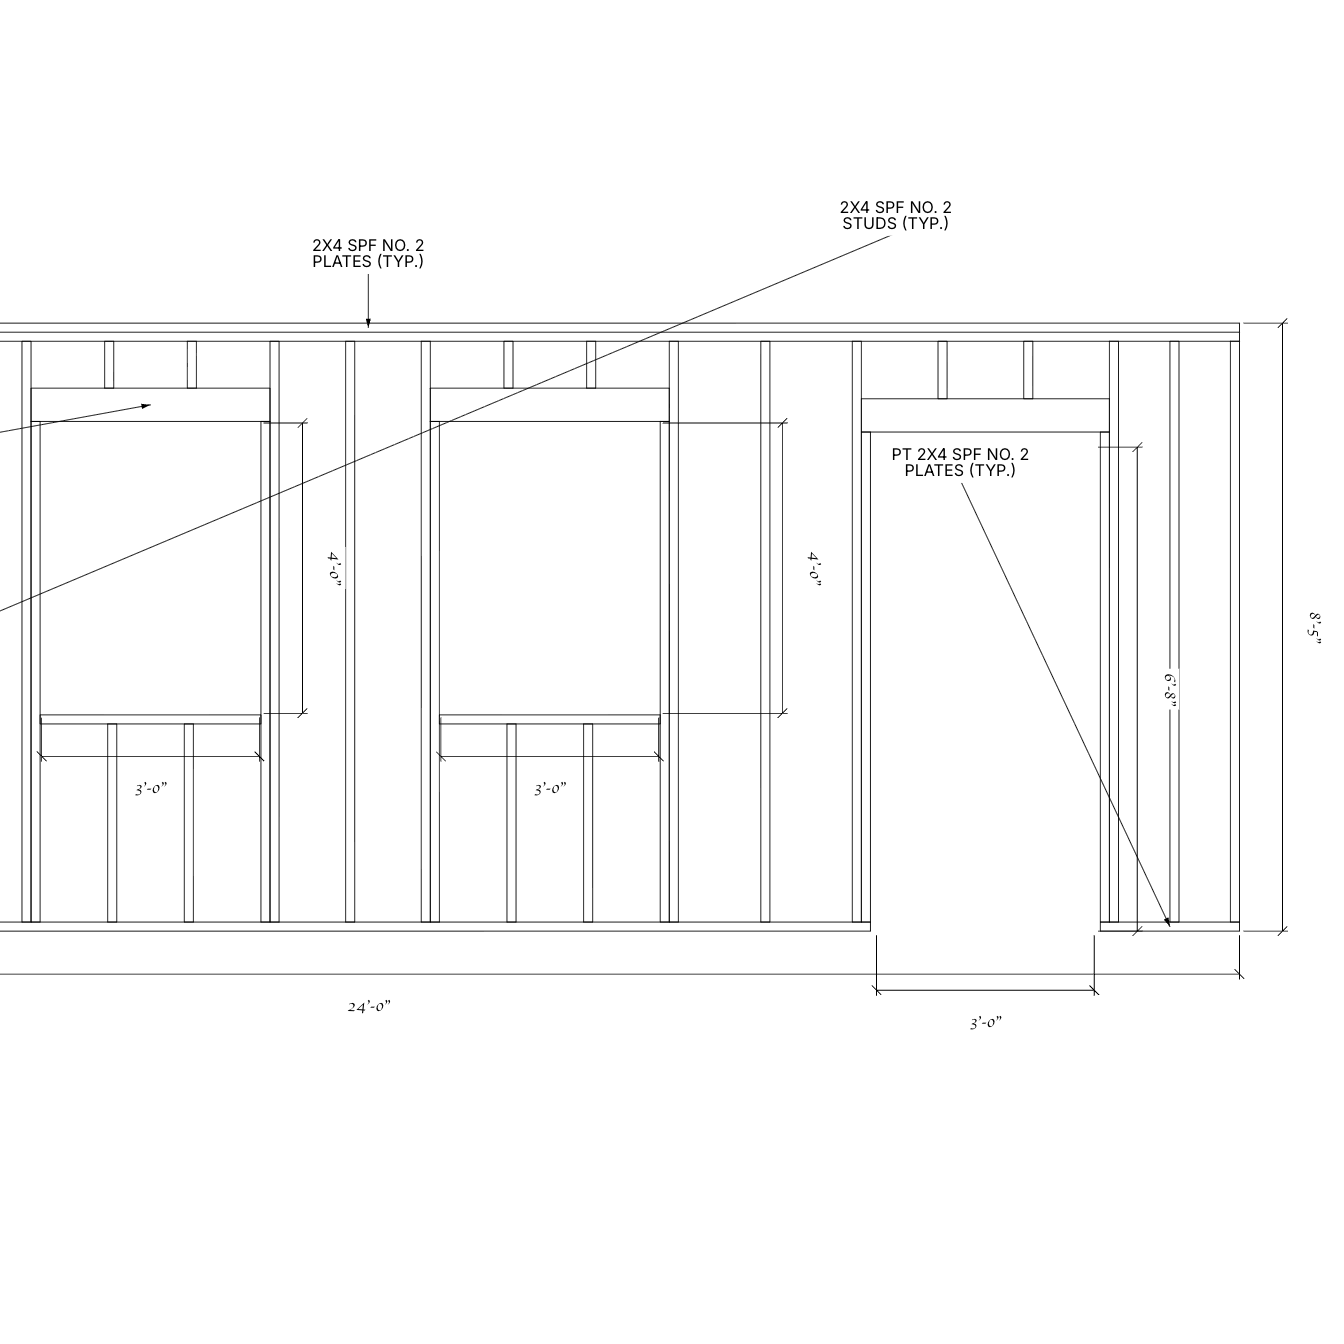
- wall-framing drawings for the large opening, three windows, and entry door; and
- sheet-quantity comparisons for the customer’s 4×8 and 5×5 wall-panel options.
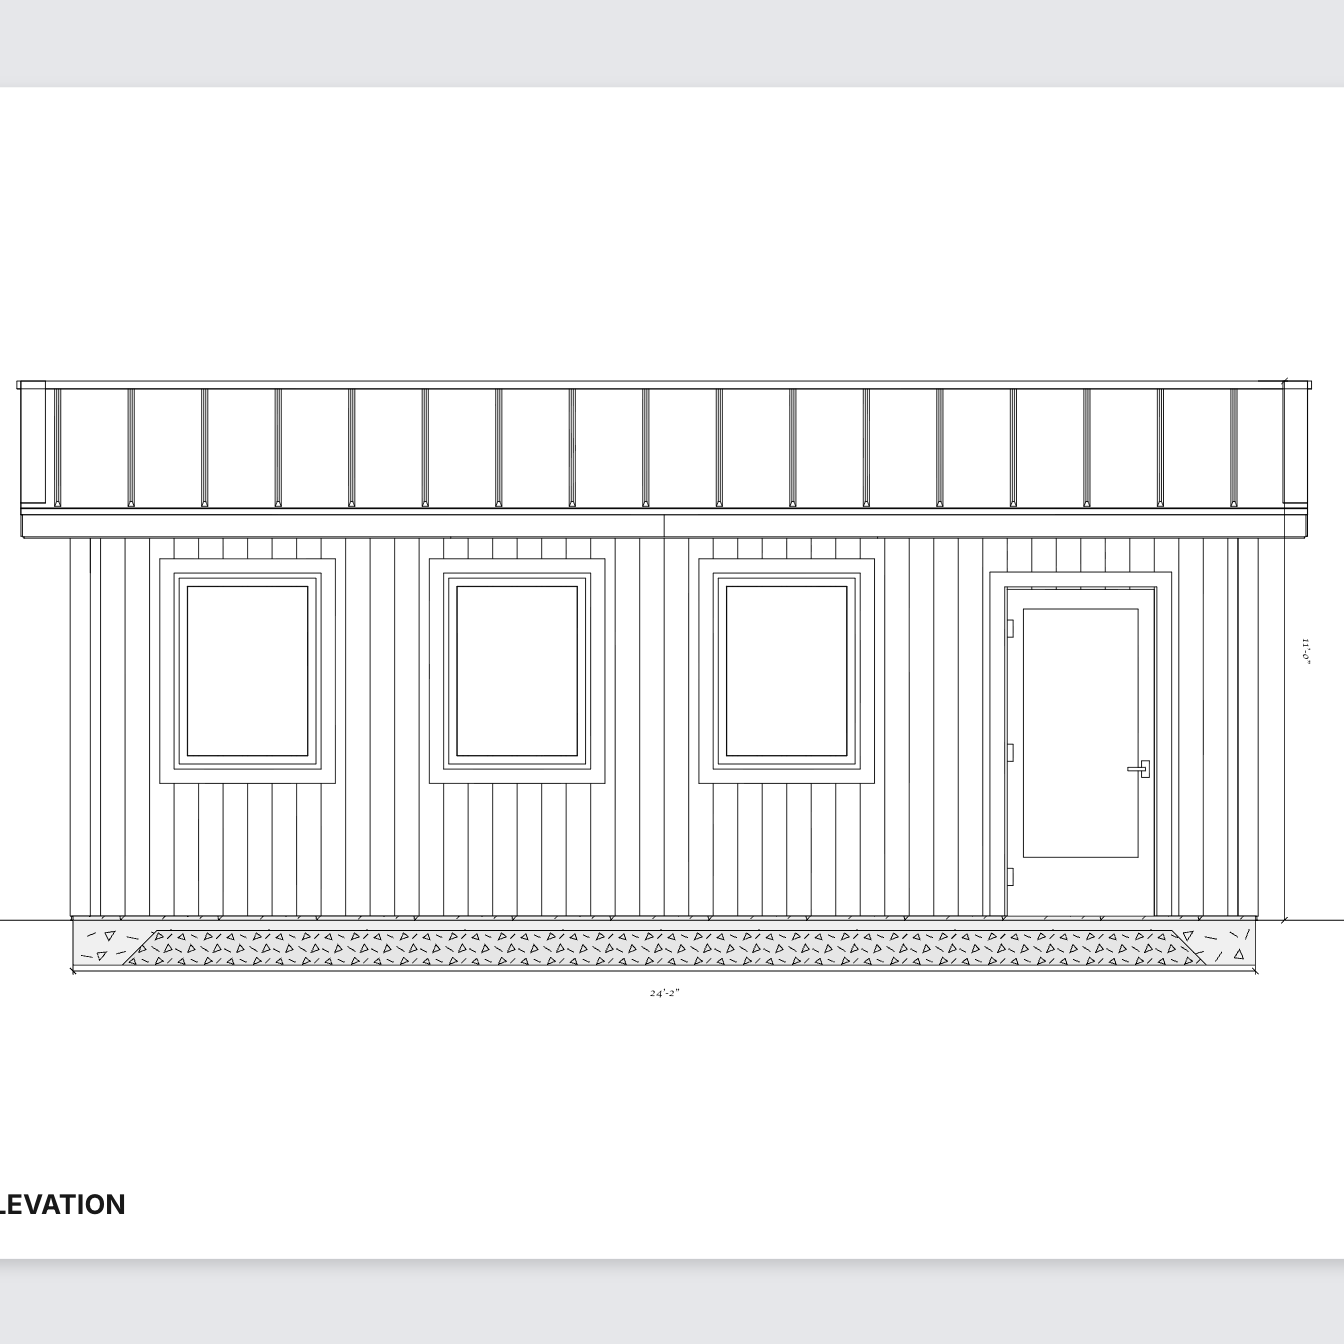
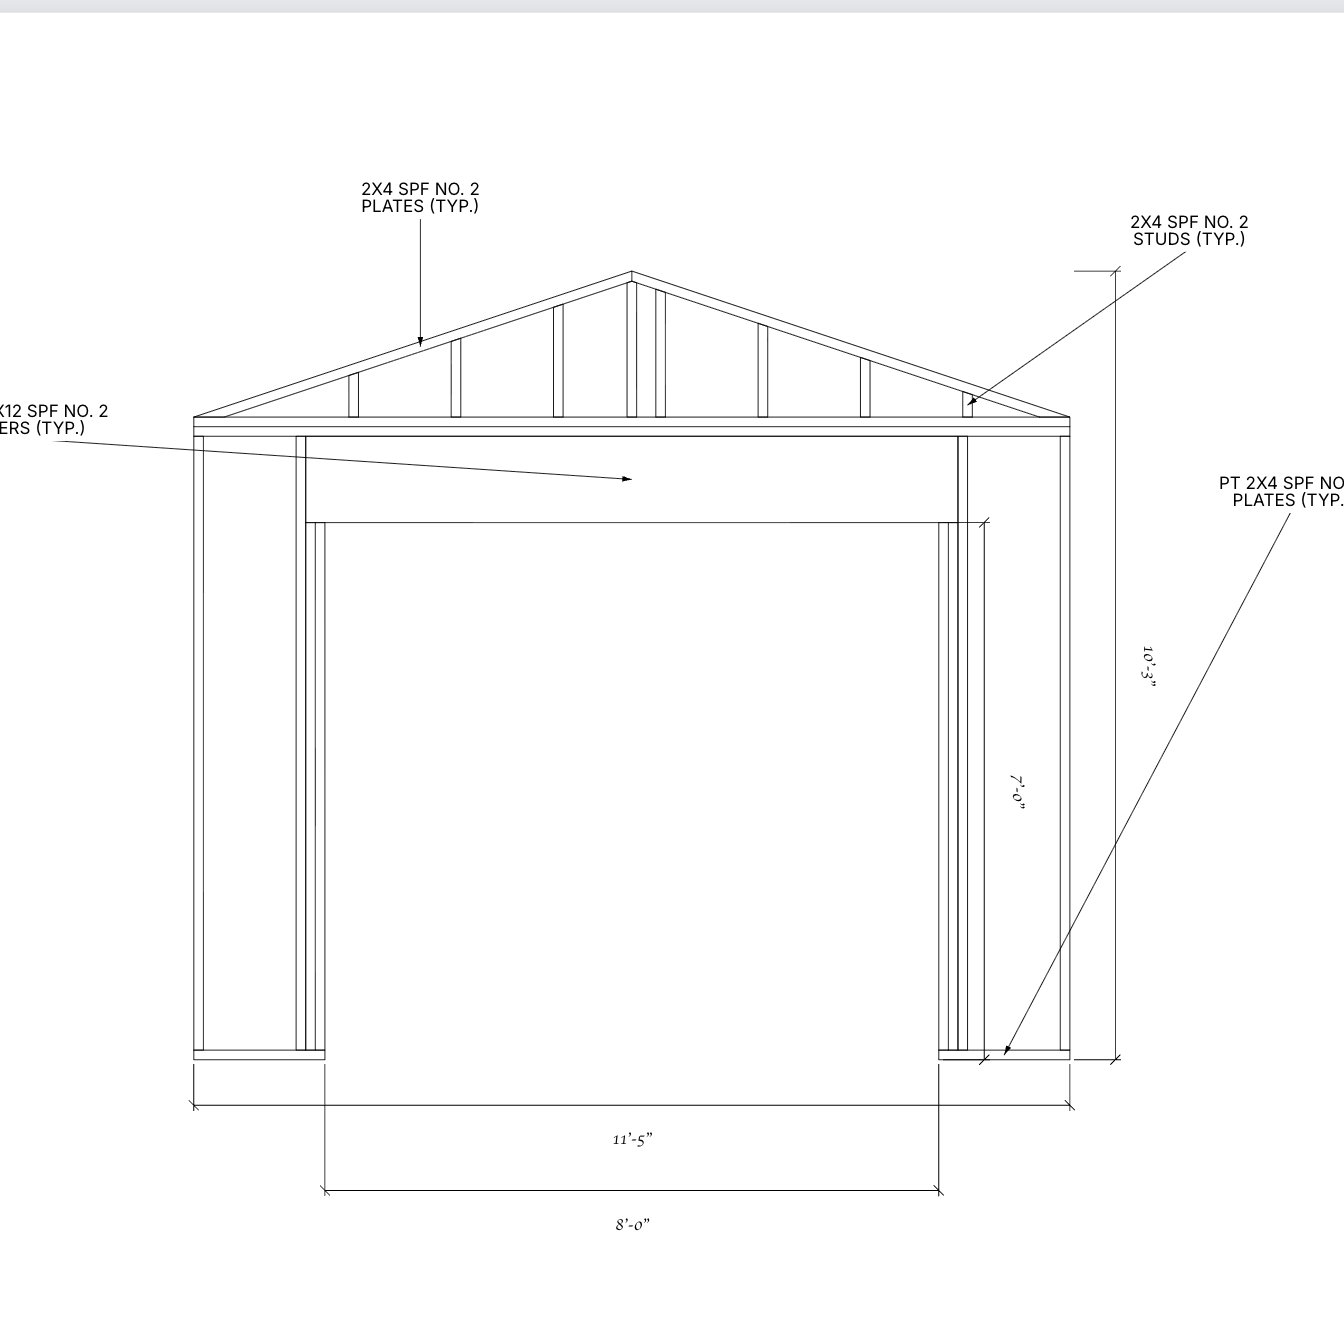
A complete supplier-ready takeoff, cut list, and step-by-step build guide remained the next requested layer rather than something already delivered. The project nevertheless proved why that layer should come from the design itself: the customer could compare sheet counts immediately, see the framing affected by each opening, and identify exactly which revisions had to settle before the full order could be trusted.
For an owner-builder on a deadline, the goal is not the longest possible material list. It is a takeoff that matches the current plan, shows what changed, and is dependable enough to price before the framing crew arrives.