
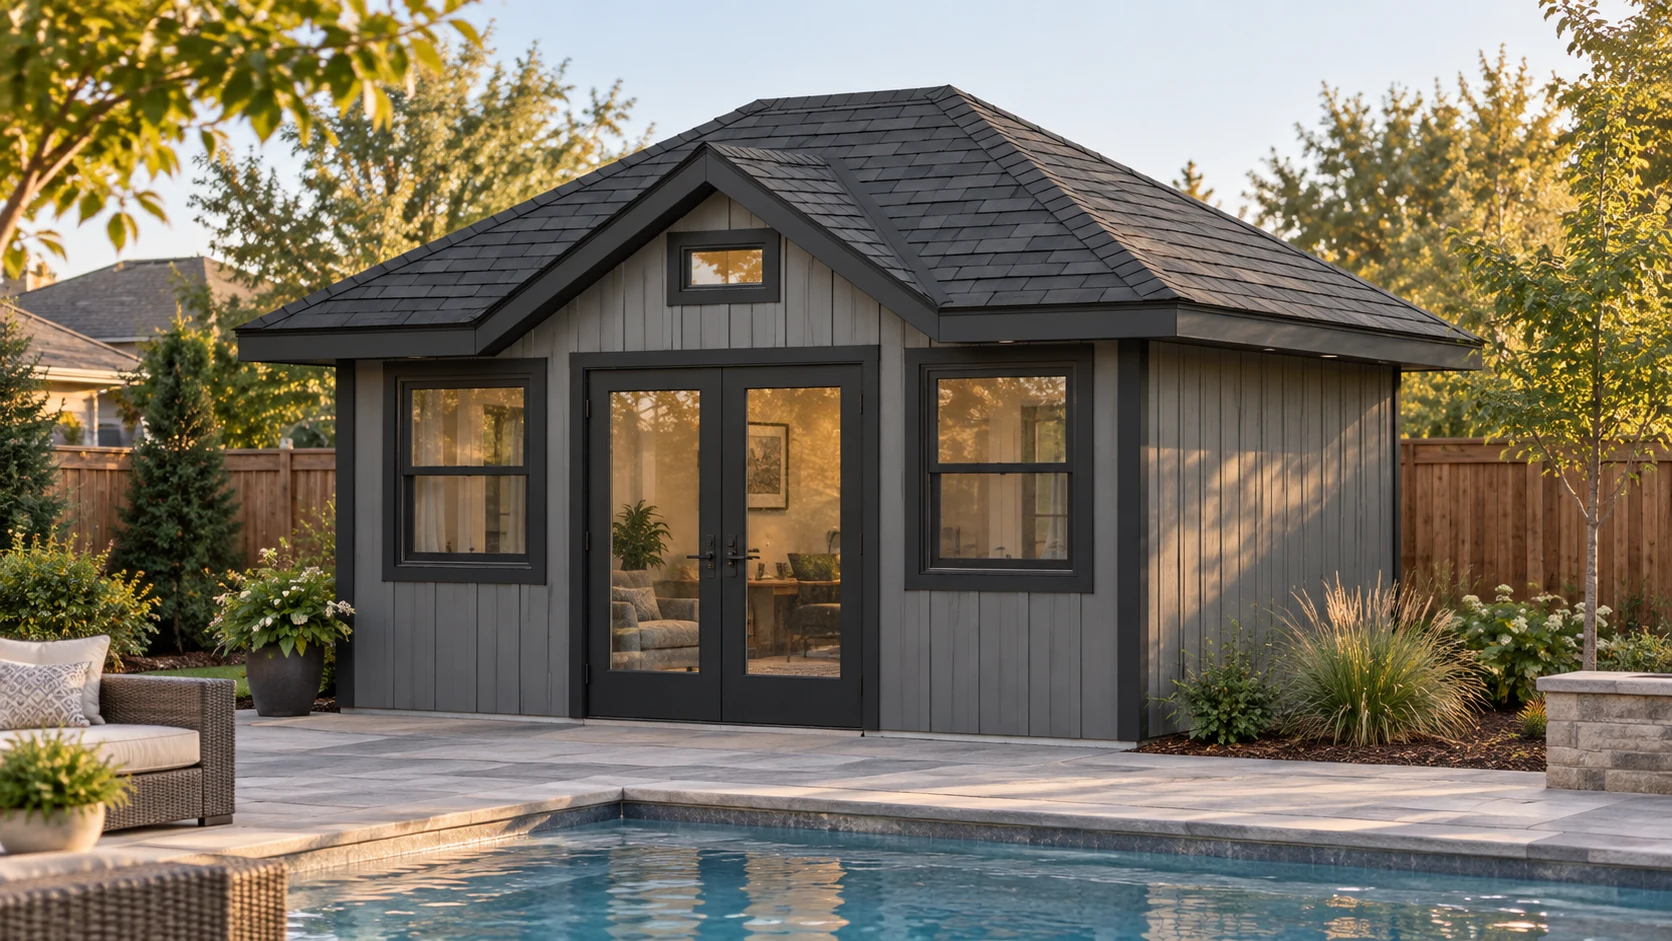
Making a Custom Shed Roof Design Buildable

Ilya Tkachov
Updated
A future owner-builder found HomeCat through Reddit and used it to sketch a shed. The basic building was not the problem. What they could not confirm was whether any shed-design tool could reproduce the specific roof they had found in a reference photo.
“I have an example roof line that I would like to model into a custom shed. Is the tool capable of this?”
The custom shed was intended to become a home office and pool house, not simply a place to store tools. Its appearance mattered, but so did the customer’s ability to adjust it, understand the framing, submit it to their HOA, and eventually build it themselves.
A roof reference ordinary shed tools could not reproduce
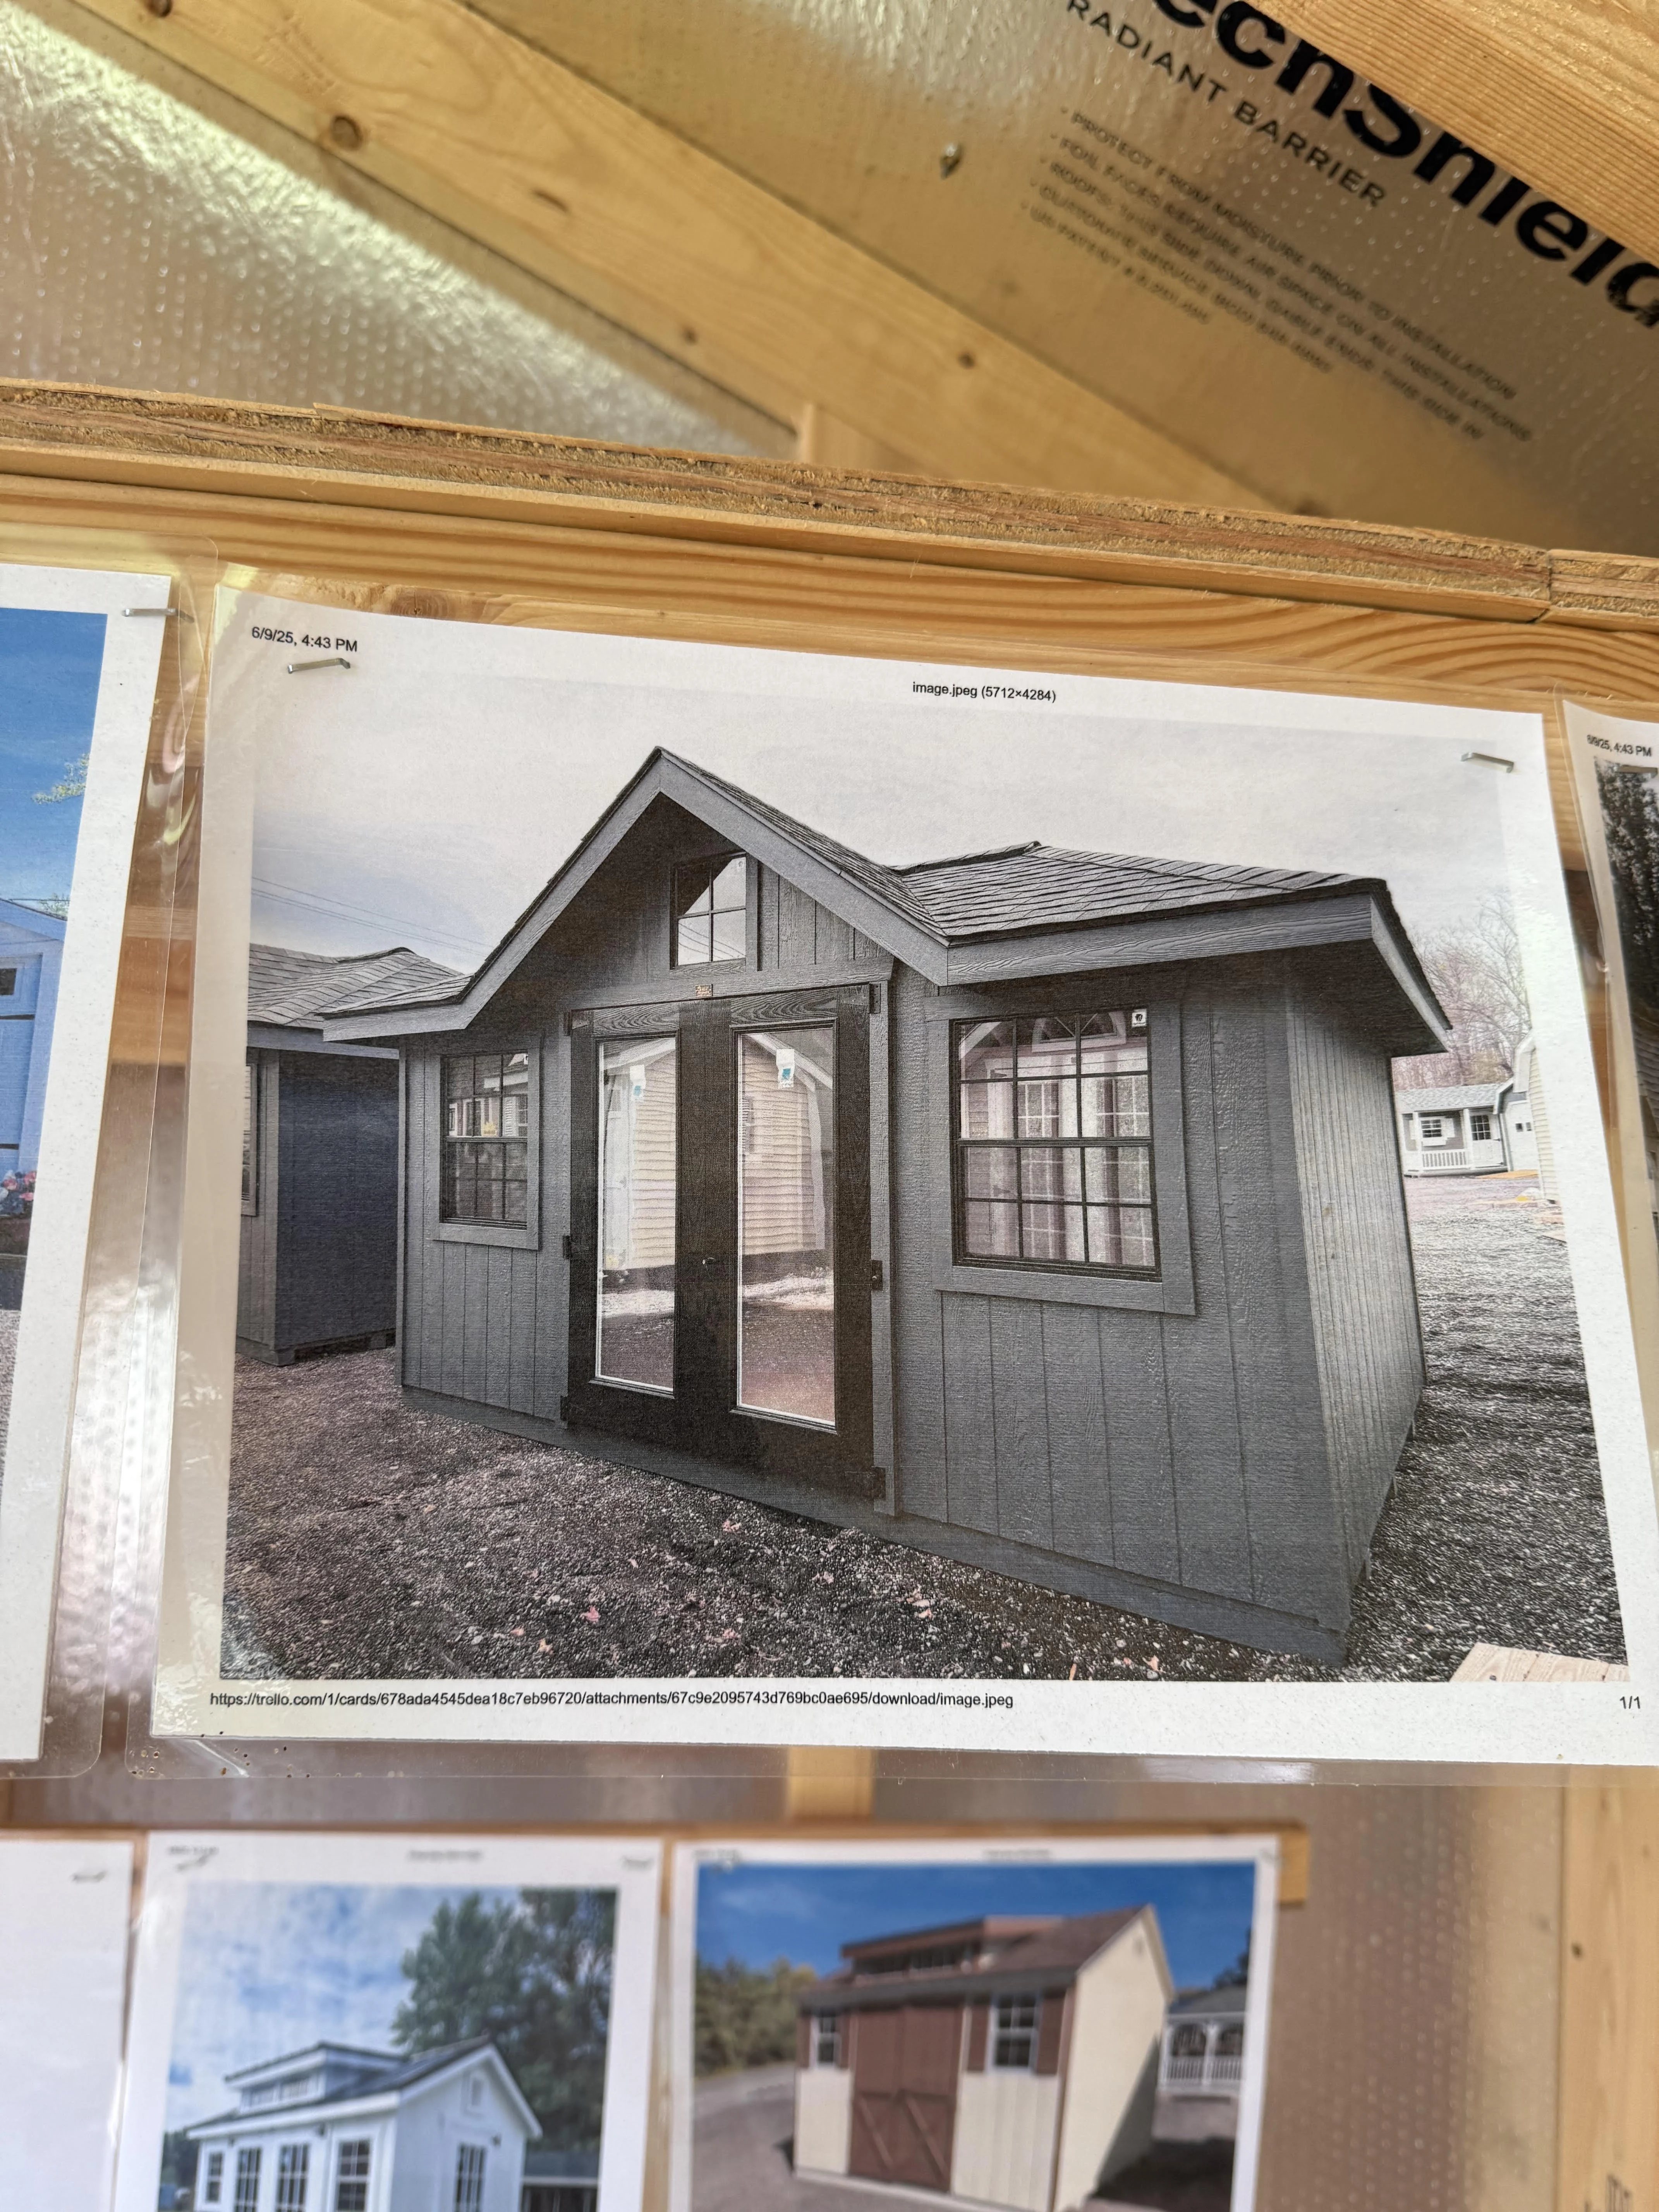
The reference showed a low hipped main roof interrupted by a front-facing cross gable over glazed double doors. The gable created a taller, more welcoming entrance while the hip roof kept the rest of the building visually low. A small transom window sat between the doors and the gable peak.
It looked simple in a finished photograph, but its roof planes did not match the usual one-click choices of gable, hip, or single-slope. The front gable had to enter the hipped roof cleanly, and the model still needed believable ridges, hips, valleys, rafters, fascia, and wall framing beneath it.
The project grew from 16×12 to 18×12
The first target was 16 feet across the front and 12 feet deep. That gave HomeCat a real footprint for testing the roof instead of trying to infer proportions from the photograph. The front could then be organized around double doors, a window on each side, and the small opening beneath the cross-gable peak.
After measuring the yard, the customer revised the width to 18 feet while keeping the 12-foot depth. The extra width provided the clearance they wanted for an office and pool house. Because the project was editable, the change did not require starting a second design from scratch—but it did reveal framing that needed to be corrected after the resize.
Rebuilding the hip-and-cross-gable roof
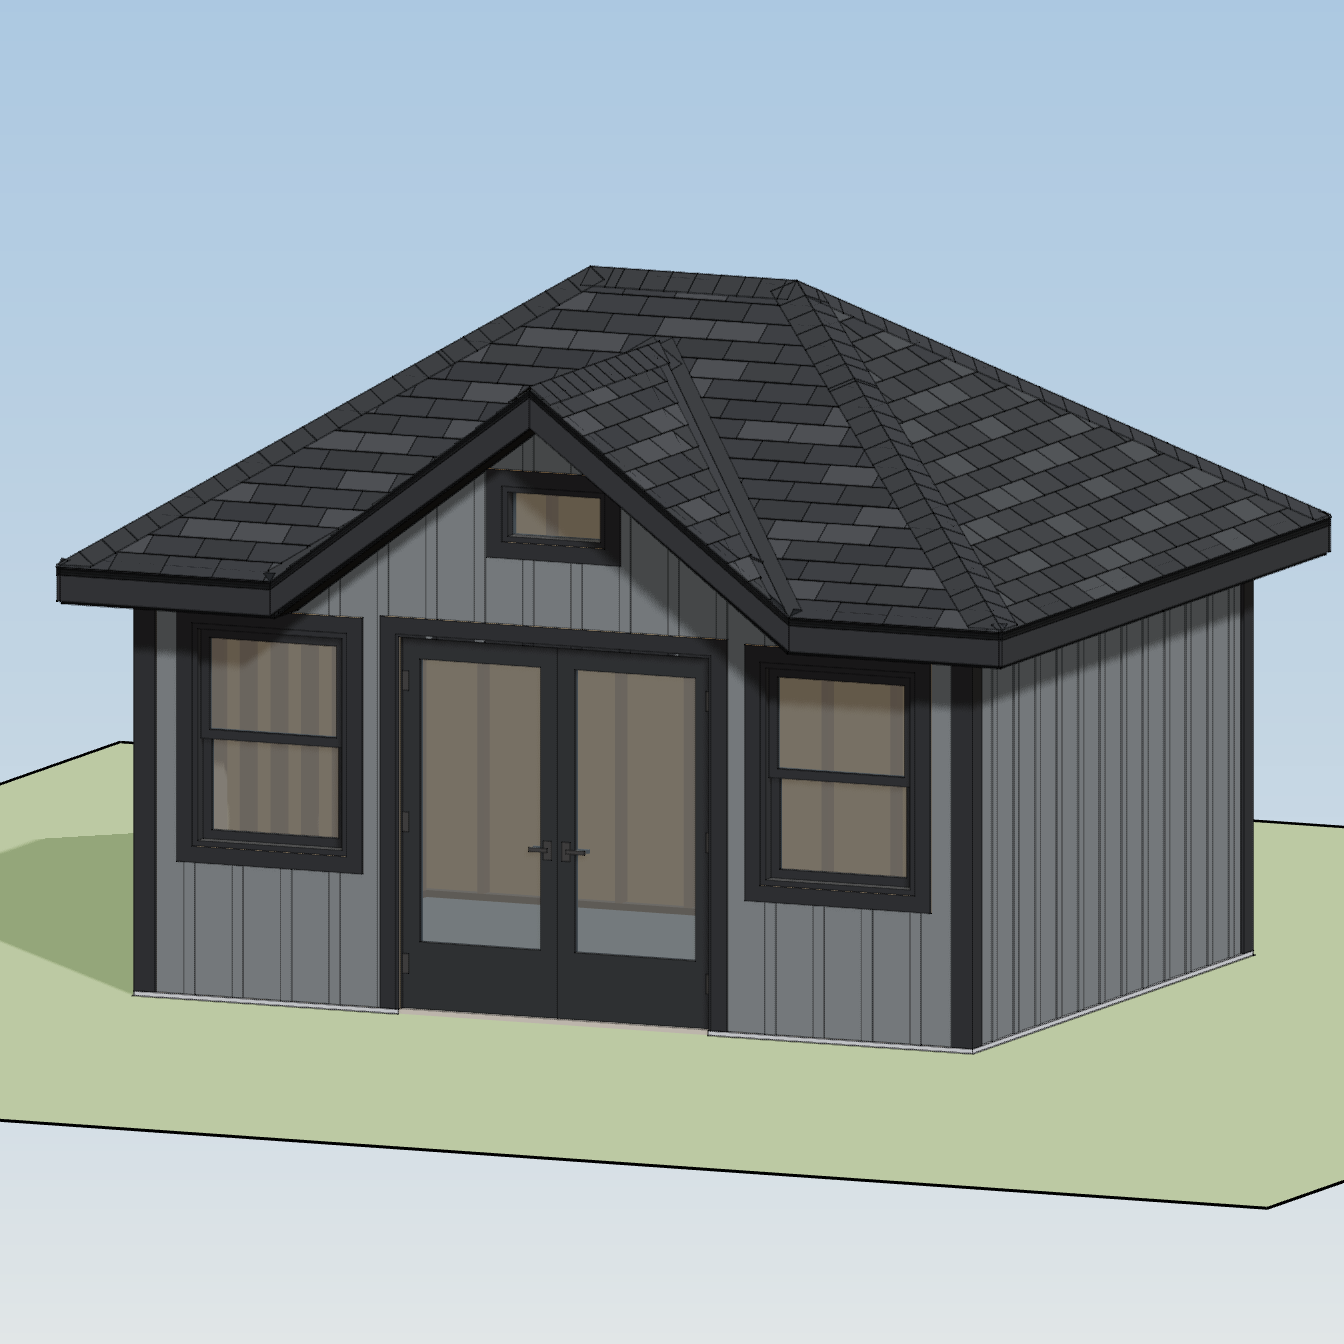
The combination was uncommon enough that there was no dependable off-the-shelf model to copy. HomeCat rebuilt the hipped main roof and front cross gable as one coordinated form, then sent the customer a 3D scene they could inspect from any angle.
The front view was the first important check. It showed that the gable could define the entrance without making the entire building read as a conventional gable-roof shed. The hip remained visible on both sides, and the roof stayed low enough to keep the backyard building from feeling oversized.
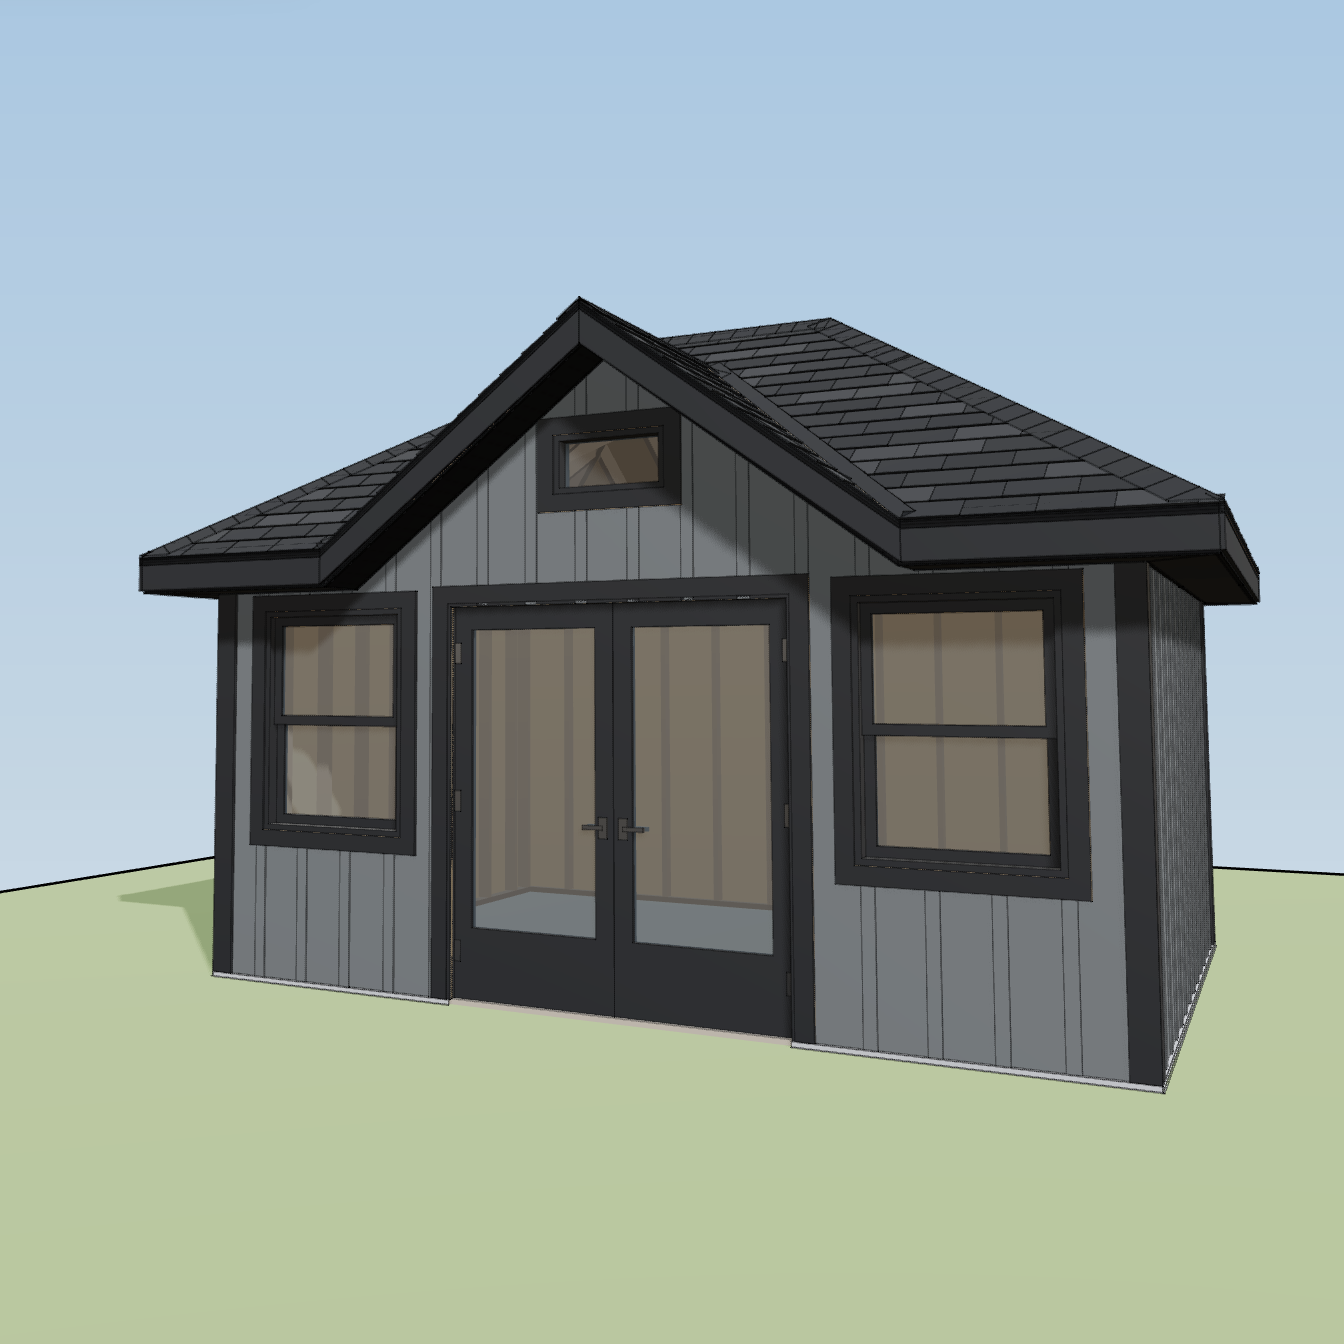
“Interestingly enough, this hip roof and cross gable combination isn’t really out there anywhere online. I had to spend a while figuring it out.”
The model had to be adjustable and true
The customer did not want a rendering that only looked plausible. They wanted confidence that the interior volume, openings, and framing belonged to the same building. That was especially important around the cross gable, where an attractive exterior could conceal unresolved roof and wall geometry.
“The ability to create renderings and make adjustments is invaluable and not available anywhere I have searched. They have to be true though. A concern is always ‘is this real,’ and with the interior renderings you have, I have felt that they are.”
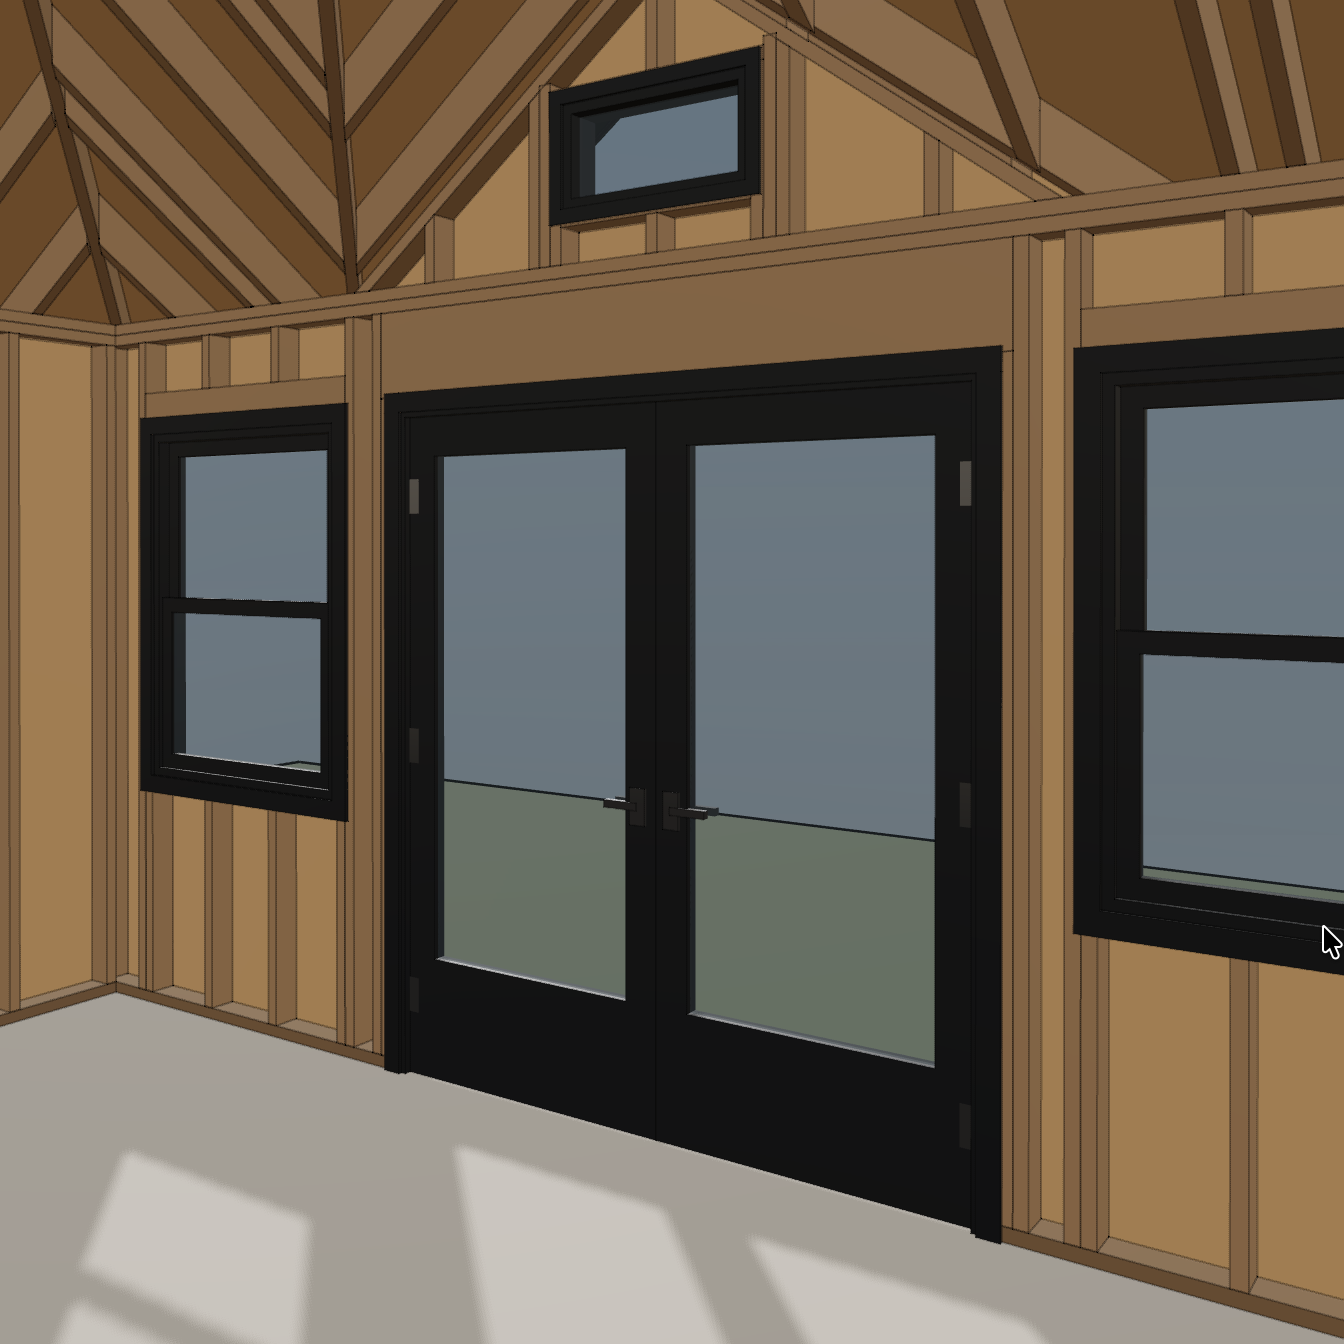
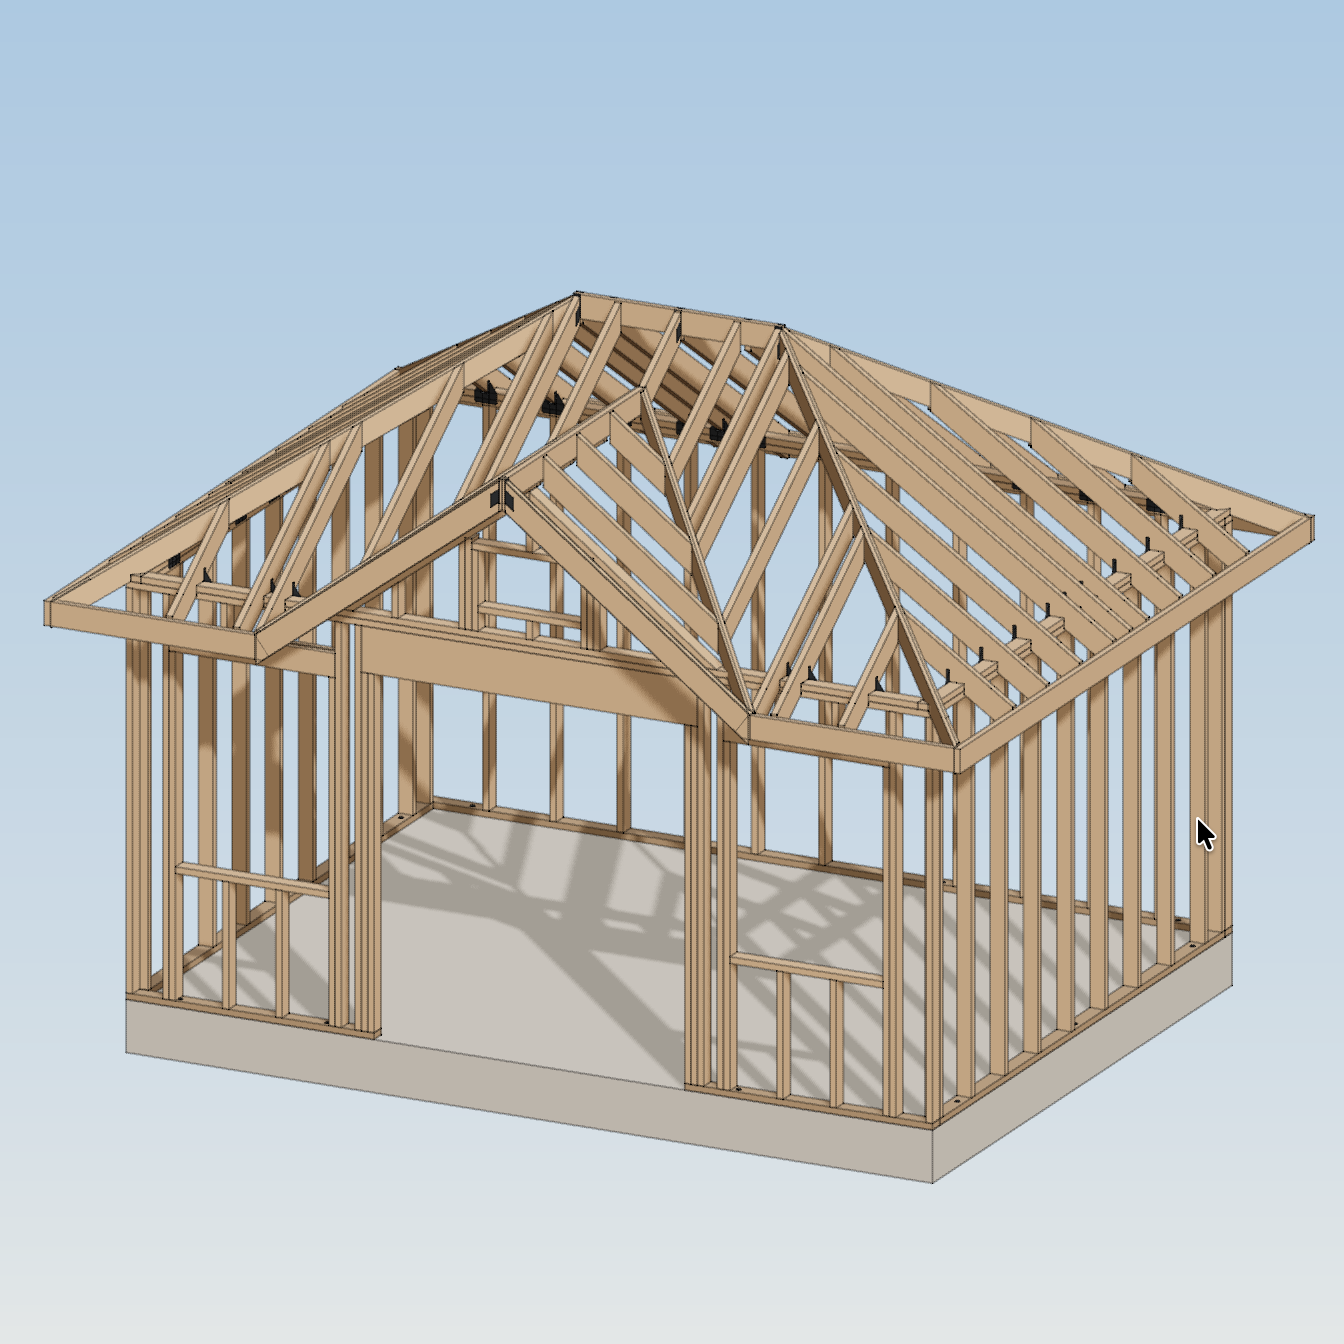
The interior view exposed the tall volume behind the front gable and the framing zone above the doors. When the customer tried adding a transom there, HomeCat added support for the small window between the double top plate and the gable. When the tool suggested raising the roof, the customer chose to keep the existing height; the upper space already felt generous.
From a rendering to DIY-building information
The customer planned to build the structure themselves. For them, a useful plan needed to go beyond dimensions and finished images. They wanted a clear representation of where the wood pieces went and, most importantly, a cut list that could reduce repeated trips to the hardware store.
They also asked practical questions that appear once a design becomes a real project:
- What were the cost and construction tradeoffs between foundation types?
- What should separate the bottom plate from the concrete slab?
- How should the framed walls be anchored to the slab?
- What exterior weather barrier and cladding layers were needed?
- Could the material estimate reflect actual local prices?
“I think more than anything, a cut sheet to hopefully avoid numerous trips to the hardware store.”
HomeCat added a cut-list view with stock pieces and crosscut lengths, then added concrete wedge anchors to show how the wall plates connected to the slab. Localized material pricing remained a requested product improvement rather than part of this delivered project, but the conversation clarified the customer’s real need: a connected path from model to shopping list to assembly—not a disconnected set of pictures.
Elevations for HOA review
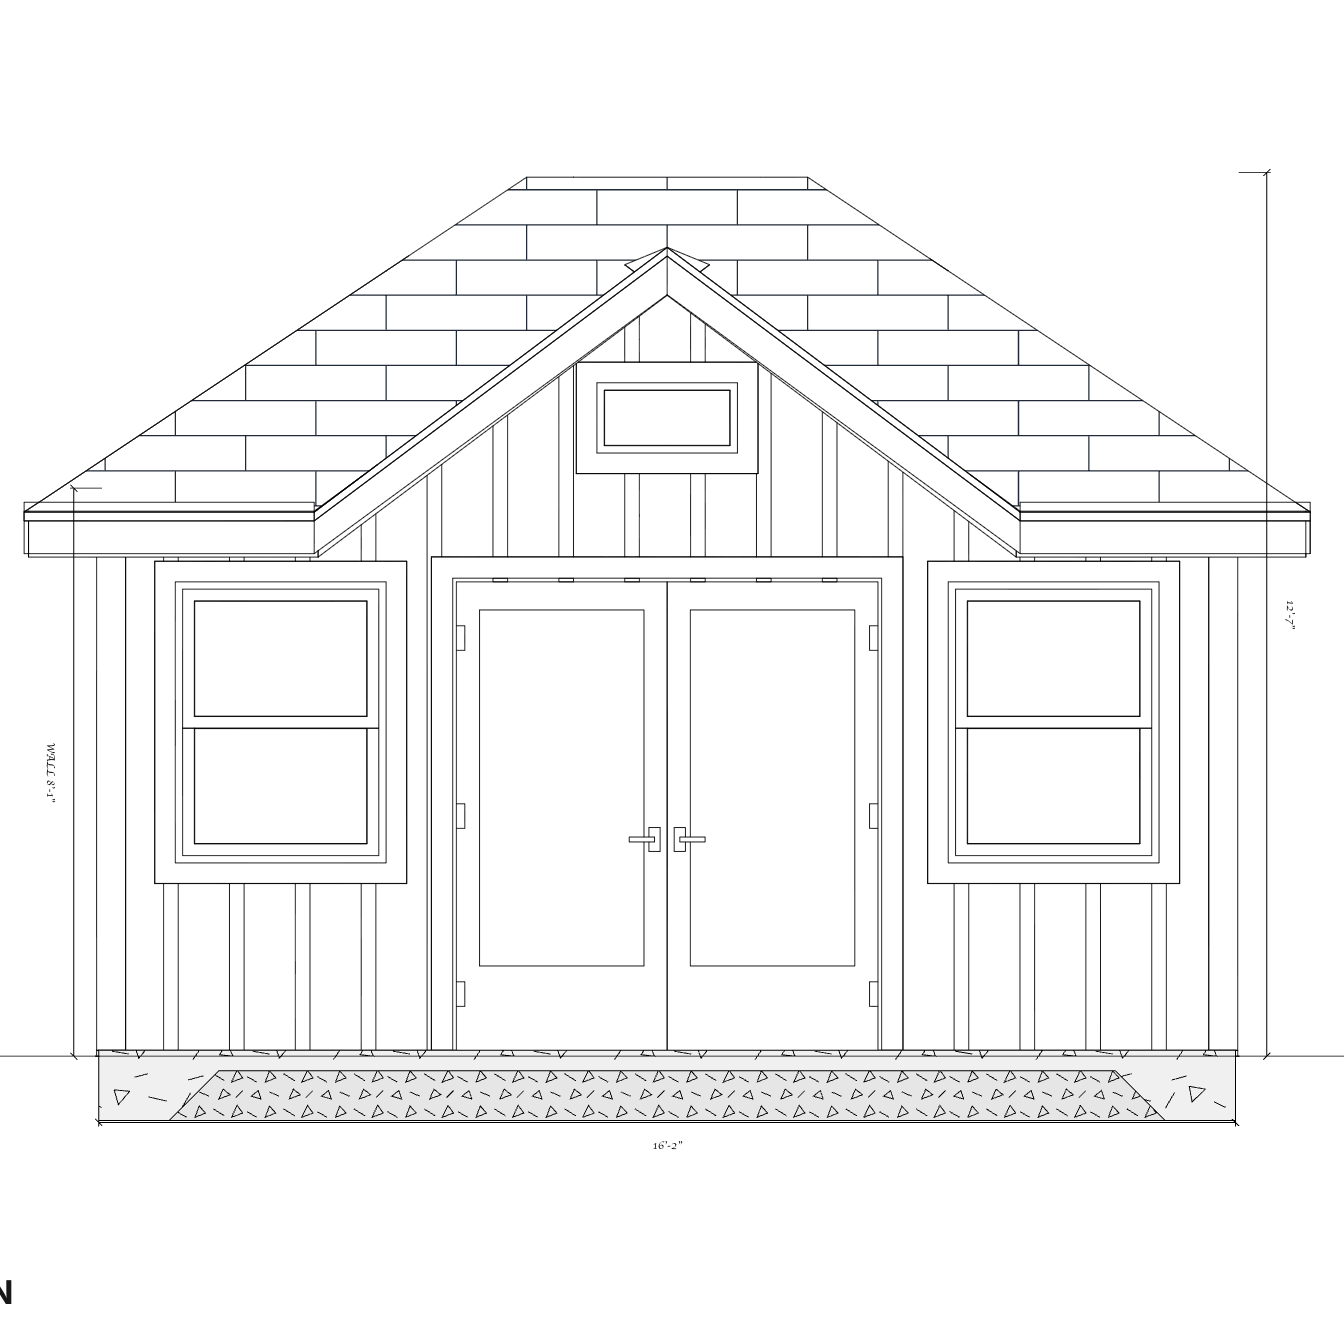
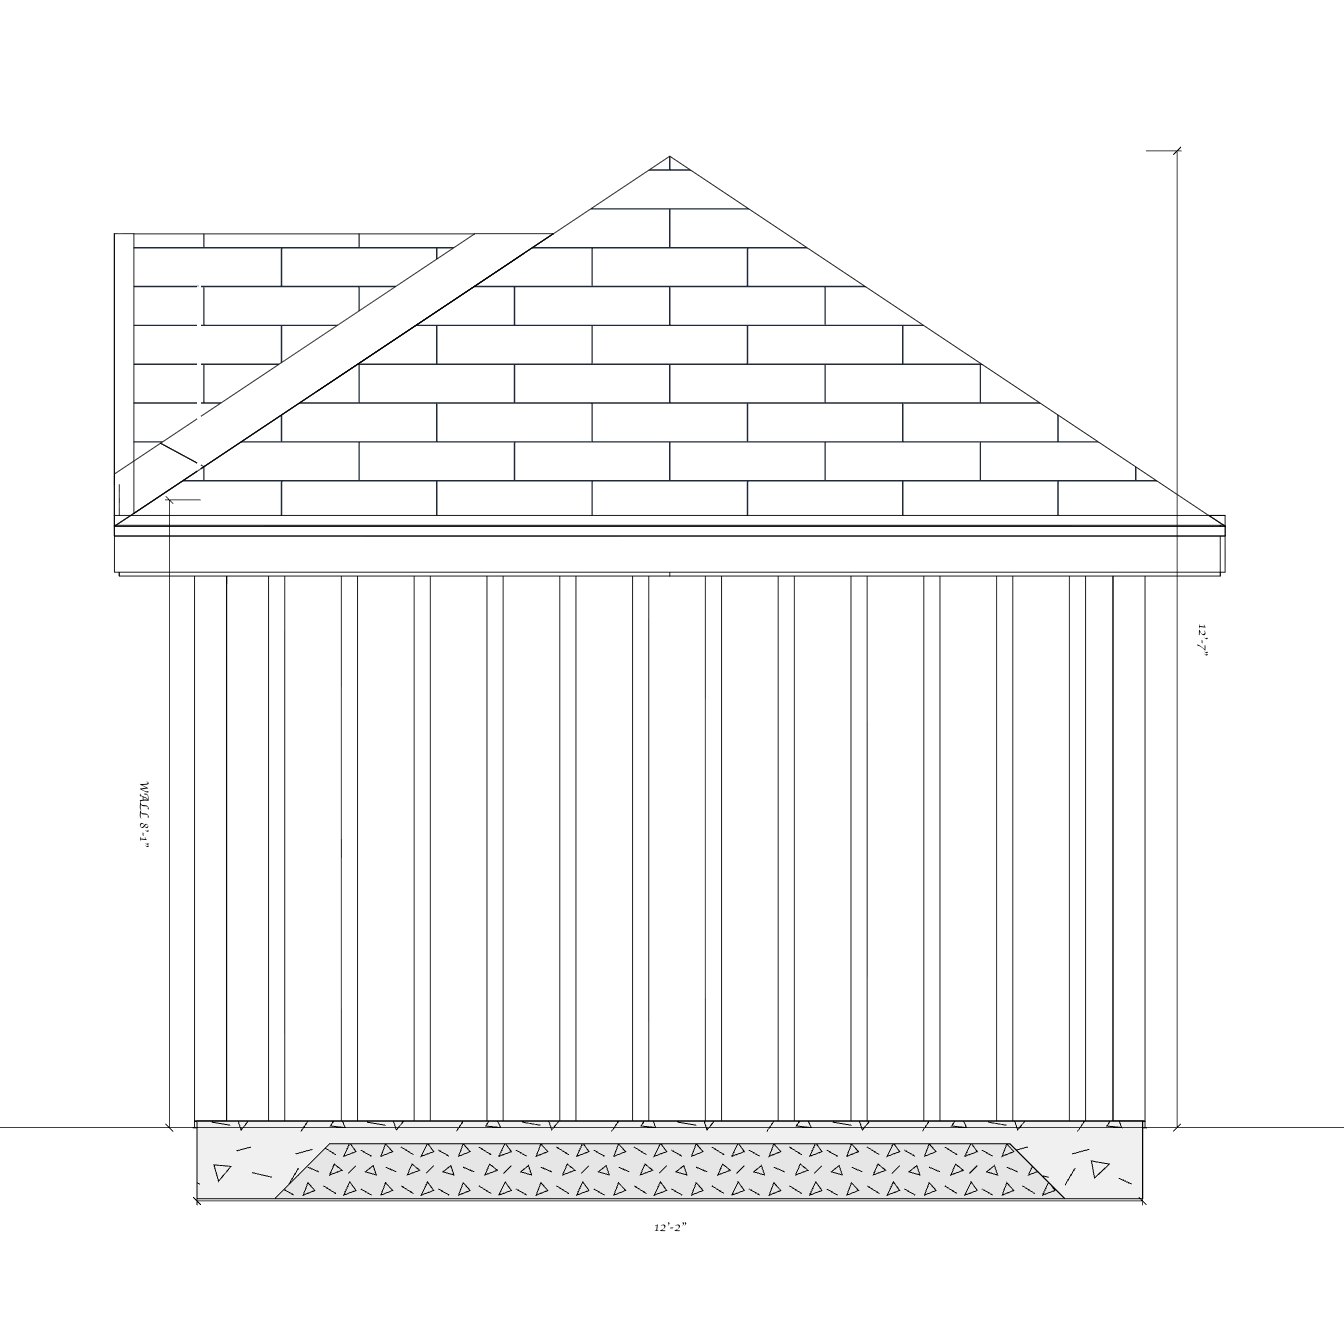
Before construction could begin, the customer needed information for an HOA submission. They specifically asked for elevations. The front and side drawings turned the adjustable model into a reviewable exterior proposal, with the overall width, height, openings, roof form, and concrete base visible together.
When resizing the model affected the framing, HomeCat corrected it before the submission and added the transom to the building geometry. The building-plans package then made the elevations and PDF export available for the customer’s review process.
What the customer received
What began as a question about one unusual roof line became a coordinated office and pool-house project whose working brief grew to 18×12. The design included:
- an editable 3D model and walkthrough;
- finished exterior and interior views tied to the same geometry;
- the custom hip-and-cross-gable roof with a front transom;
- an exposed framing view for the walls and roof;
- dimensioned front and side elevations for HOA review;
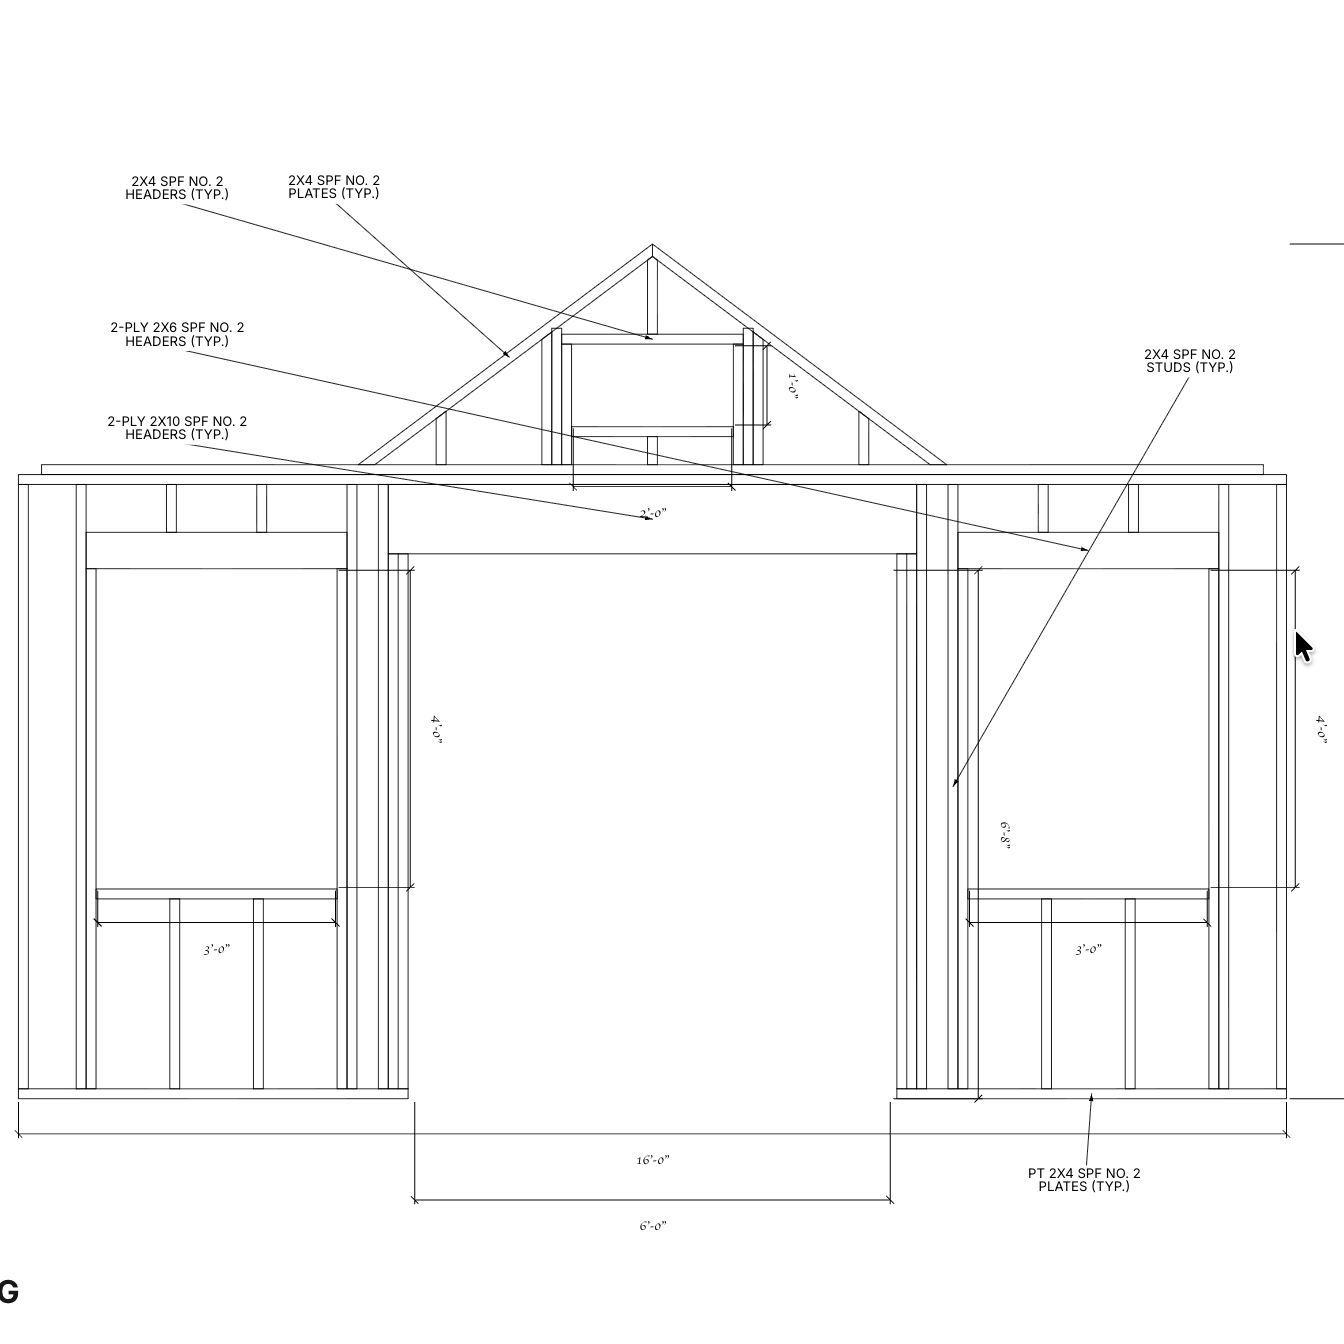
- focused wall- and roof-framing plans;
- a cut-list view for stock pieces and crosscuts; and
- concrete wedge anchors represented at the slab connection.
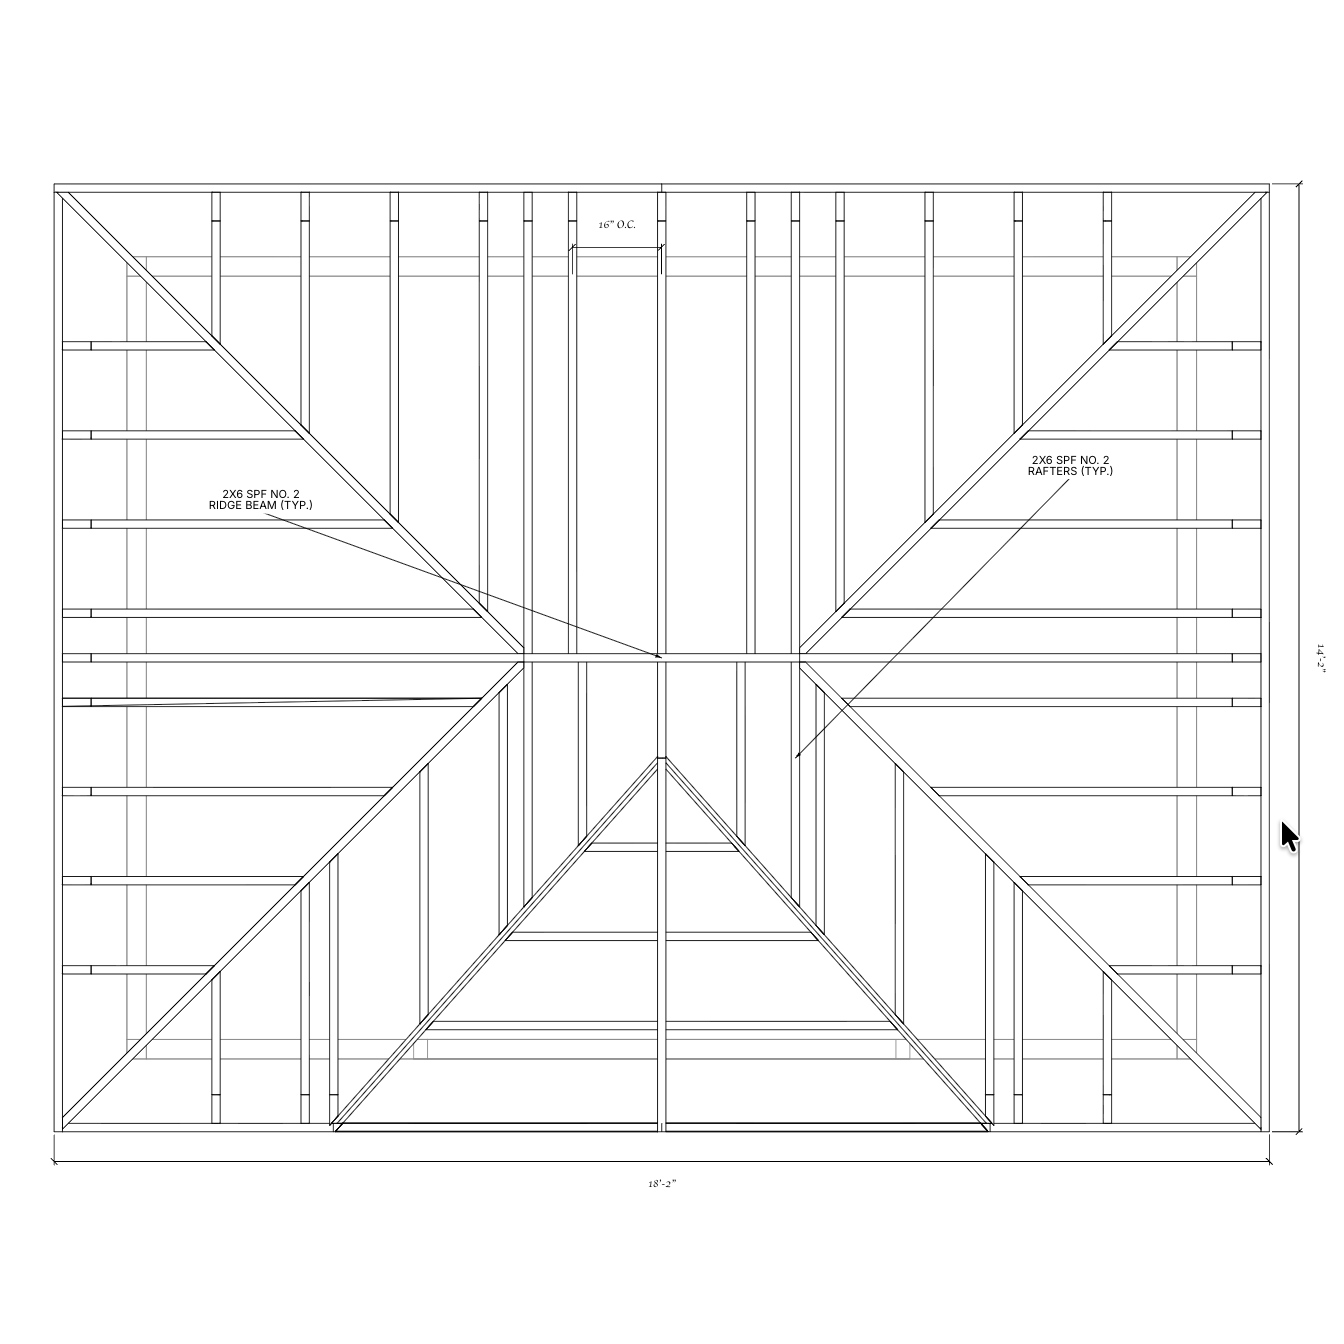
The important result was not merely that HomeCat could imitate the photograph. The customer could resize the structure, adjust its appearance, see the inside, review the framing, add a transom, prepare elevations for the HOA, and ask practical construction questions without losing the original roof idea.
That is what makes a custom design useful: the image establishes the goal, while the model reveals what has to be coordinated to build it.