
DIY How to Draw a Site Plan in Ontario

Ilya Tkachov
Updated
You do not need drafting software, an architect, or a new survey to draw a site plan. For most residential projects in Ontario—a deck, shed, detached garage, addition, porch, or driveway widening—a clean drawing with accurate measurements is enough to get through permit review.
There are three practical ways to make one, and this guide covers all of them: from a property survey, from a Google Maps satellite screenshot, and by hand on paper. It also answers the question people ask first, which is whether a survey is required at all.
What a site plan is
A site plan is a top-down drawing of your property showing the lot, what is already on it, the work you want to do, and how far everything sits from the property lines. It lets a plans reviewer confirm your project fits on the lot and respects the local zoning by-law, without visiting the property.
That is all you need to start drawing. If you want the longer version—how a site plan differs from a survey, a floor plan, or an elevation, what setbacks and easements mean, and why Ontario municipalities ask for one—read what a site plan is and why you need one in Ontario.
Is a survey required?
Not always. This is the most common misconception, and it costs homeowners hundreds of dollars they often did not need to spend.
Requirements are set by your municipality, not by the province, so they vary across Ontario. In broad terms:
- A survey is usually expectedwhen the project sits close to a property line, when setbacks are tight, when the boundary is genuinely uncertain, or when the municipality's checklist names a survey outright.
- A measured drawing is often accepted for smaller, straightforward projects well inside the setbacks—many decks, sheds, and accessory structures fall here.
The reliable way to find out is to ask. Call or email your building department with a direct question: “For this project, will you accept a dimensioned site plan I draw myself, or do you require a survey as the base drawing?” One short conversation settles it before you spend money or time.
Two related points. Some smaller structures may not need a building permit at all depending on size, height, and whether they are attached to the house—thresholds differ by municipality, so confirm yours. And if you want a survey but do not have one, you may already own a usable document without realising it. Our guide to getting a property survey in Ontario covers where to look and the cheaper alternatives before paying for a new one.
Create a site plan for free using HomeCat and skip the drawing entirely. Get started
Which method should you use?
The right method depends on one thing above all: how close your project sits to a property line. The closer it gets, the more the boundary has to be real rather than estimated.
Your project is close to a boundary → use a survey, or measure it yourself on the ground.
Say you are adding a carport a metre or so from the line you share with your neighbour's driveway. This is exactly where encroachment happens, and a Google Maps screenshot will not protect you—aerial imagery shows the fence, the hedge, and the driveway edge, none of which reliably sit on the legal line. A fence can be a foot or more off it in either direction. Trace a survey if you have one. If you do not, find your property pins and measure from them with a tape, and write every distance on the drawing.
Your project sits well inside the lot → the Google Maps method is quickest.
A 10 × 10 shed in the middle of a deep back yard, several metres clear of every boundary, does not need boundary precision. If being half a metre out changes nothing about whether the project complies, an aerial screenshot is a perfectly reasonable base—just label the boundary “approximate”.
You have a survey → use it, whatever the project.
Even for a simple shed, tracing a survey is faster than measuring a lot from scratch and gives you dimensions you can defend. There is no project where a survey is the wrong base.
The lot is an unusual shape → sort the boundary out before you draw.
Pie-shaped lots on a cul-de-sac, corner lots, and lots backing onto a ravine or watercourse are the ones where homeowners guess wrong. Corner lots in particular may be treated as having two front yards under the zoning by-law, which changes the setbacks entirely. Confirm the boundary and the applicable setbacks with your building department before you commit to a drawing.
Whichever you pick, remember what separates them: only a survey gives you legal property lines. The other two methods are you making a good-faith estimate, which is fine when there is room for error and risky when there is not.
What you need
- Blank paper, a ruler, and a pencil and pen—for the hand method
- A computer with any basic image editor—for the Google Maps method
- A tape measure, ideally a long one
- Your survey, if you have one, printed on a separate sheet
Method 1: From a property survey
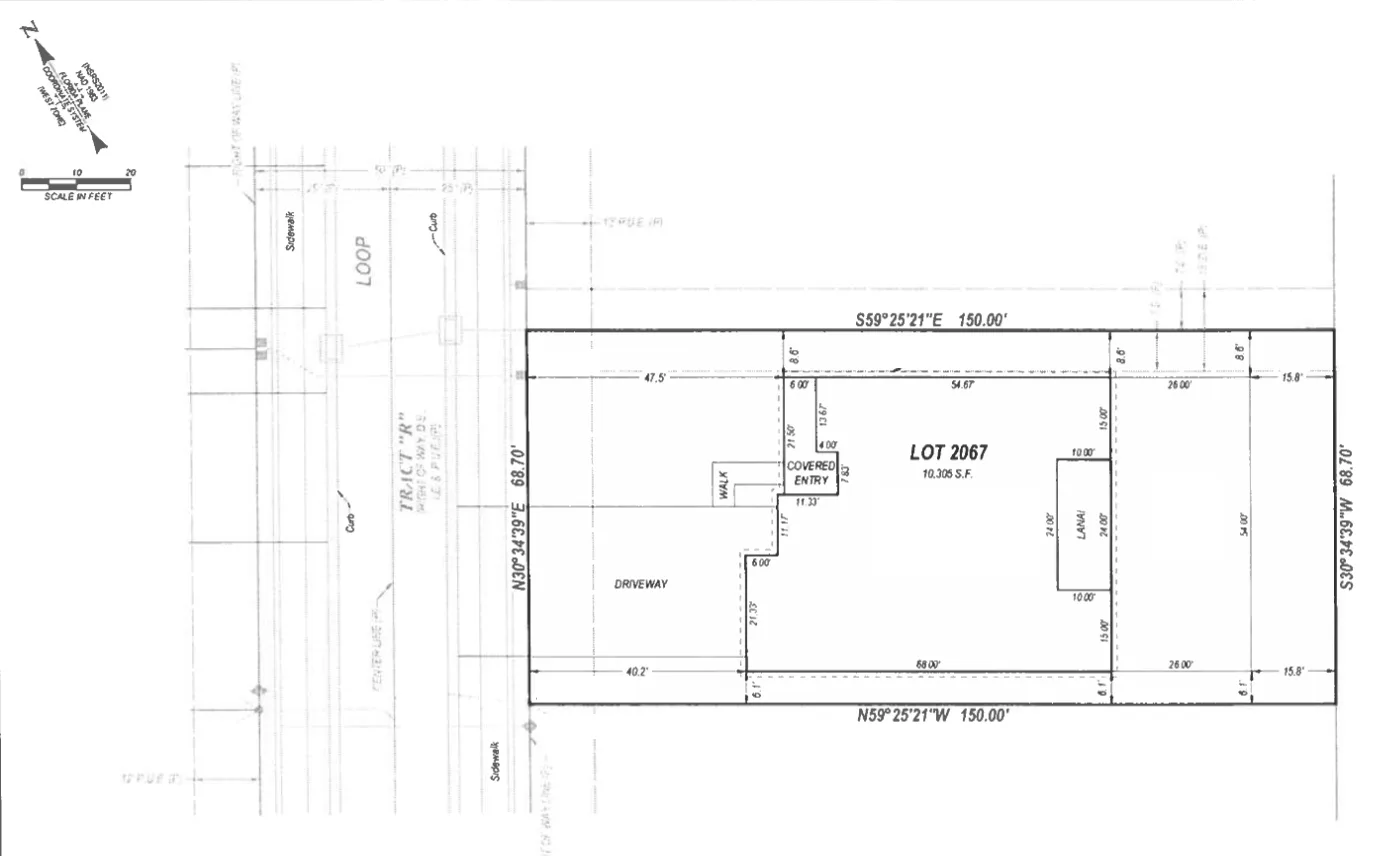
If you have a survey, use it as the base. It already carries the legal property lines, lot dimensions, and usually the house footprint—measured by a surveyor, which is exactly the part that is hard to get right yourself.
Check first whether it is still accurate. A survey is a snapshot in time. If a deck, shed, pool, or driveway extension was added since the survey date, the survey is still perfectly usable as a base—you just measure those additions and draw them in.
If your document does not show the house at all, it is still useful. A Reference Plan or Registered Plan of Subdivision gives you the legal boundary and lot dimensions, which is the hard part—measure the house position from the property lines and add it yourself. Our Ontario guide explains what each plan type shows and how to order one from OnLand.
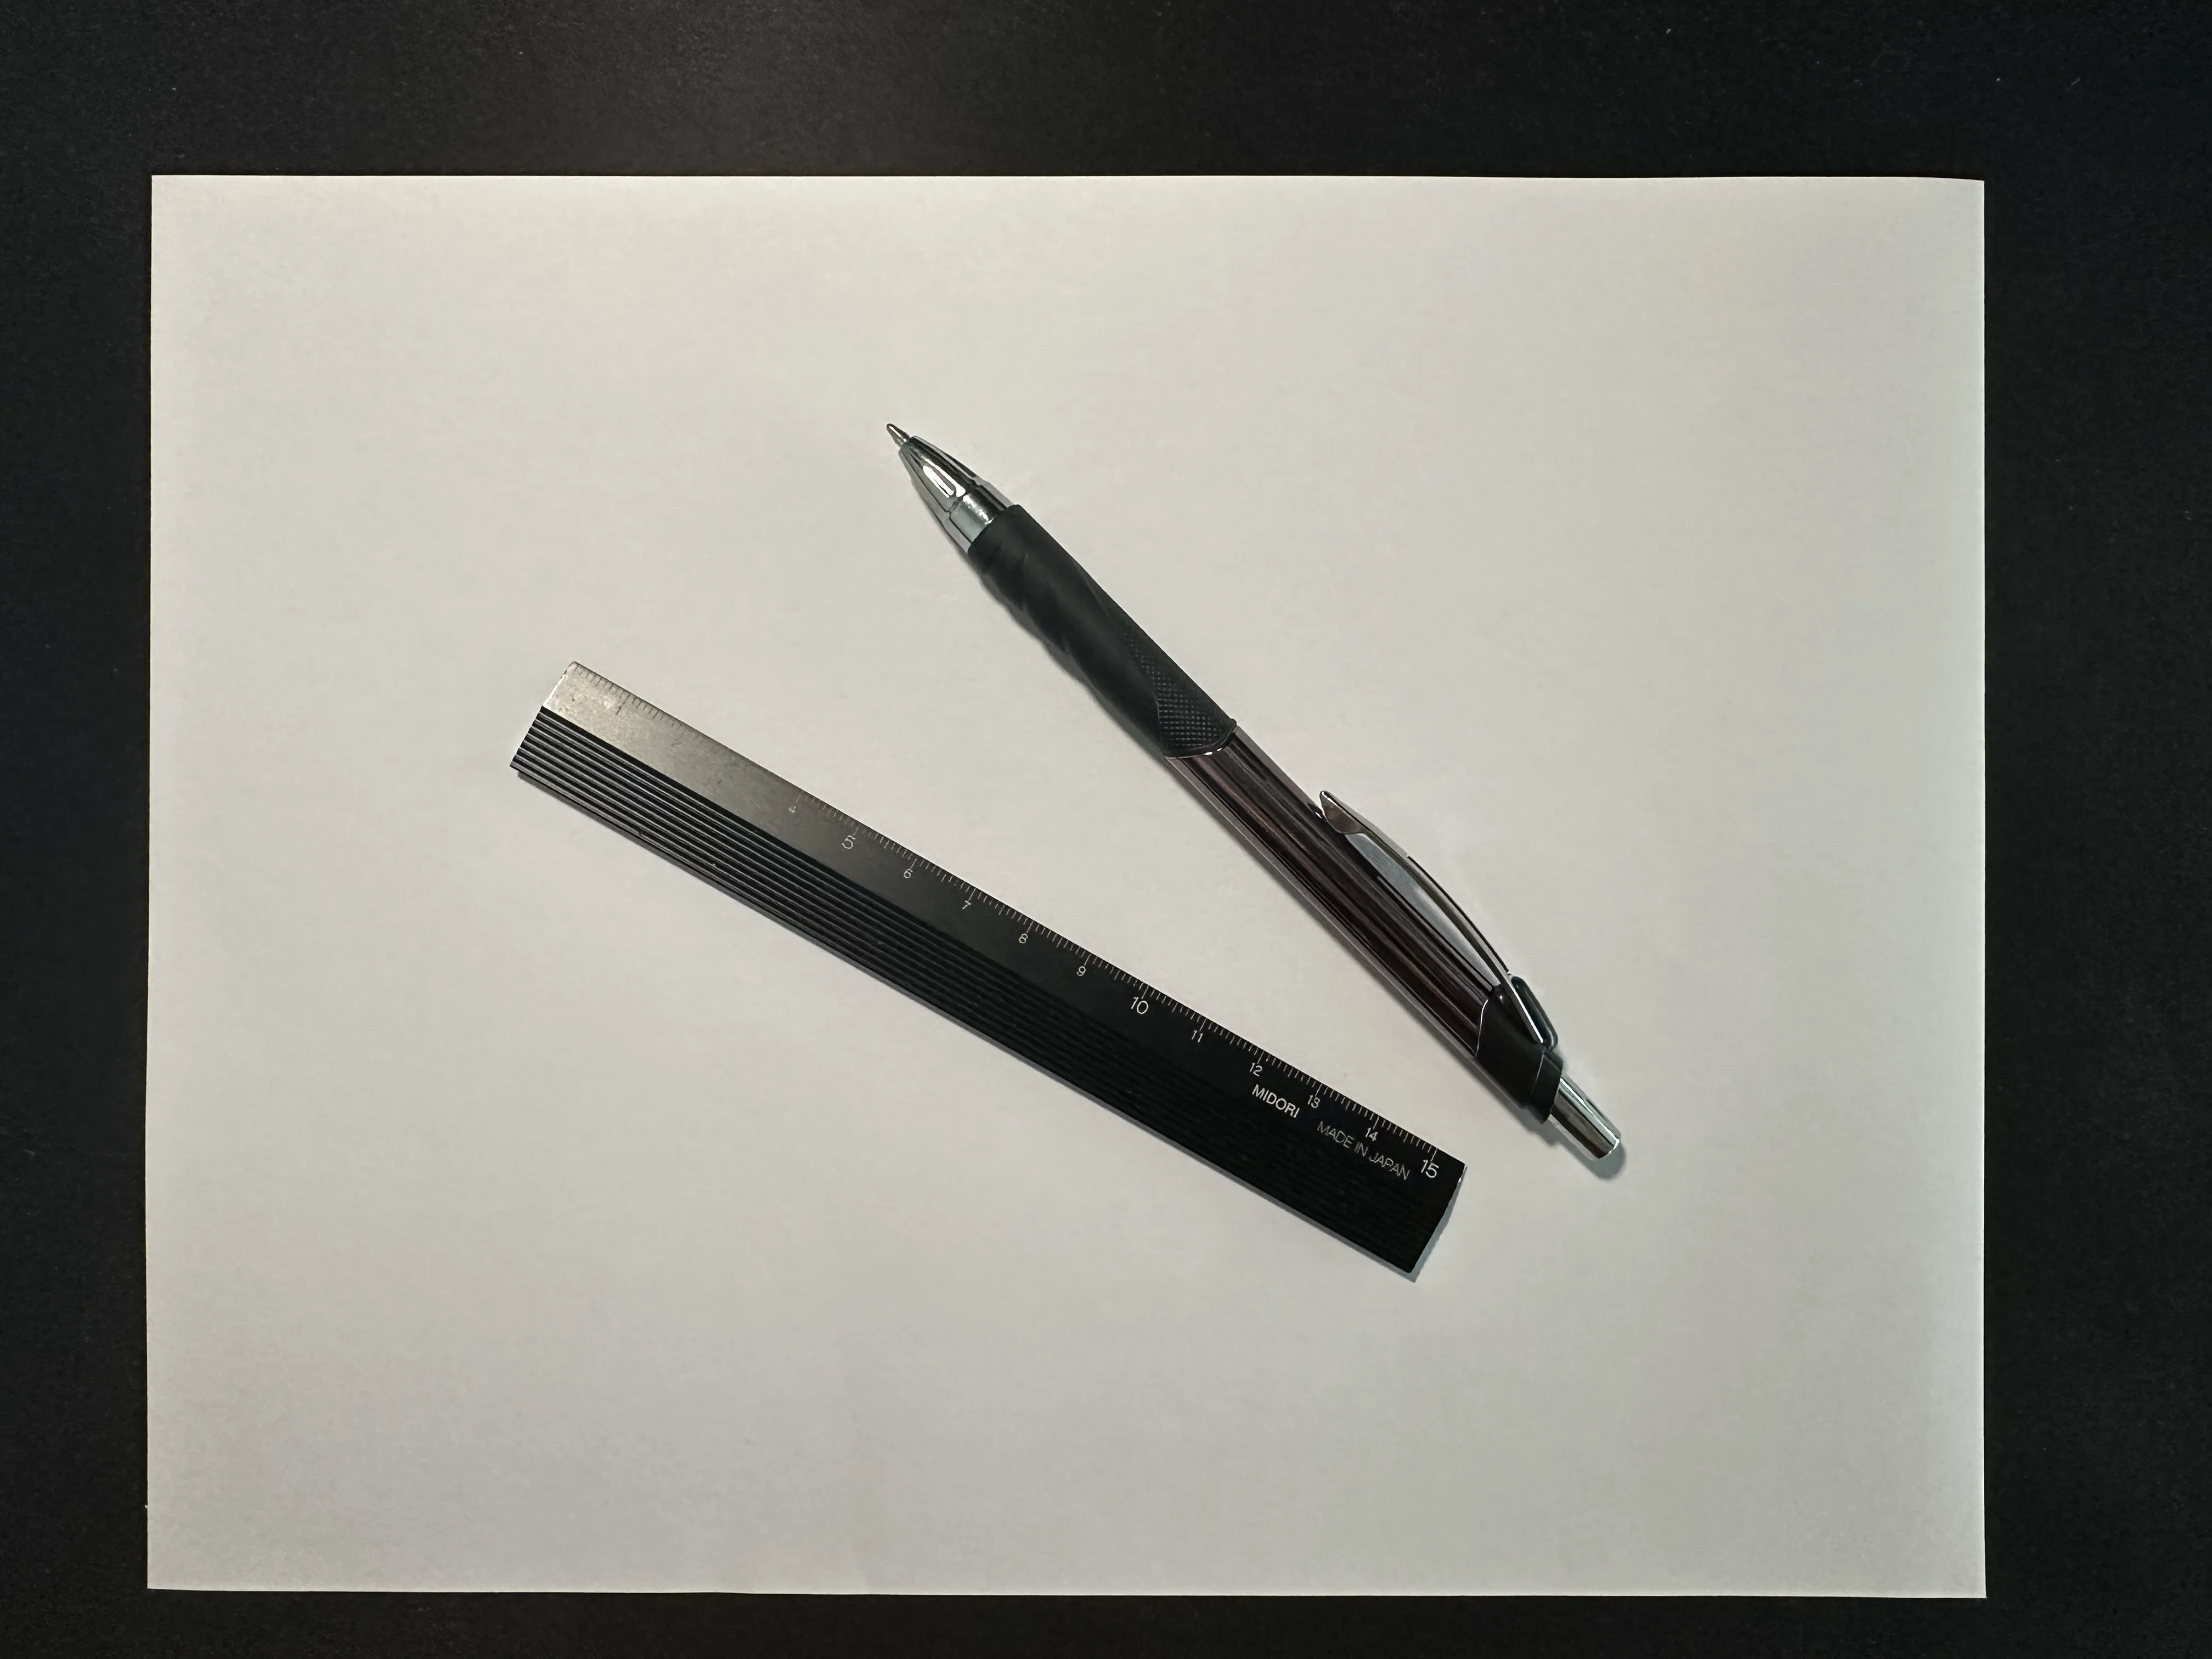
1. Print the survey and get a blank sheet
Print at a readable size and keep the scale intact if your printer allows it. If the print dialog scales the page to fit, the drawing is no longer to scale—you can still work from it, but every dimension then has to be written on rather than measured off the page.
Work on a copy, never your only original.
2. Trace the details that matter
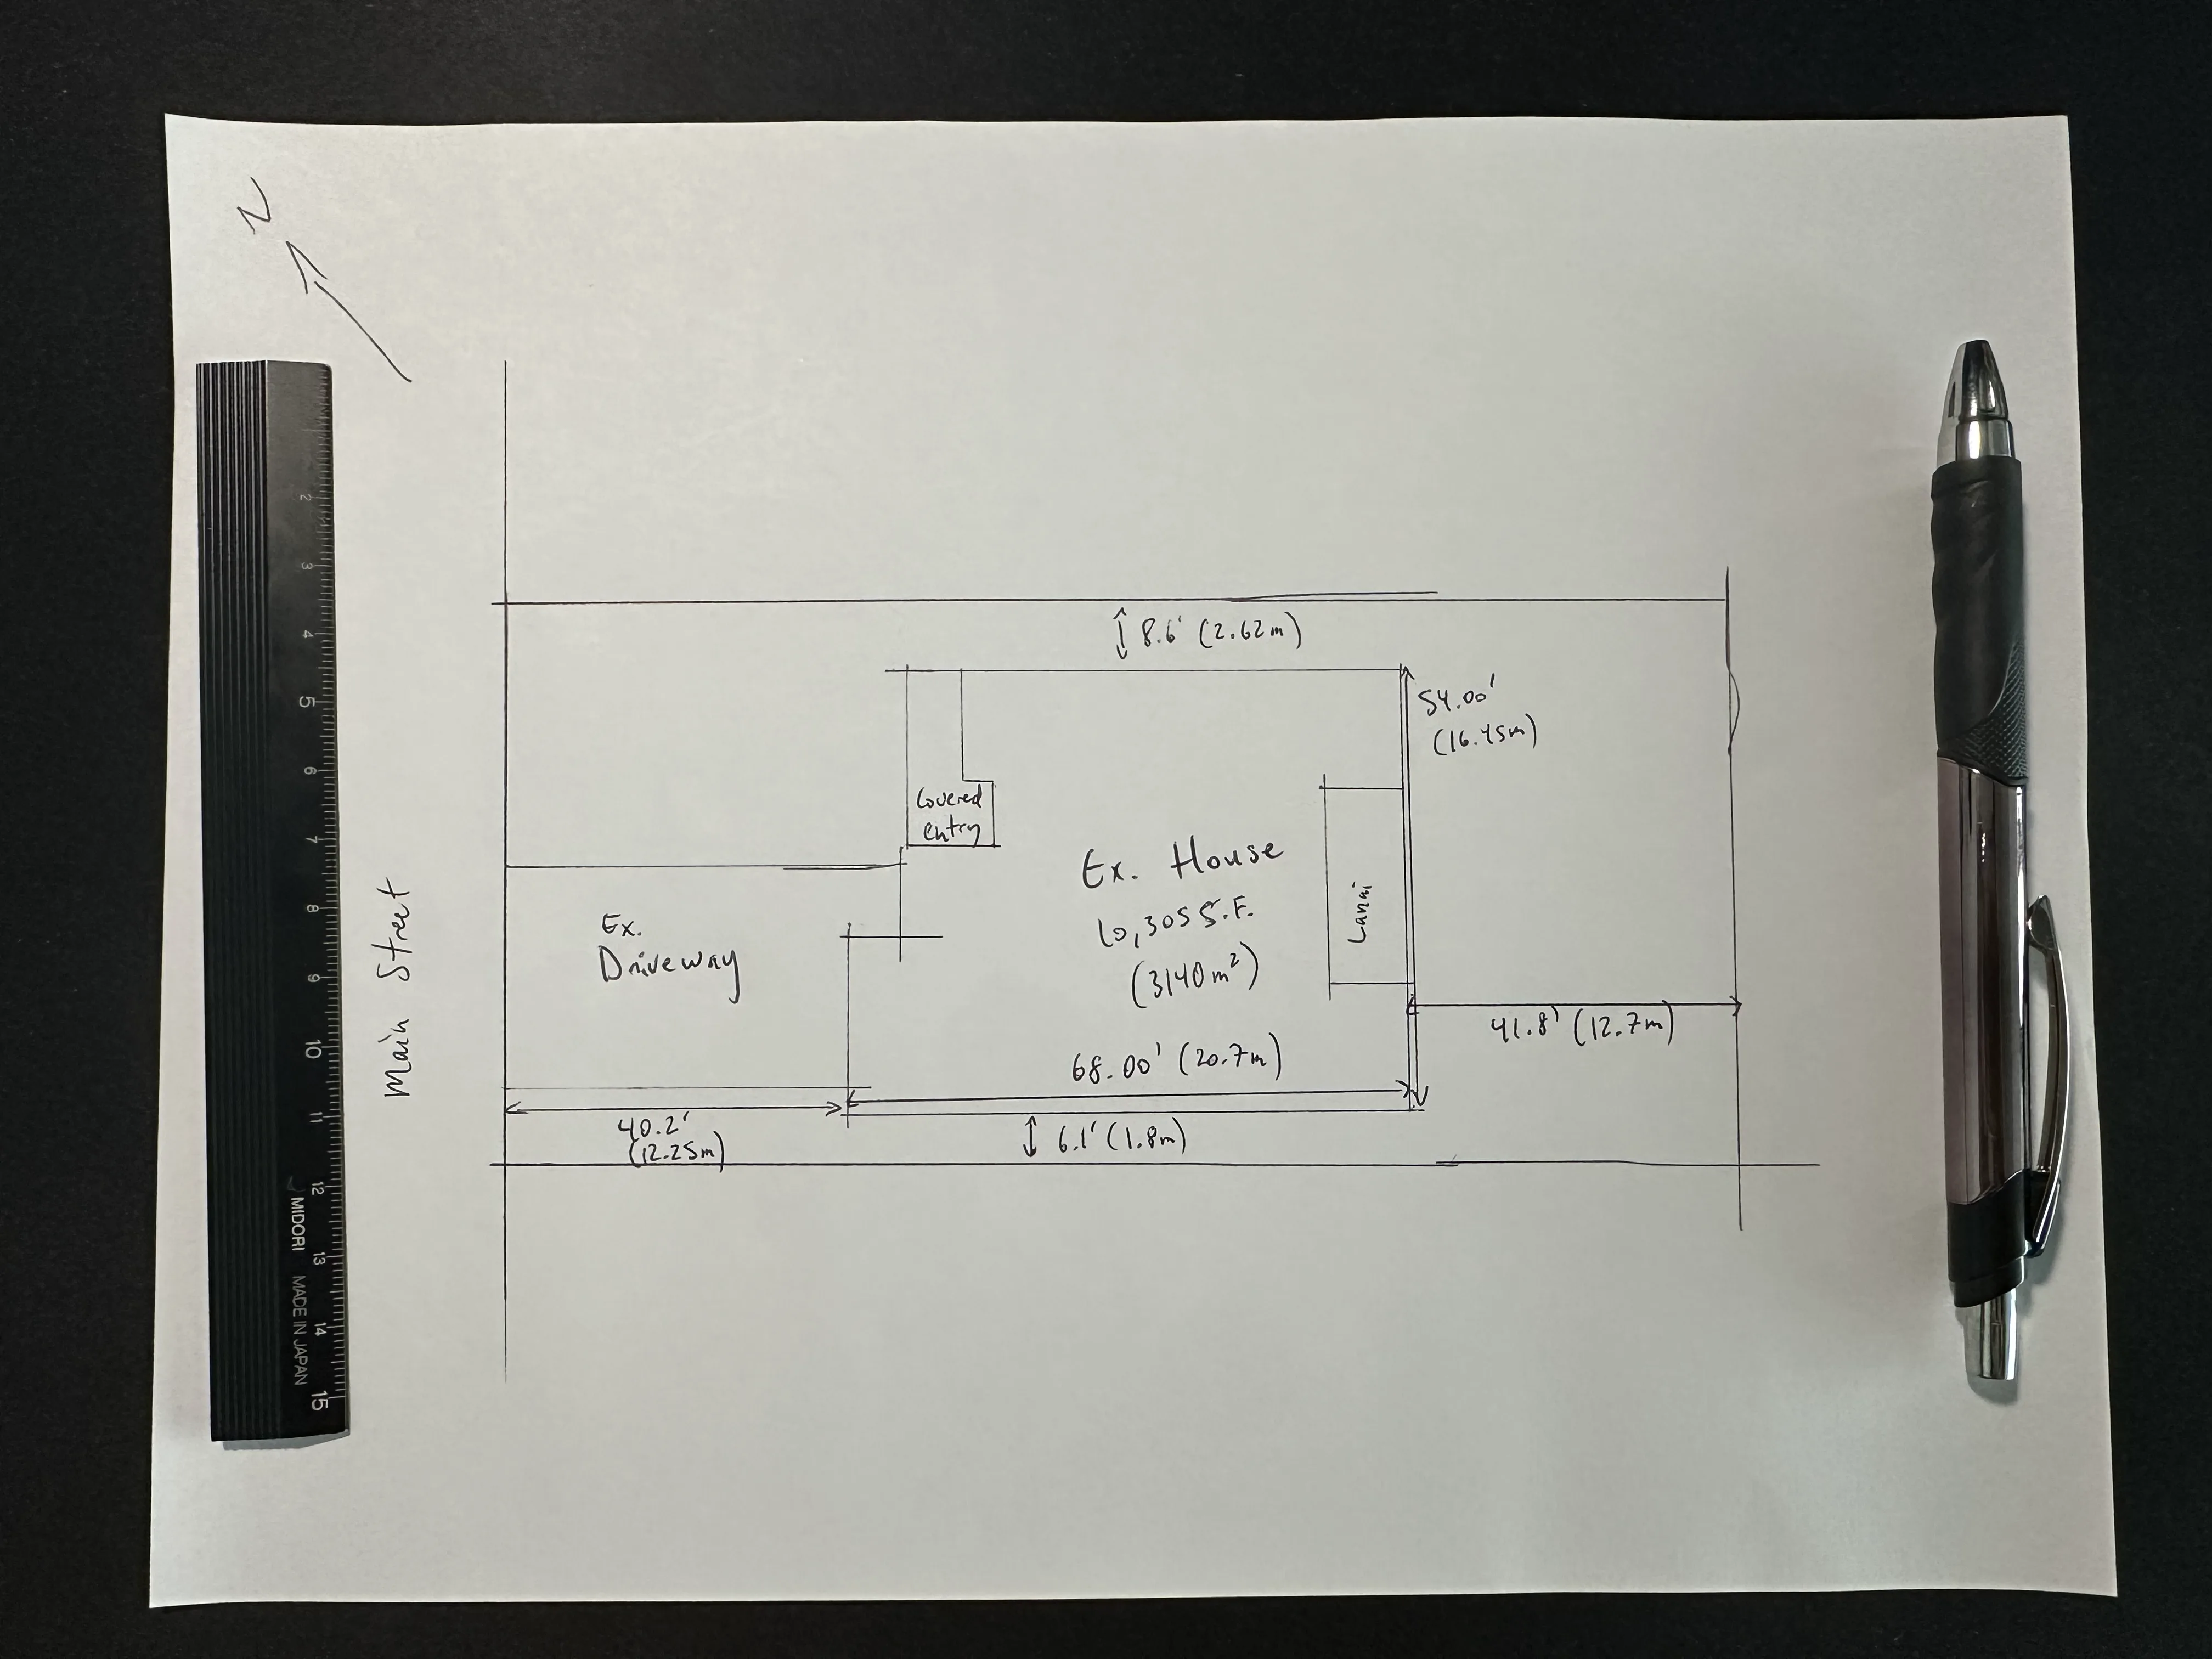
Lay the blank sheet over the survey and trace the property boundary and its dimensions, the house footprint, the north arrow, the street, any easements or rights-of-way, and existing structures near the project.
Copying every line on a surveyor's drawing makes your plan harder to read, not more convincing. Trace what a reviewer needs, and add anything built since the survey date.
3. Draw the proposed work and label it
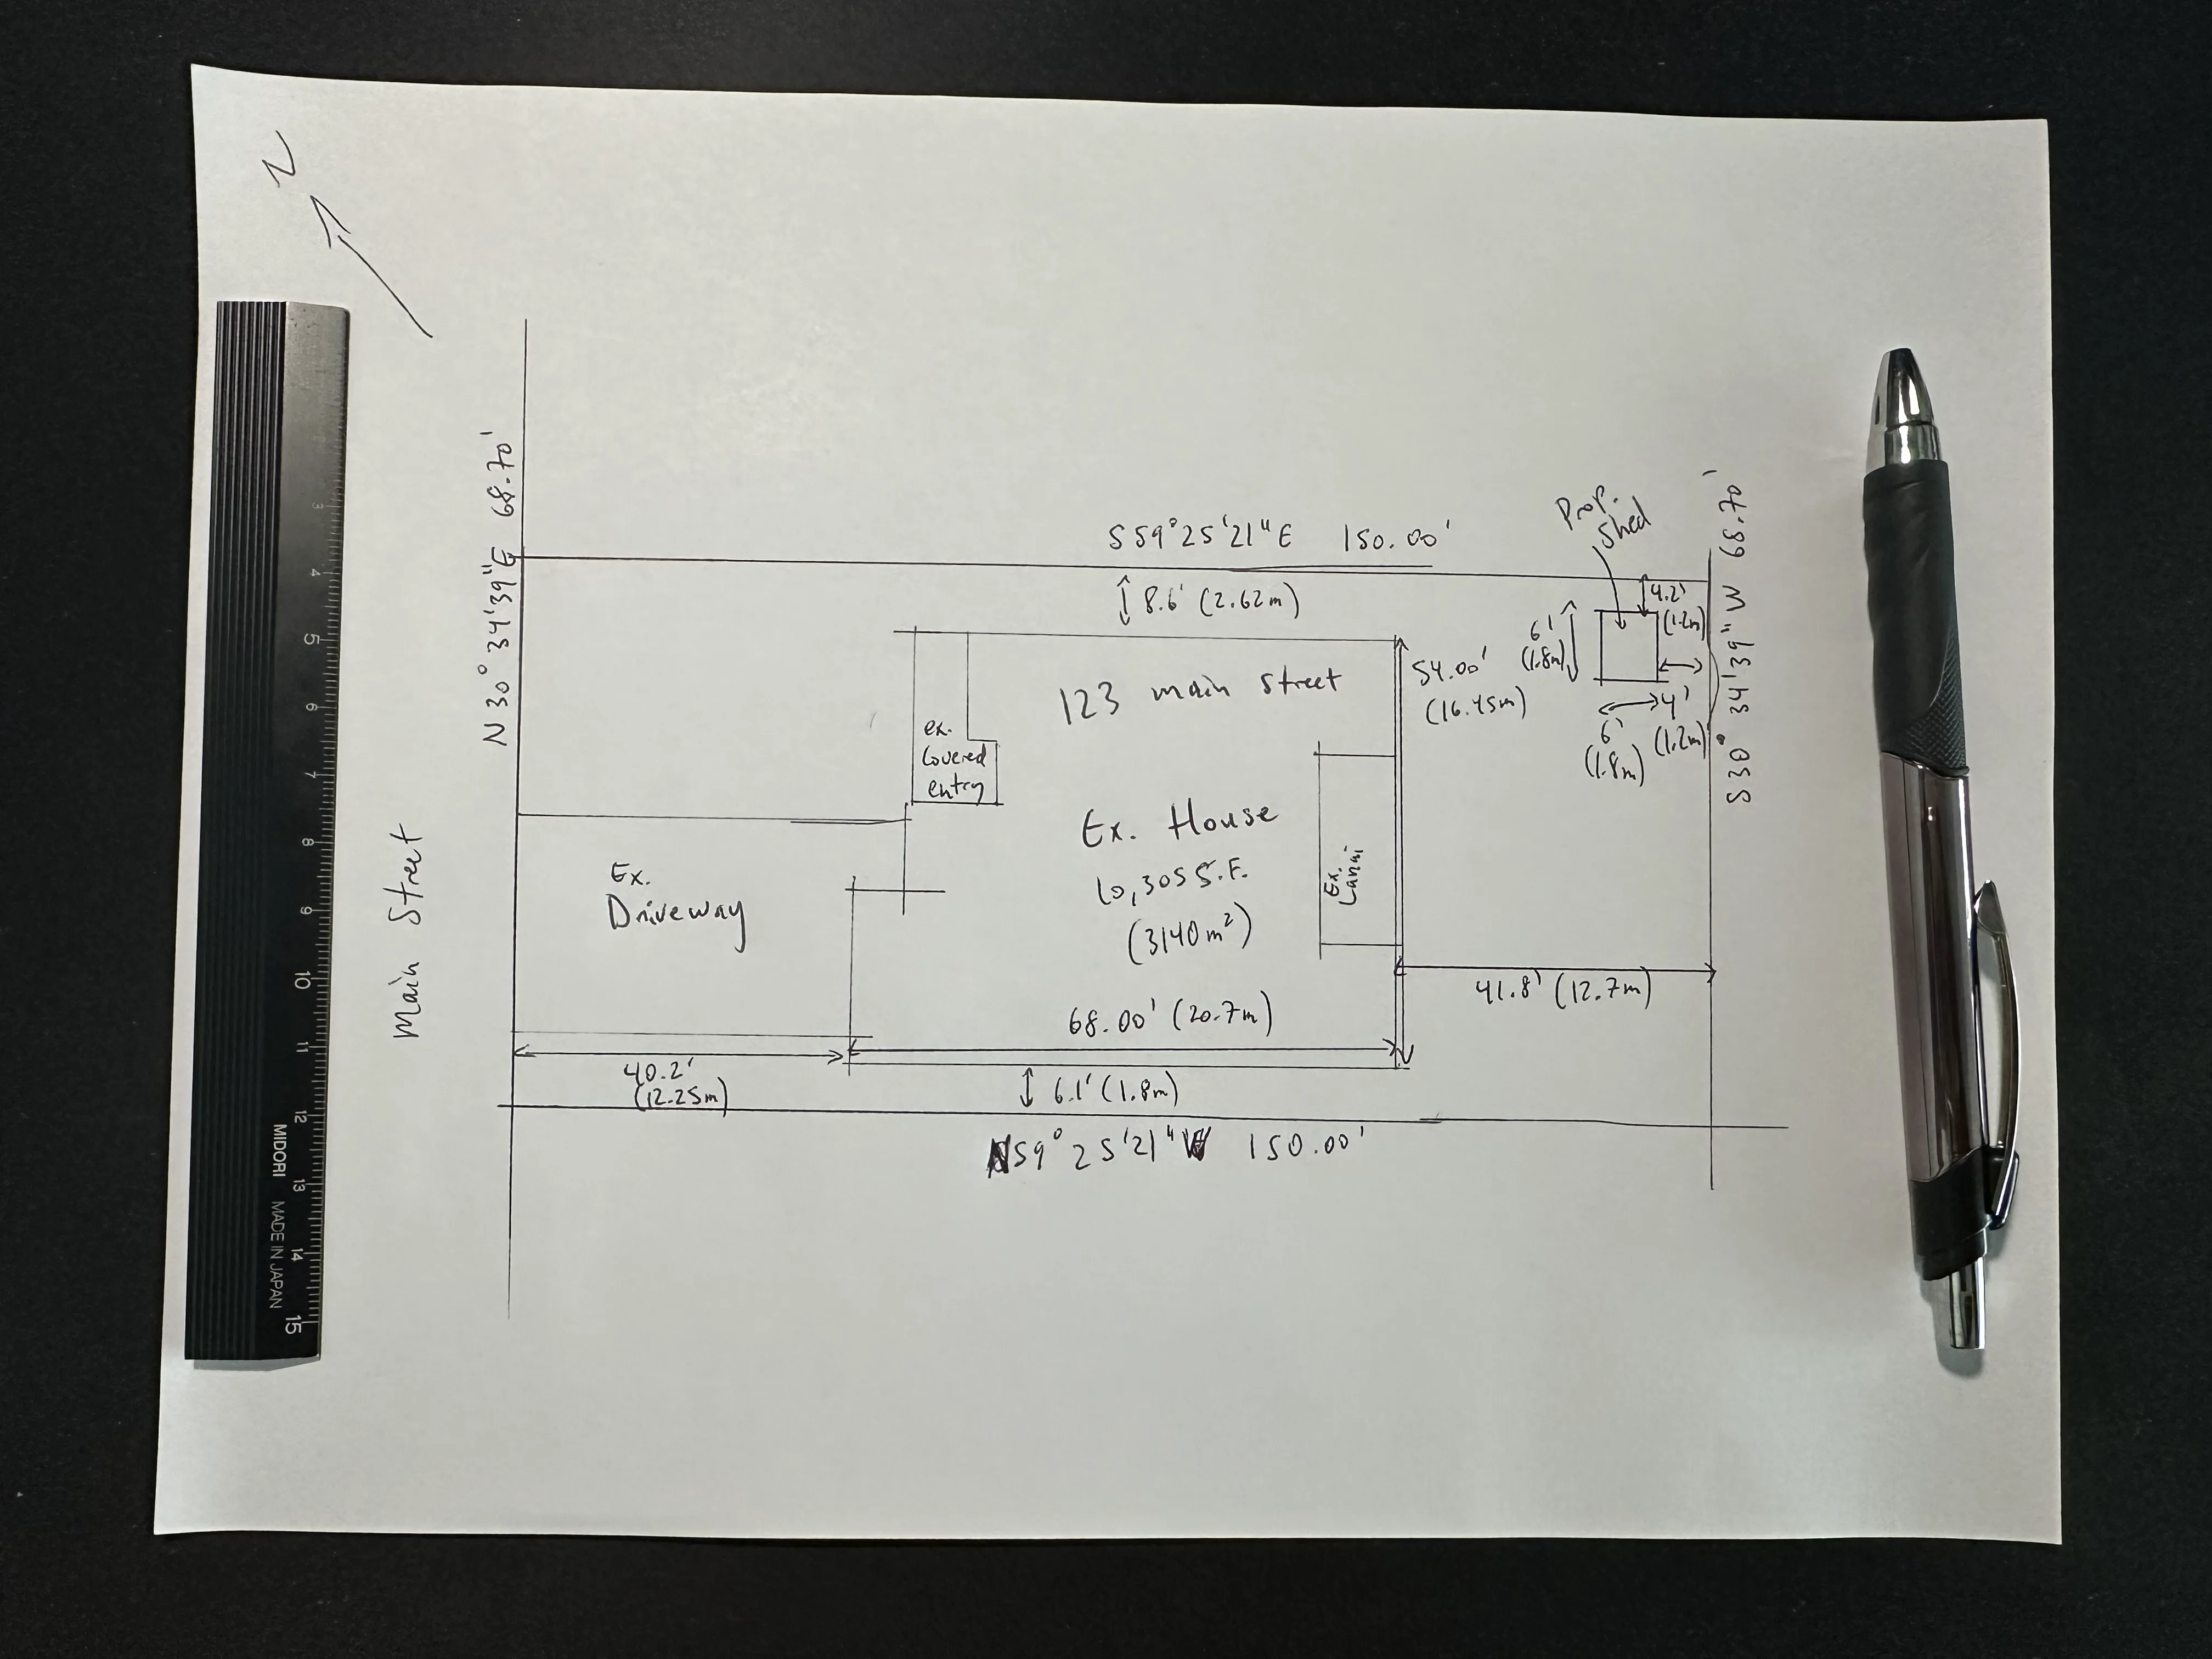
Add the new structure and label it plainly—“proposed deck”, “proposed detached garage”. A reviewer should never have to work out which lines are existing and which are new. Solid lines for existing and dashed for proposed works well, with a short legend saying so.
Method 2: From a Google Maps satellite screenshot
This method is useful when you have no survey and the reviewer has not asked for one. You are tracing over an aerial photo, so it captures the real shape and position of what is on the lot without any measuring guesswork.
Google Maps does not show legal property lines. Fences, hedges, and driveways are frequently not on the boundary. If your project is close to a lot line, easement, septic system, overhead electrical line, or mature tree, confirm the boundary another way before submitting.
1. Look up your address
Open Google Maps and search your property address.

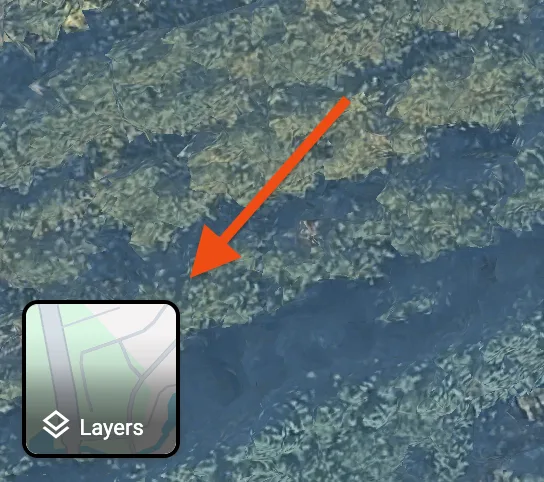
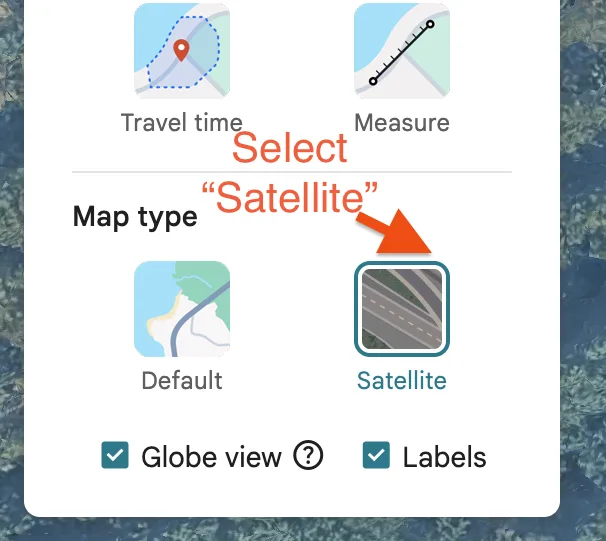
Switch to satellite view so you can see the house, driveway, yard, fences, and nearby streets. Click Layers, then open the additional map options.
Select Satellite as the map type.
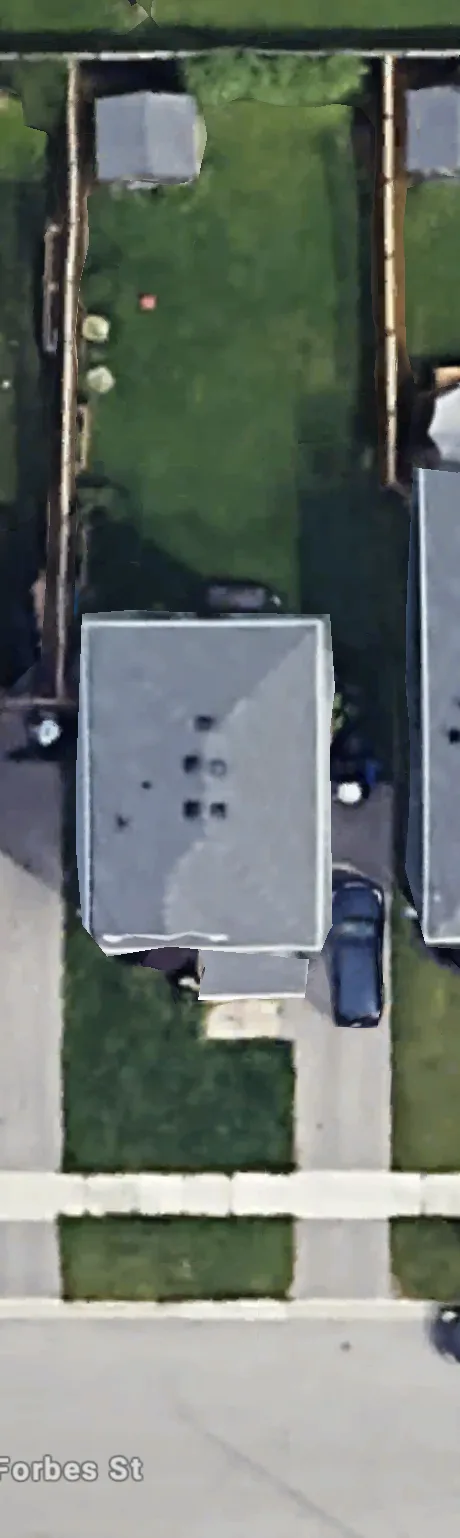
Zoom in far enough that the house and work area are clear, but leave space around the property to show the street and lot shape.
2. Take a screenshot
- Windows:
Windows + Shift + S - macOS:
Command + Shift + 4 - Phone or tablet: the device screenshot buttons
3. Open it in a basic image editor
Microsoft Paint, Preview on macOS, a tablet markup tool, or any simple editor works. You only need to draw lines and add text.
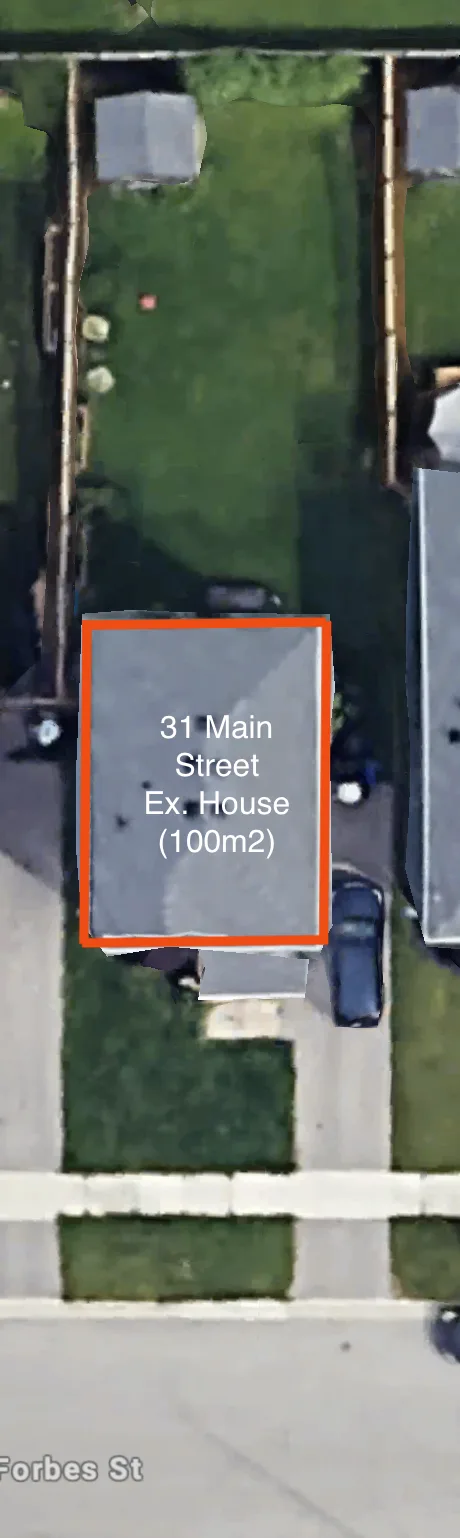
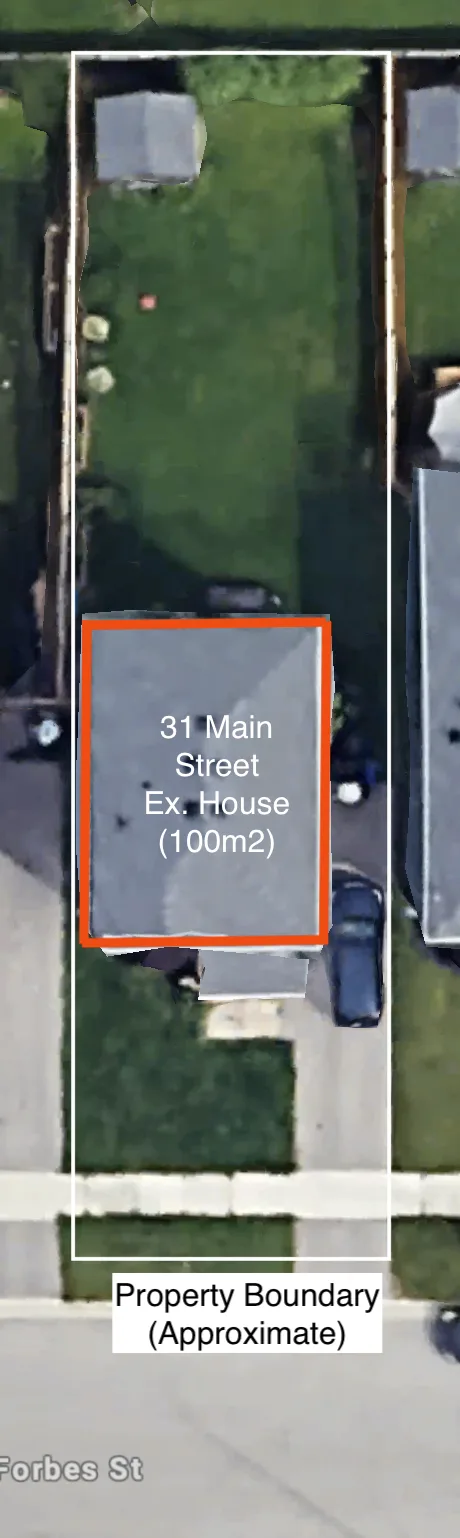
4. Trace the house footprint
Trace the outside shape of the house and label it with the address or “existing house”.
5. Trace the property boundary
Draw the approximate boundary around the lot. Label the lines “approximate property line”—this is honest, and reviewers would rather see the limitation stated than assume a precision the drawing does not have.
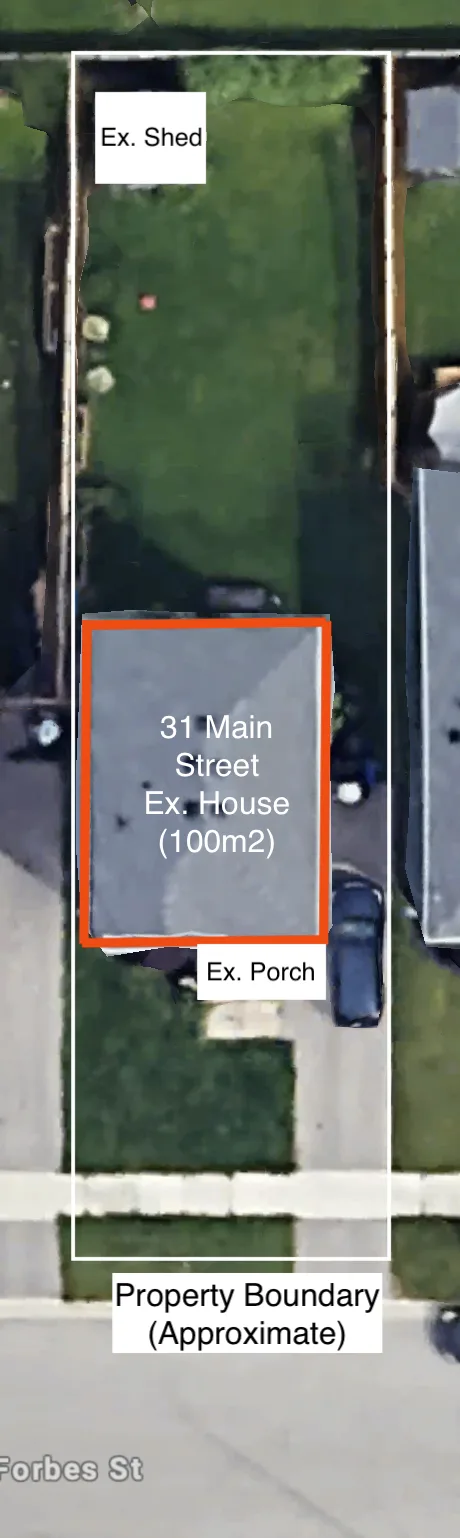
6. Trace and label existing structures
Add the structures that matter to the project—garage, deck, shed, driveway, porch, patio, fence. Label each as existing, with sizes where you know them.
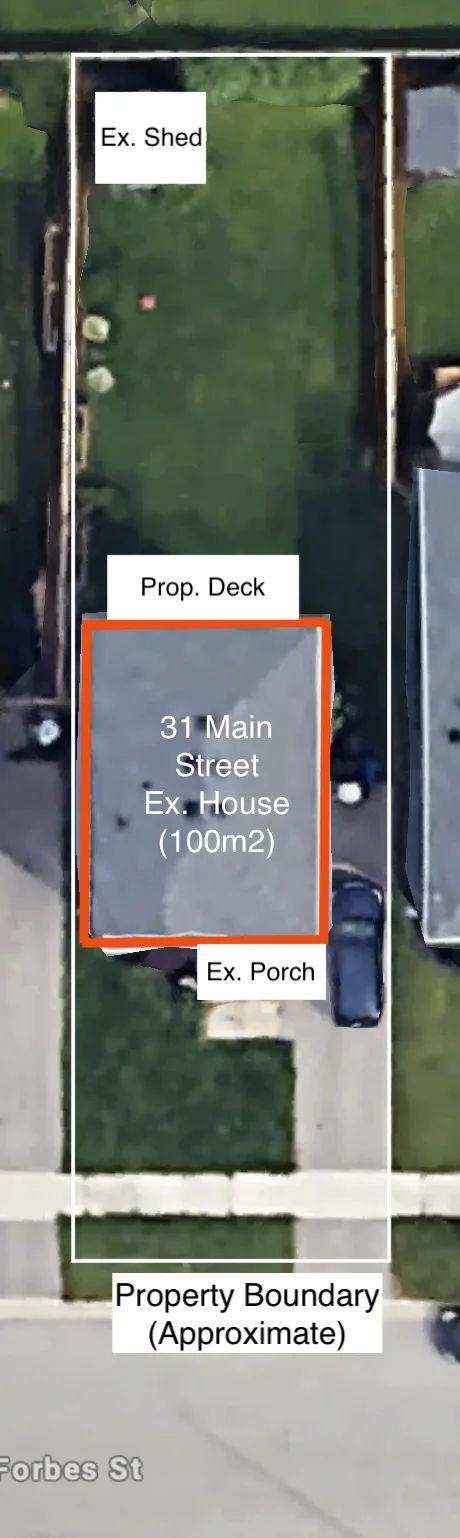
7. Draw the proposed work
Draw the proposal on top in a different colour, dashed line, or bold outline so it stands out, and label it—“proposed deck”, “proposed garage”.
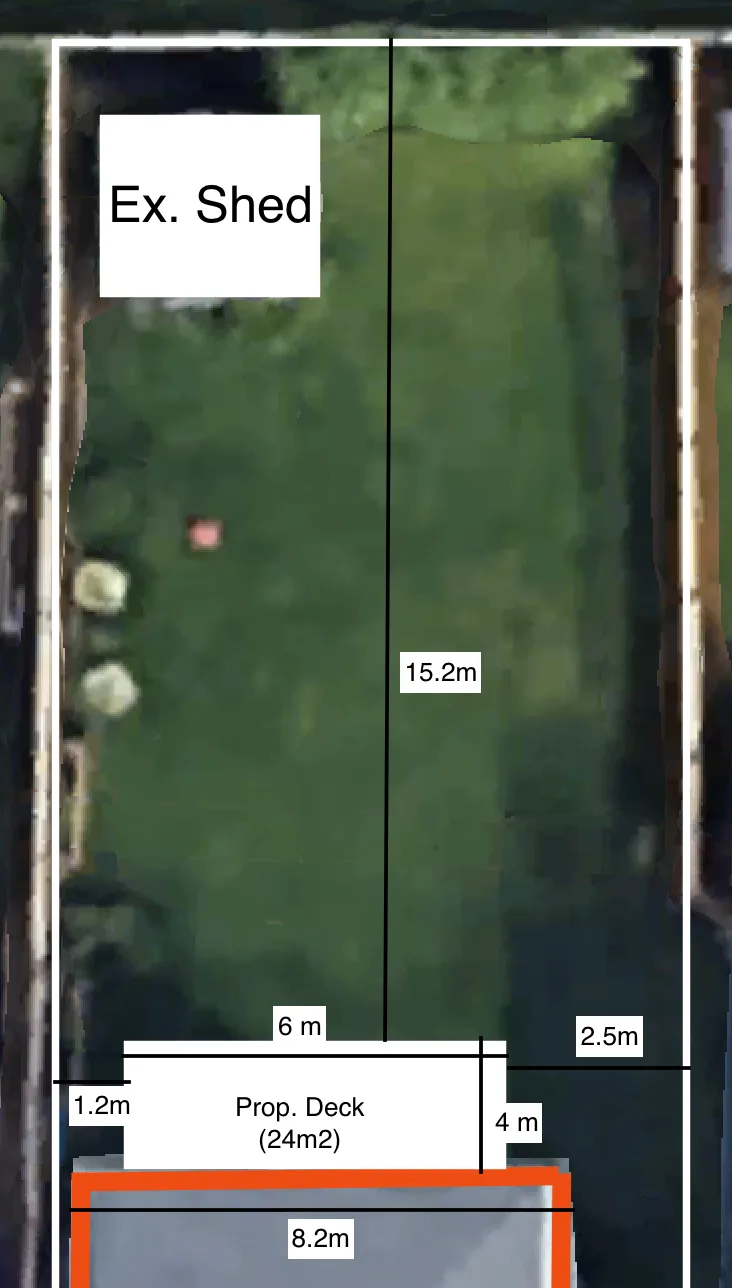
8. Add measurements and setbacks
Write the size of the proposed work and the distance from it to each property line. Add overhead electrical lines, septic tank and bed, easements, and trees 20 cm or more in diameter where they apply.
Method 3: By hand on paper
No survey and no computer is not a dead end. You are replacing surveyor-measured boundaries with your own measurements, so accuracy and clear labelling matter more.
Before you begin, work out where your property lines actually are. Property pins or survey bars at the lot corners are the best physical reference; municipal mapping and your deed can help confirm frontage and depth.
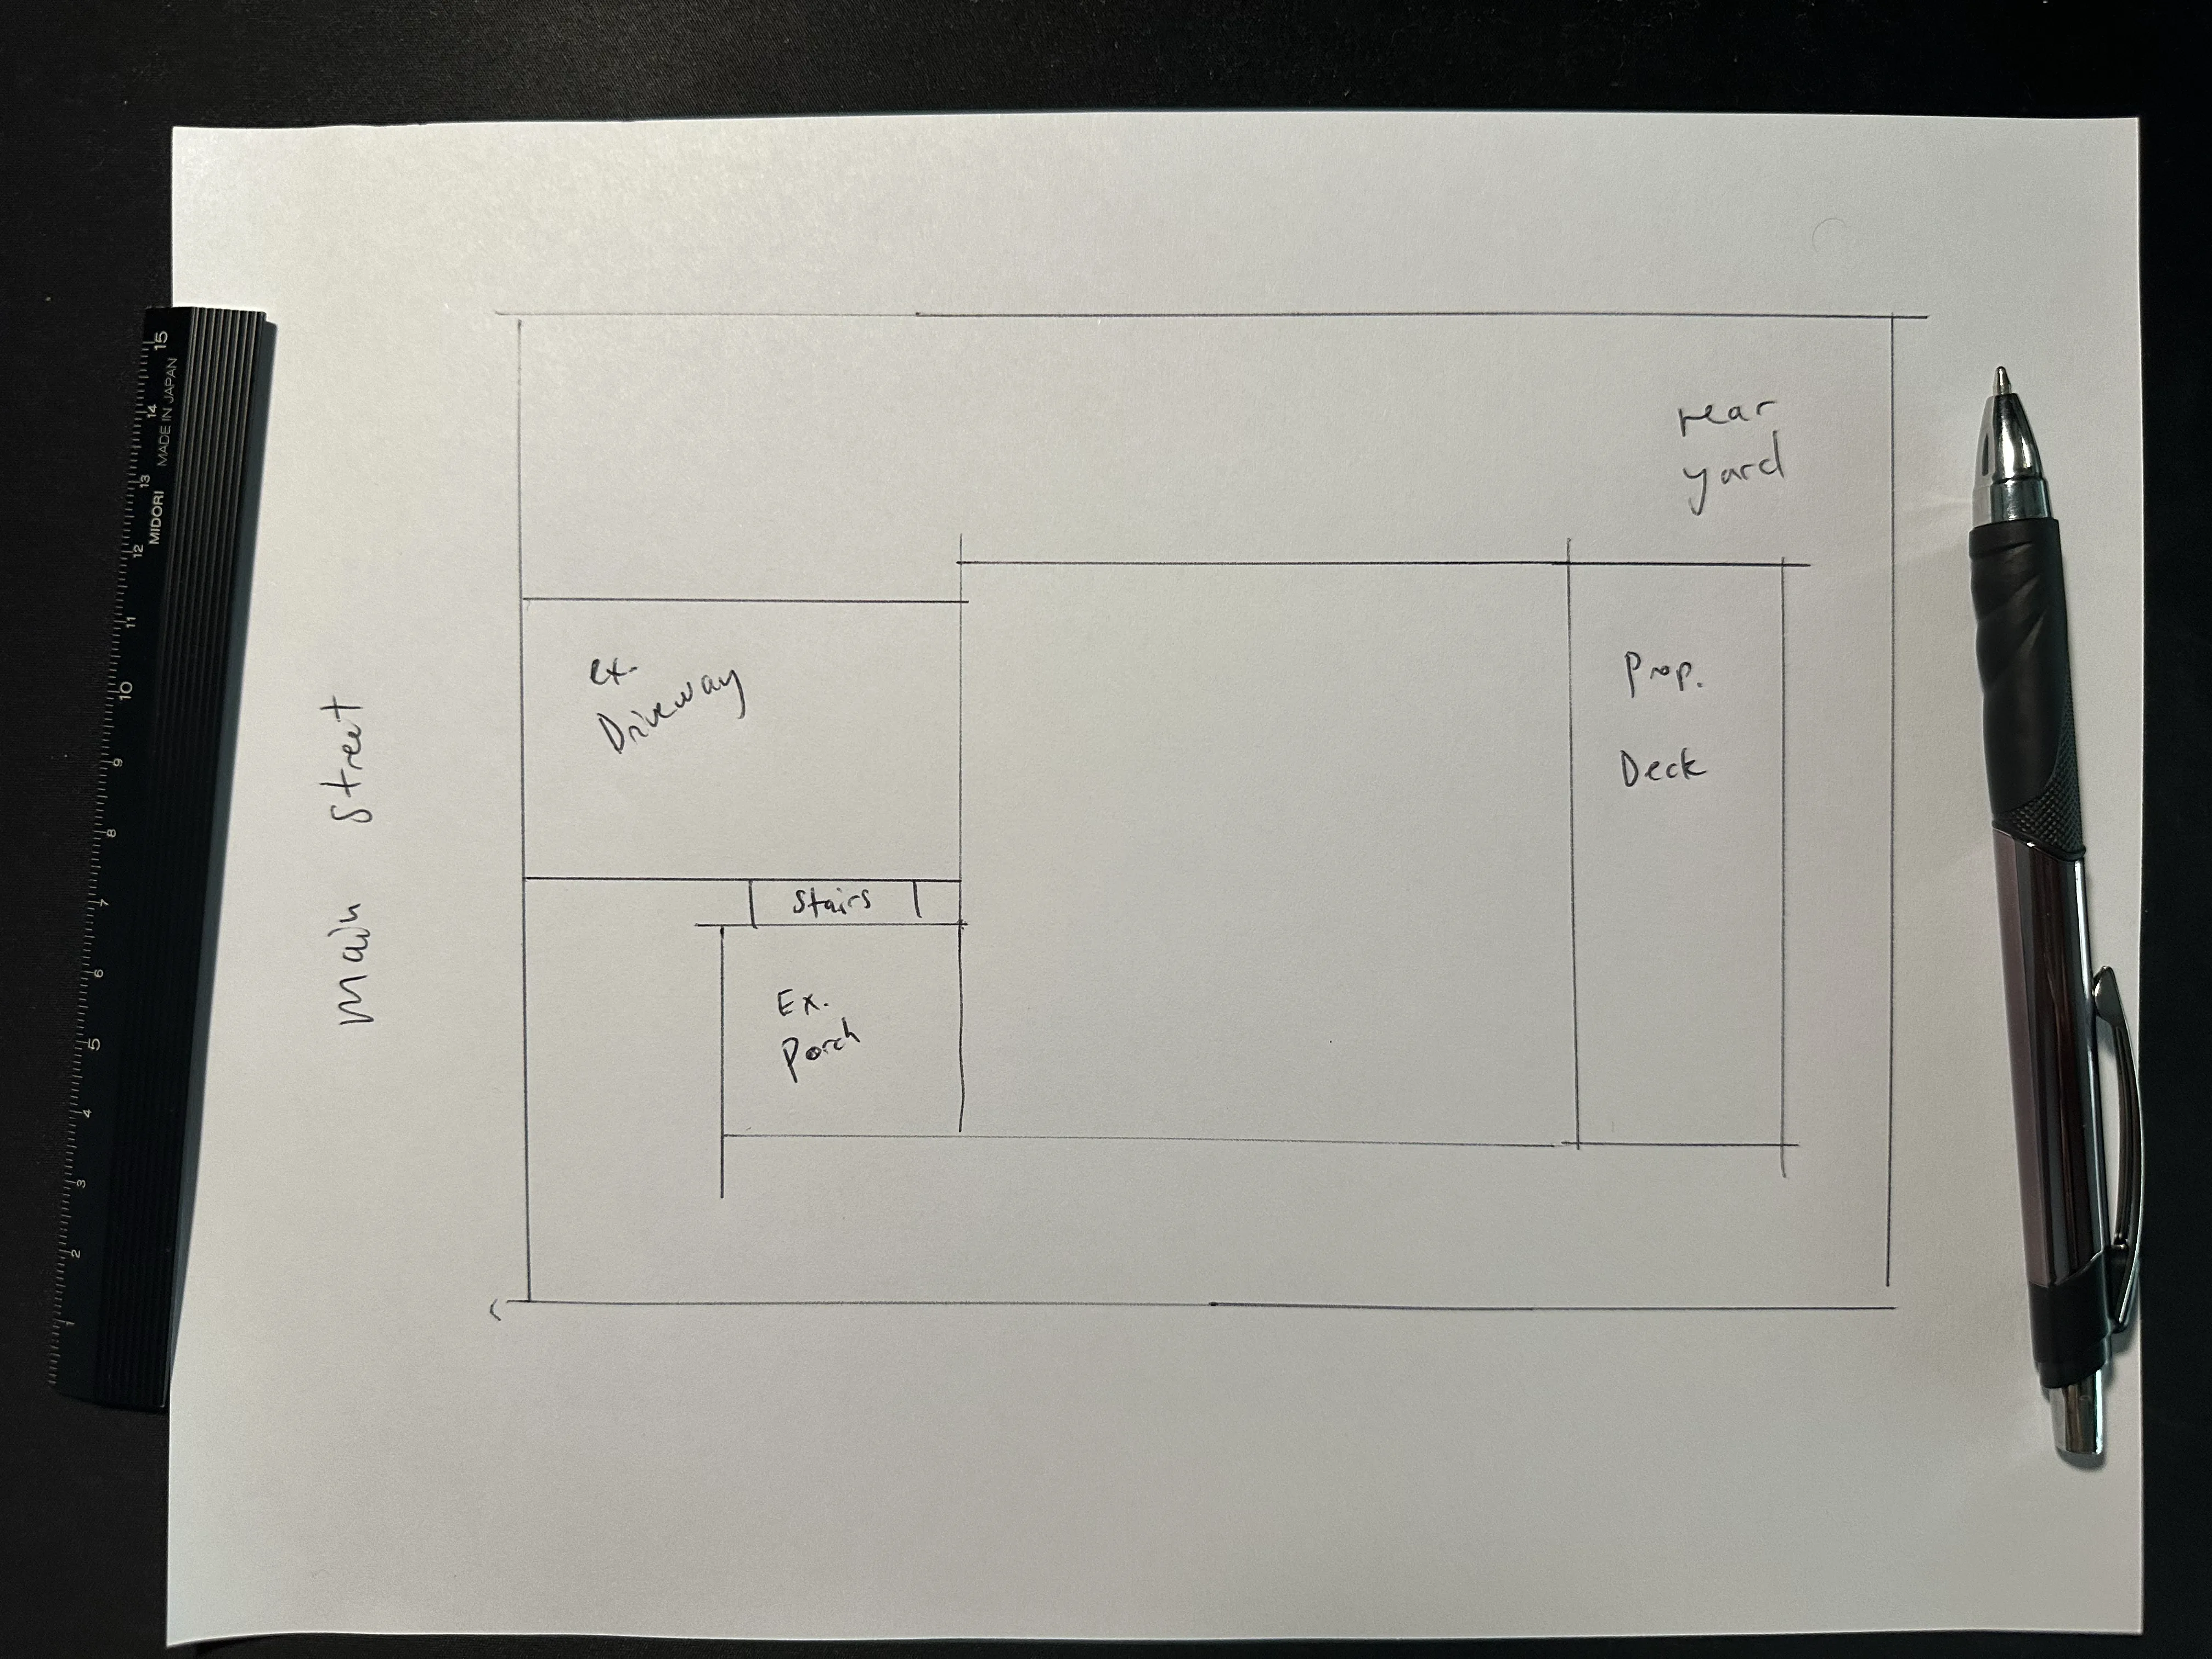
1. Draw the footprint of your house
Start with the house, drawn large enough that there is room for the proposed work and all the dimensions around it. Beginners routinely draw the house too big and run out of paper.
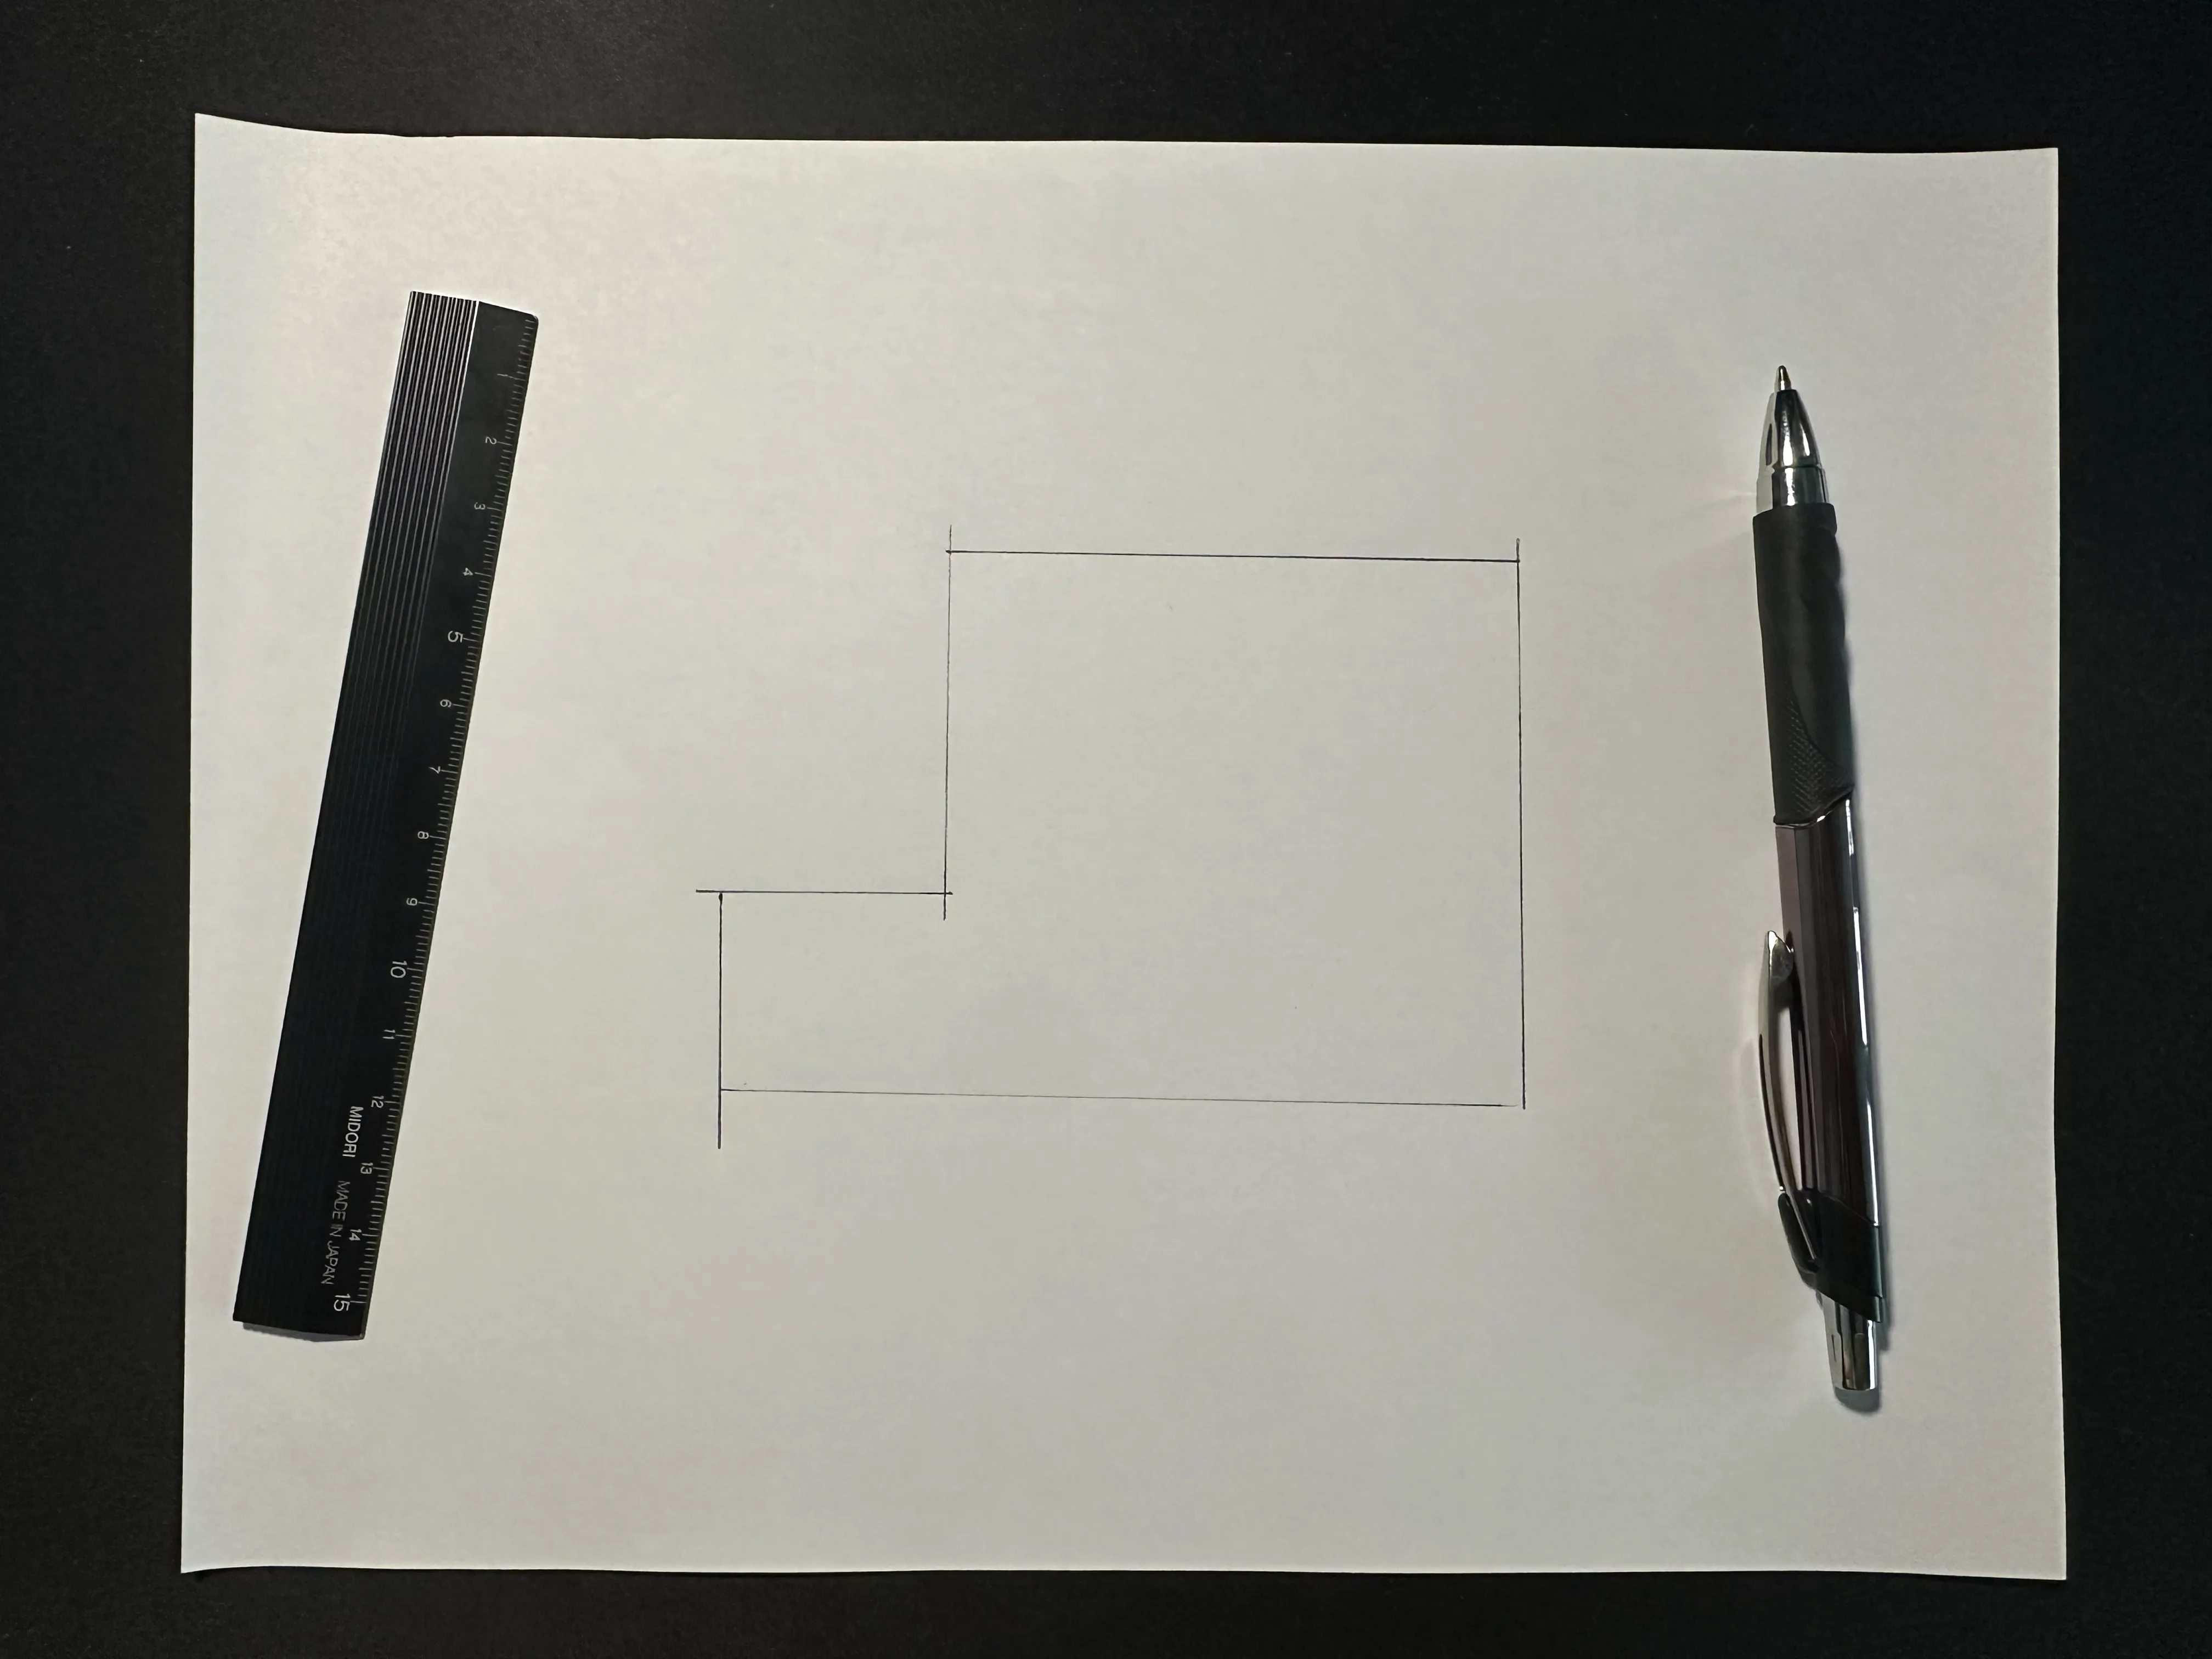
2. Draw the property boundary
Add the property lines around the house, keeping the rough proportions of the lot.
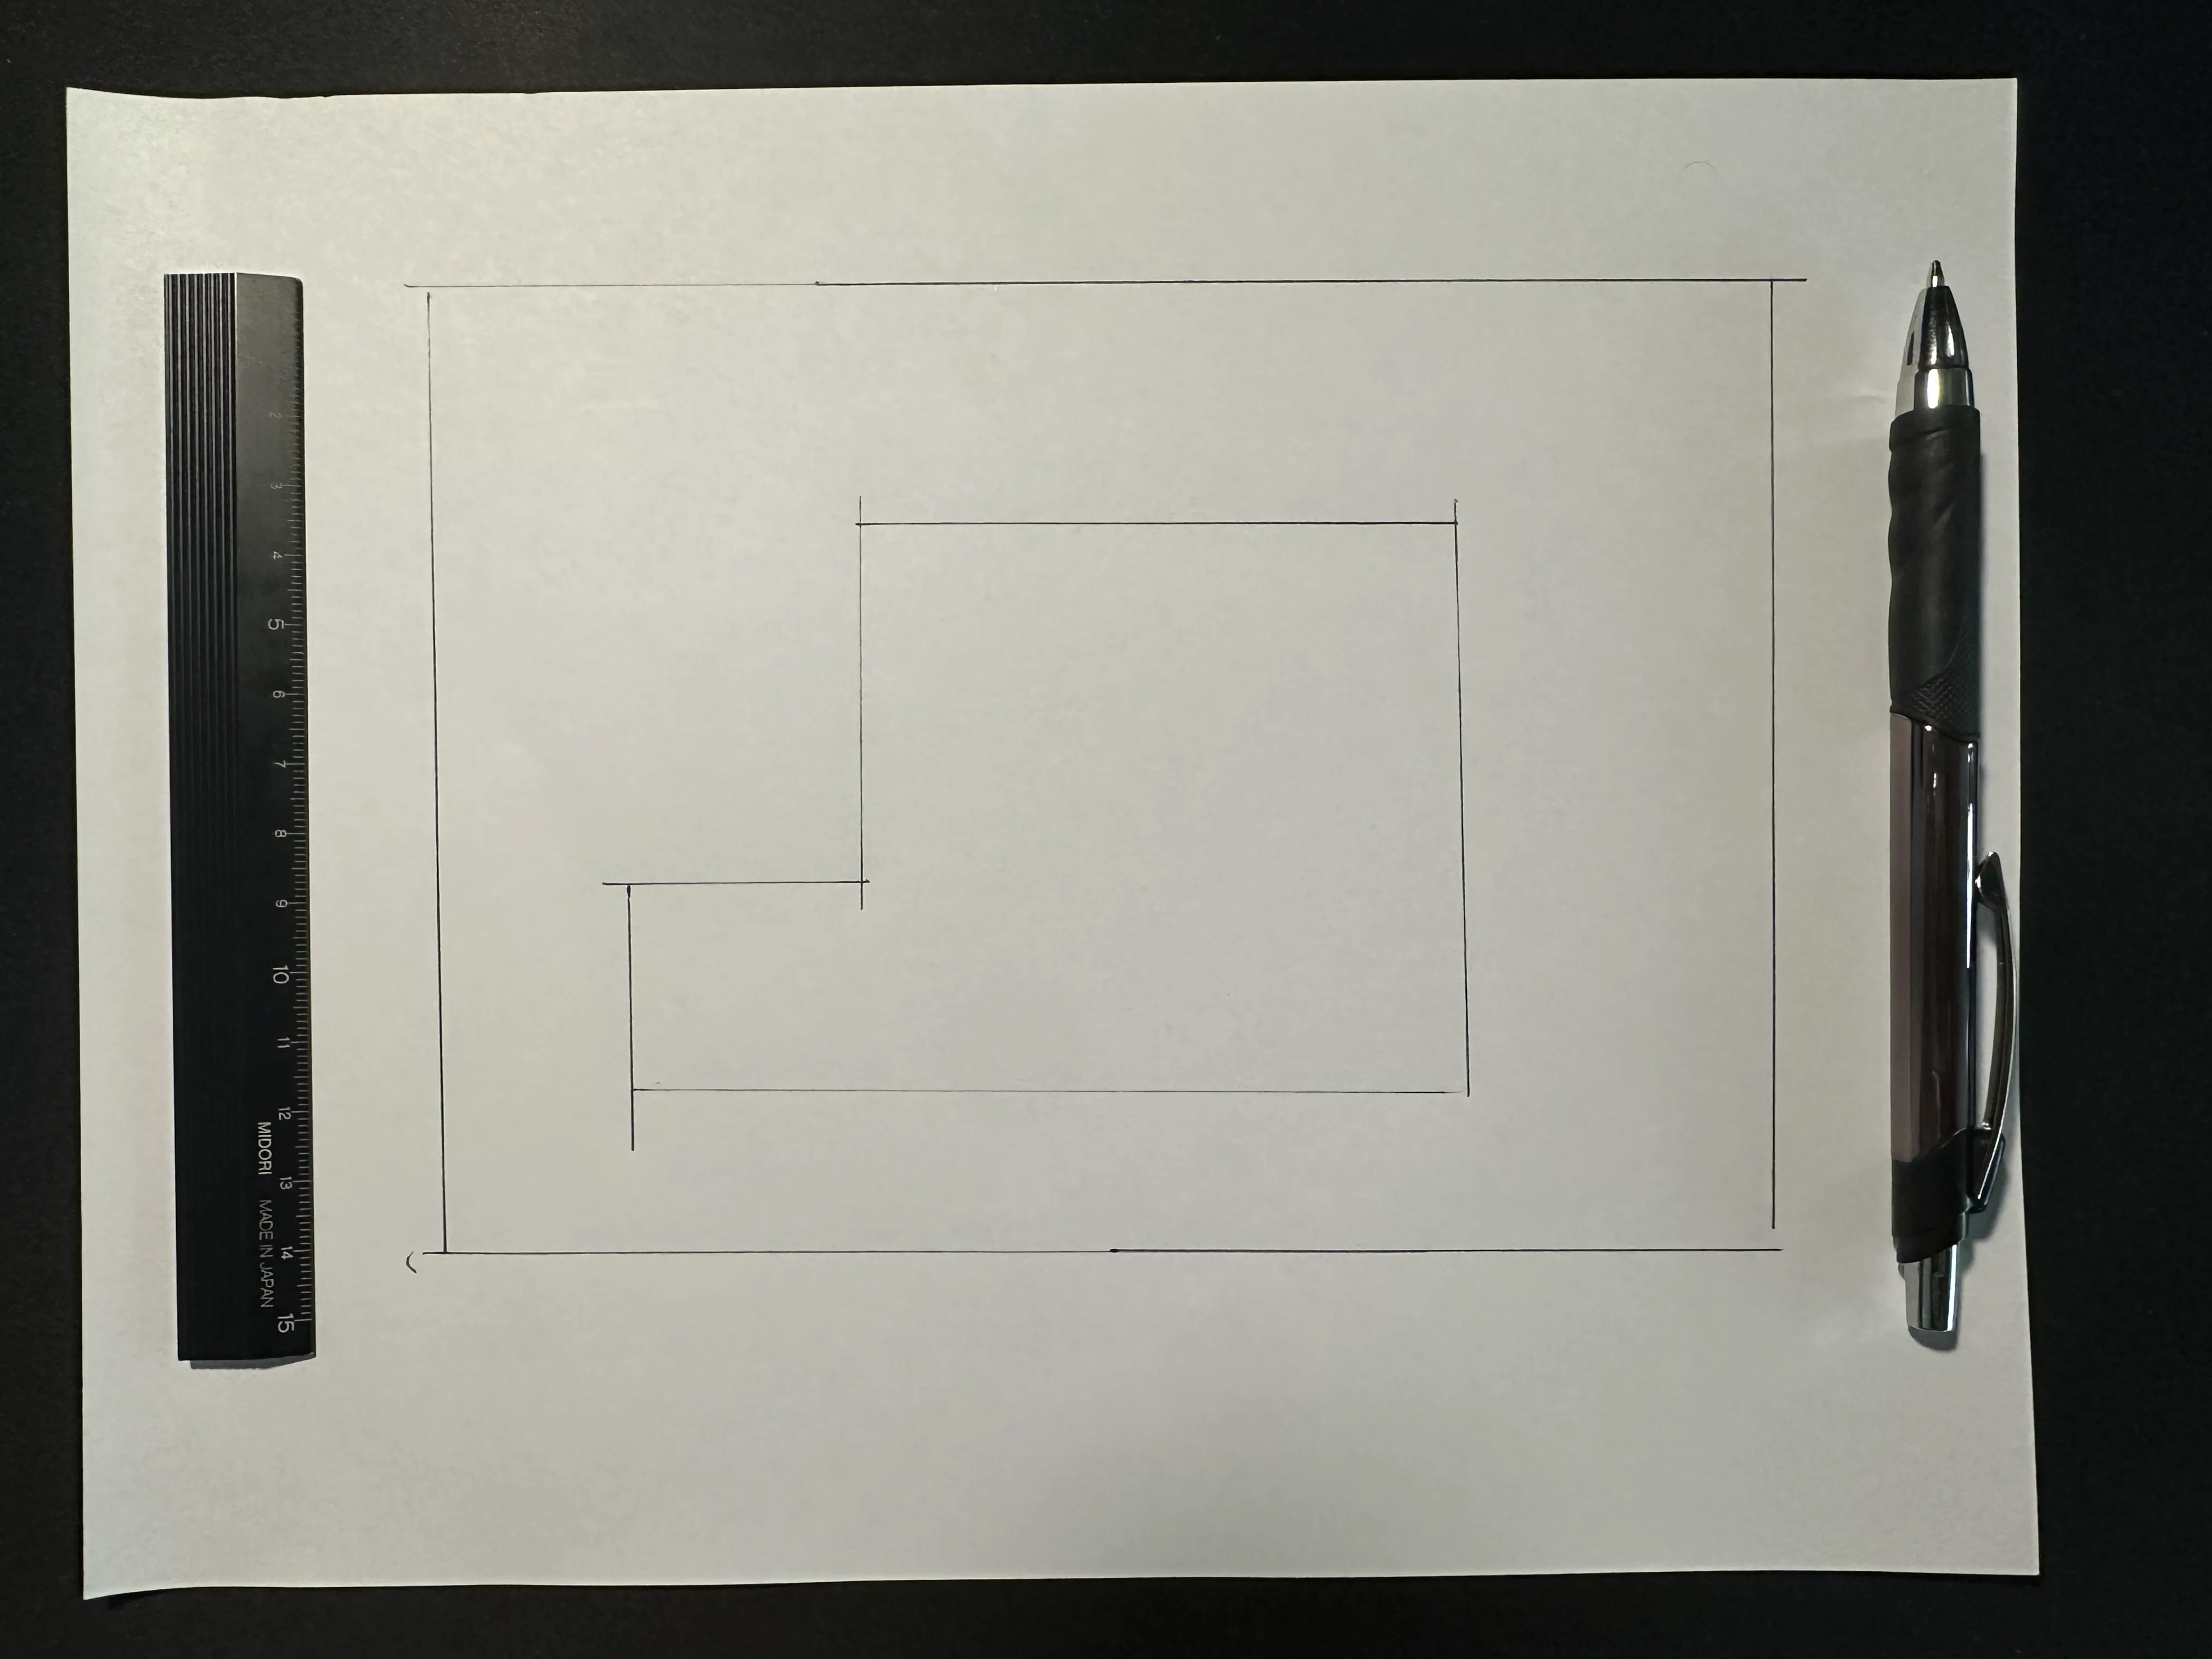
3. Draw the street along the front
Show the street, and the curb, sidewalk, driveway, or walkway where they matter. Add a north arrow.
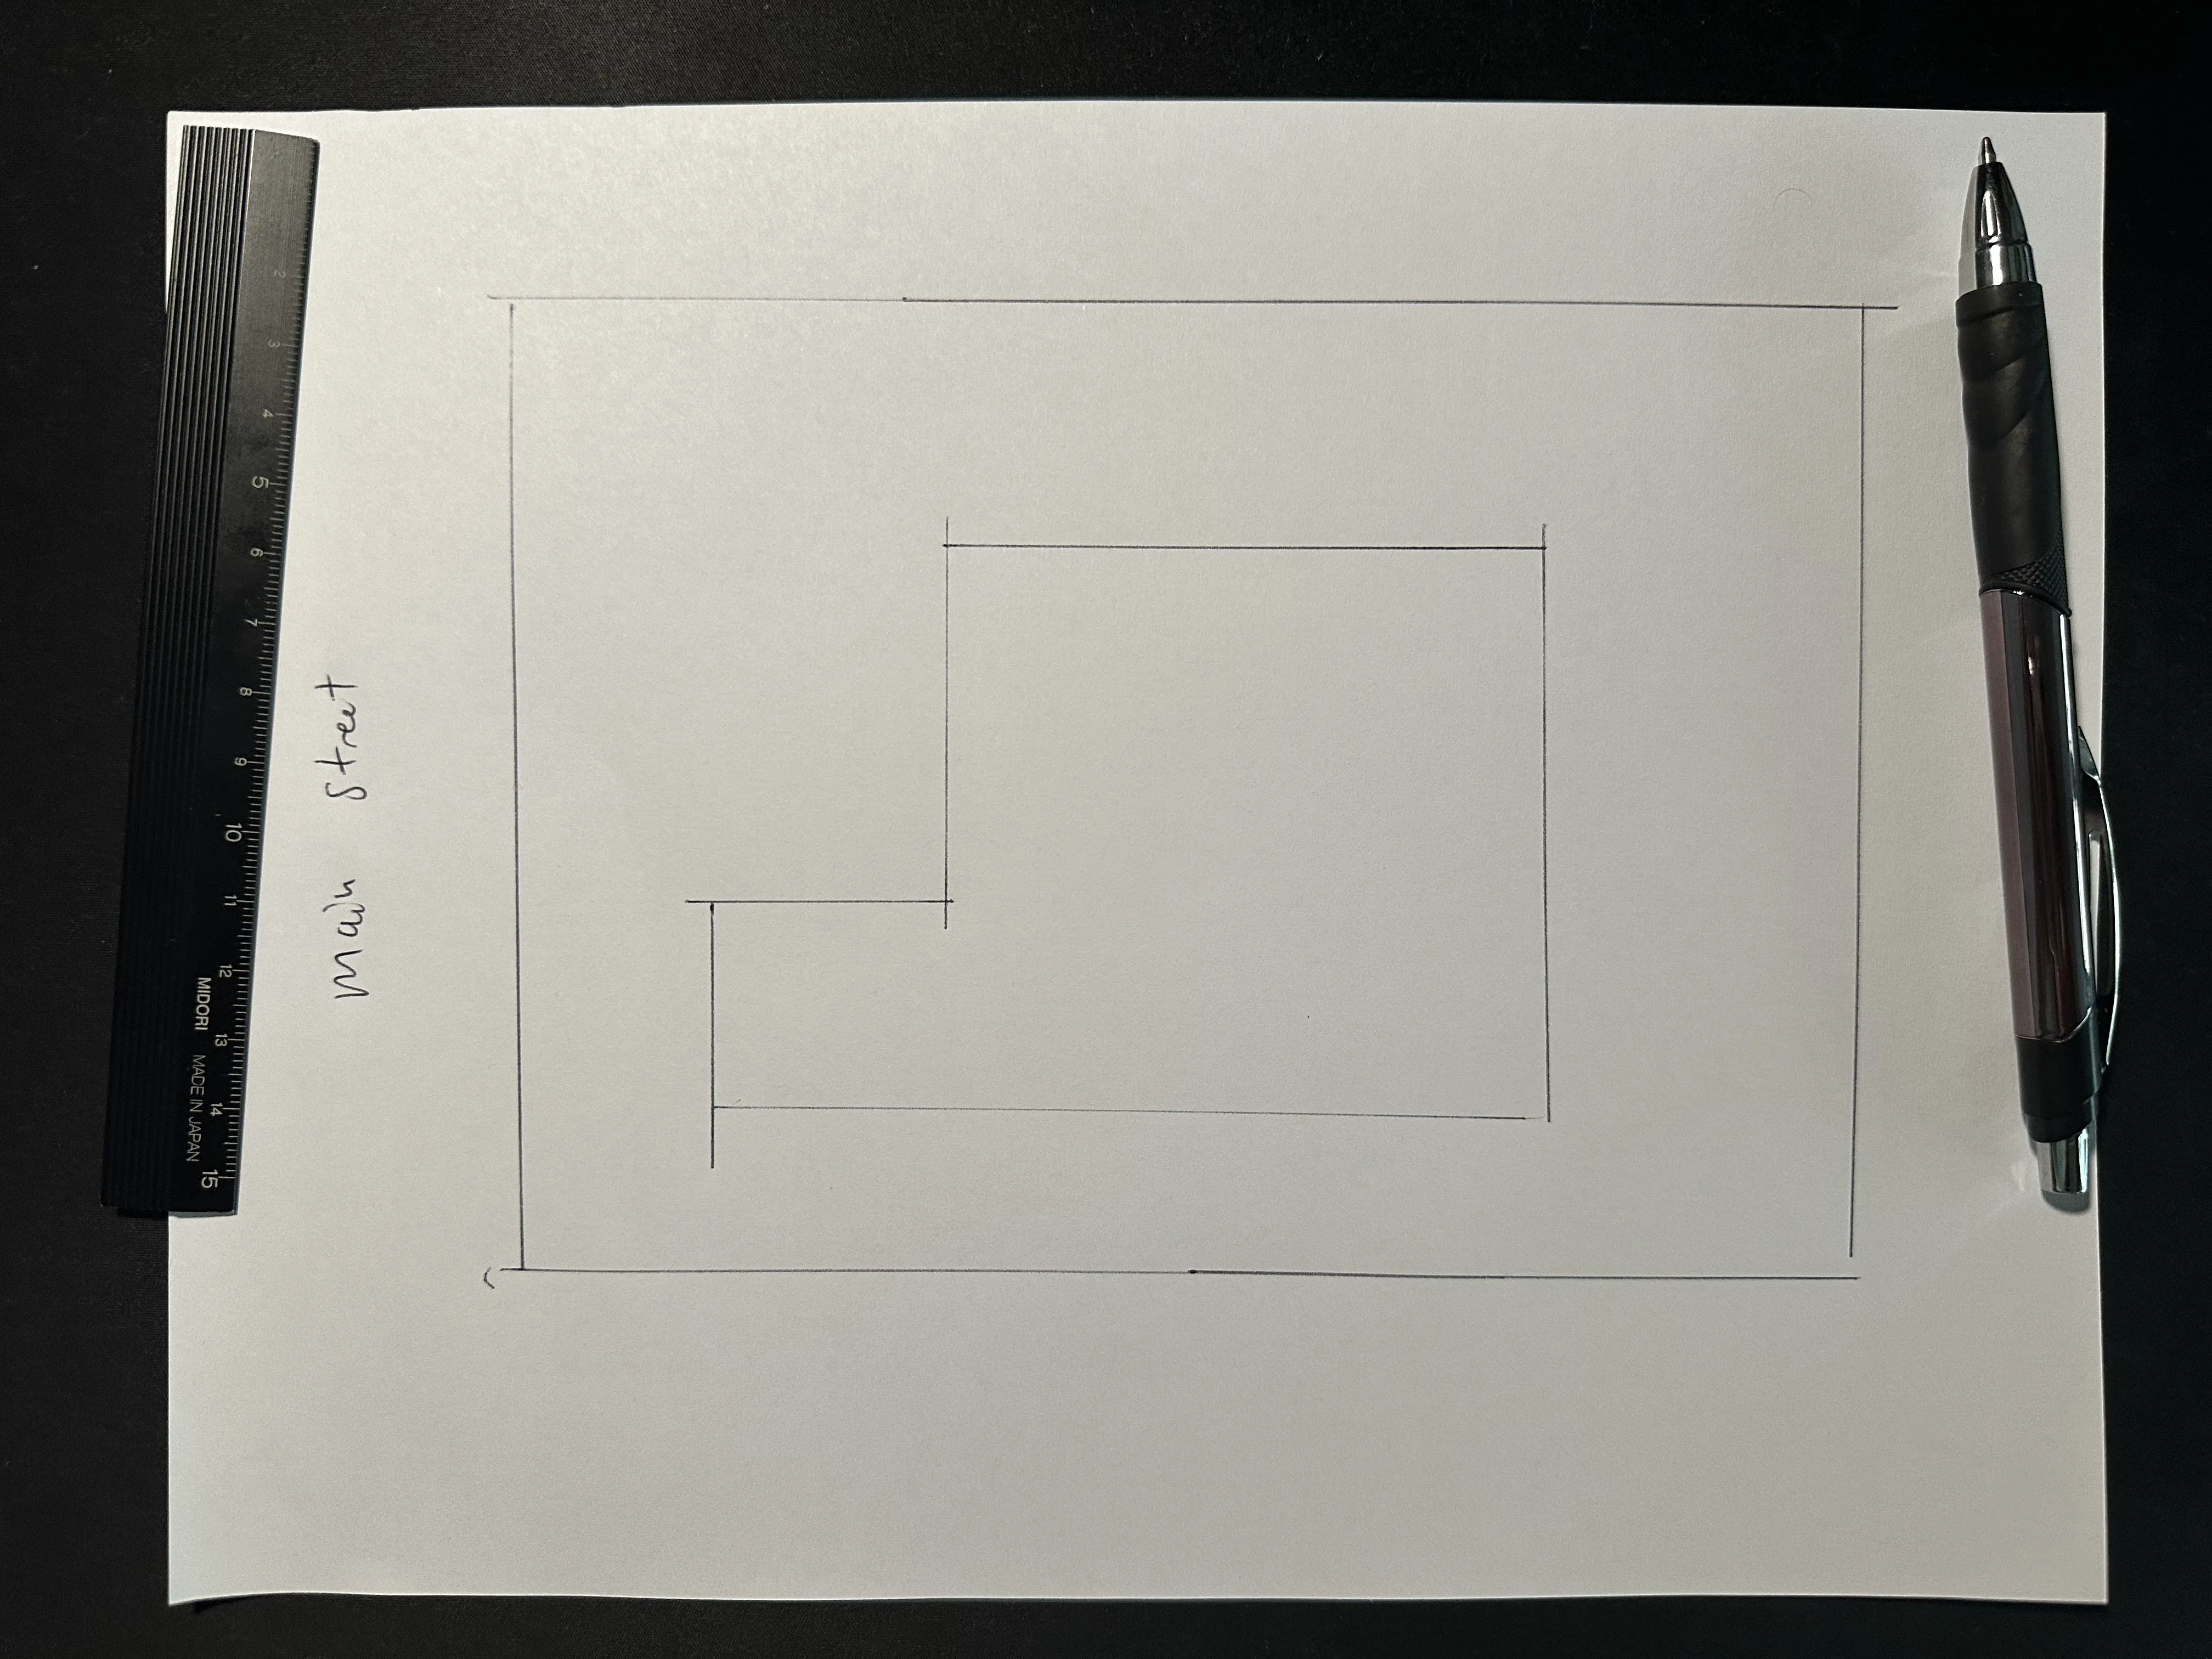
4. Label the rear of the property
Mark the rear yard so the orientation is obvious at a glance. This one small label saves a reviewer from reconstructing which side is which.
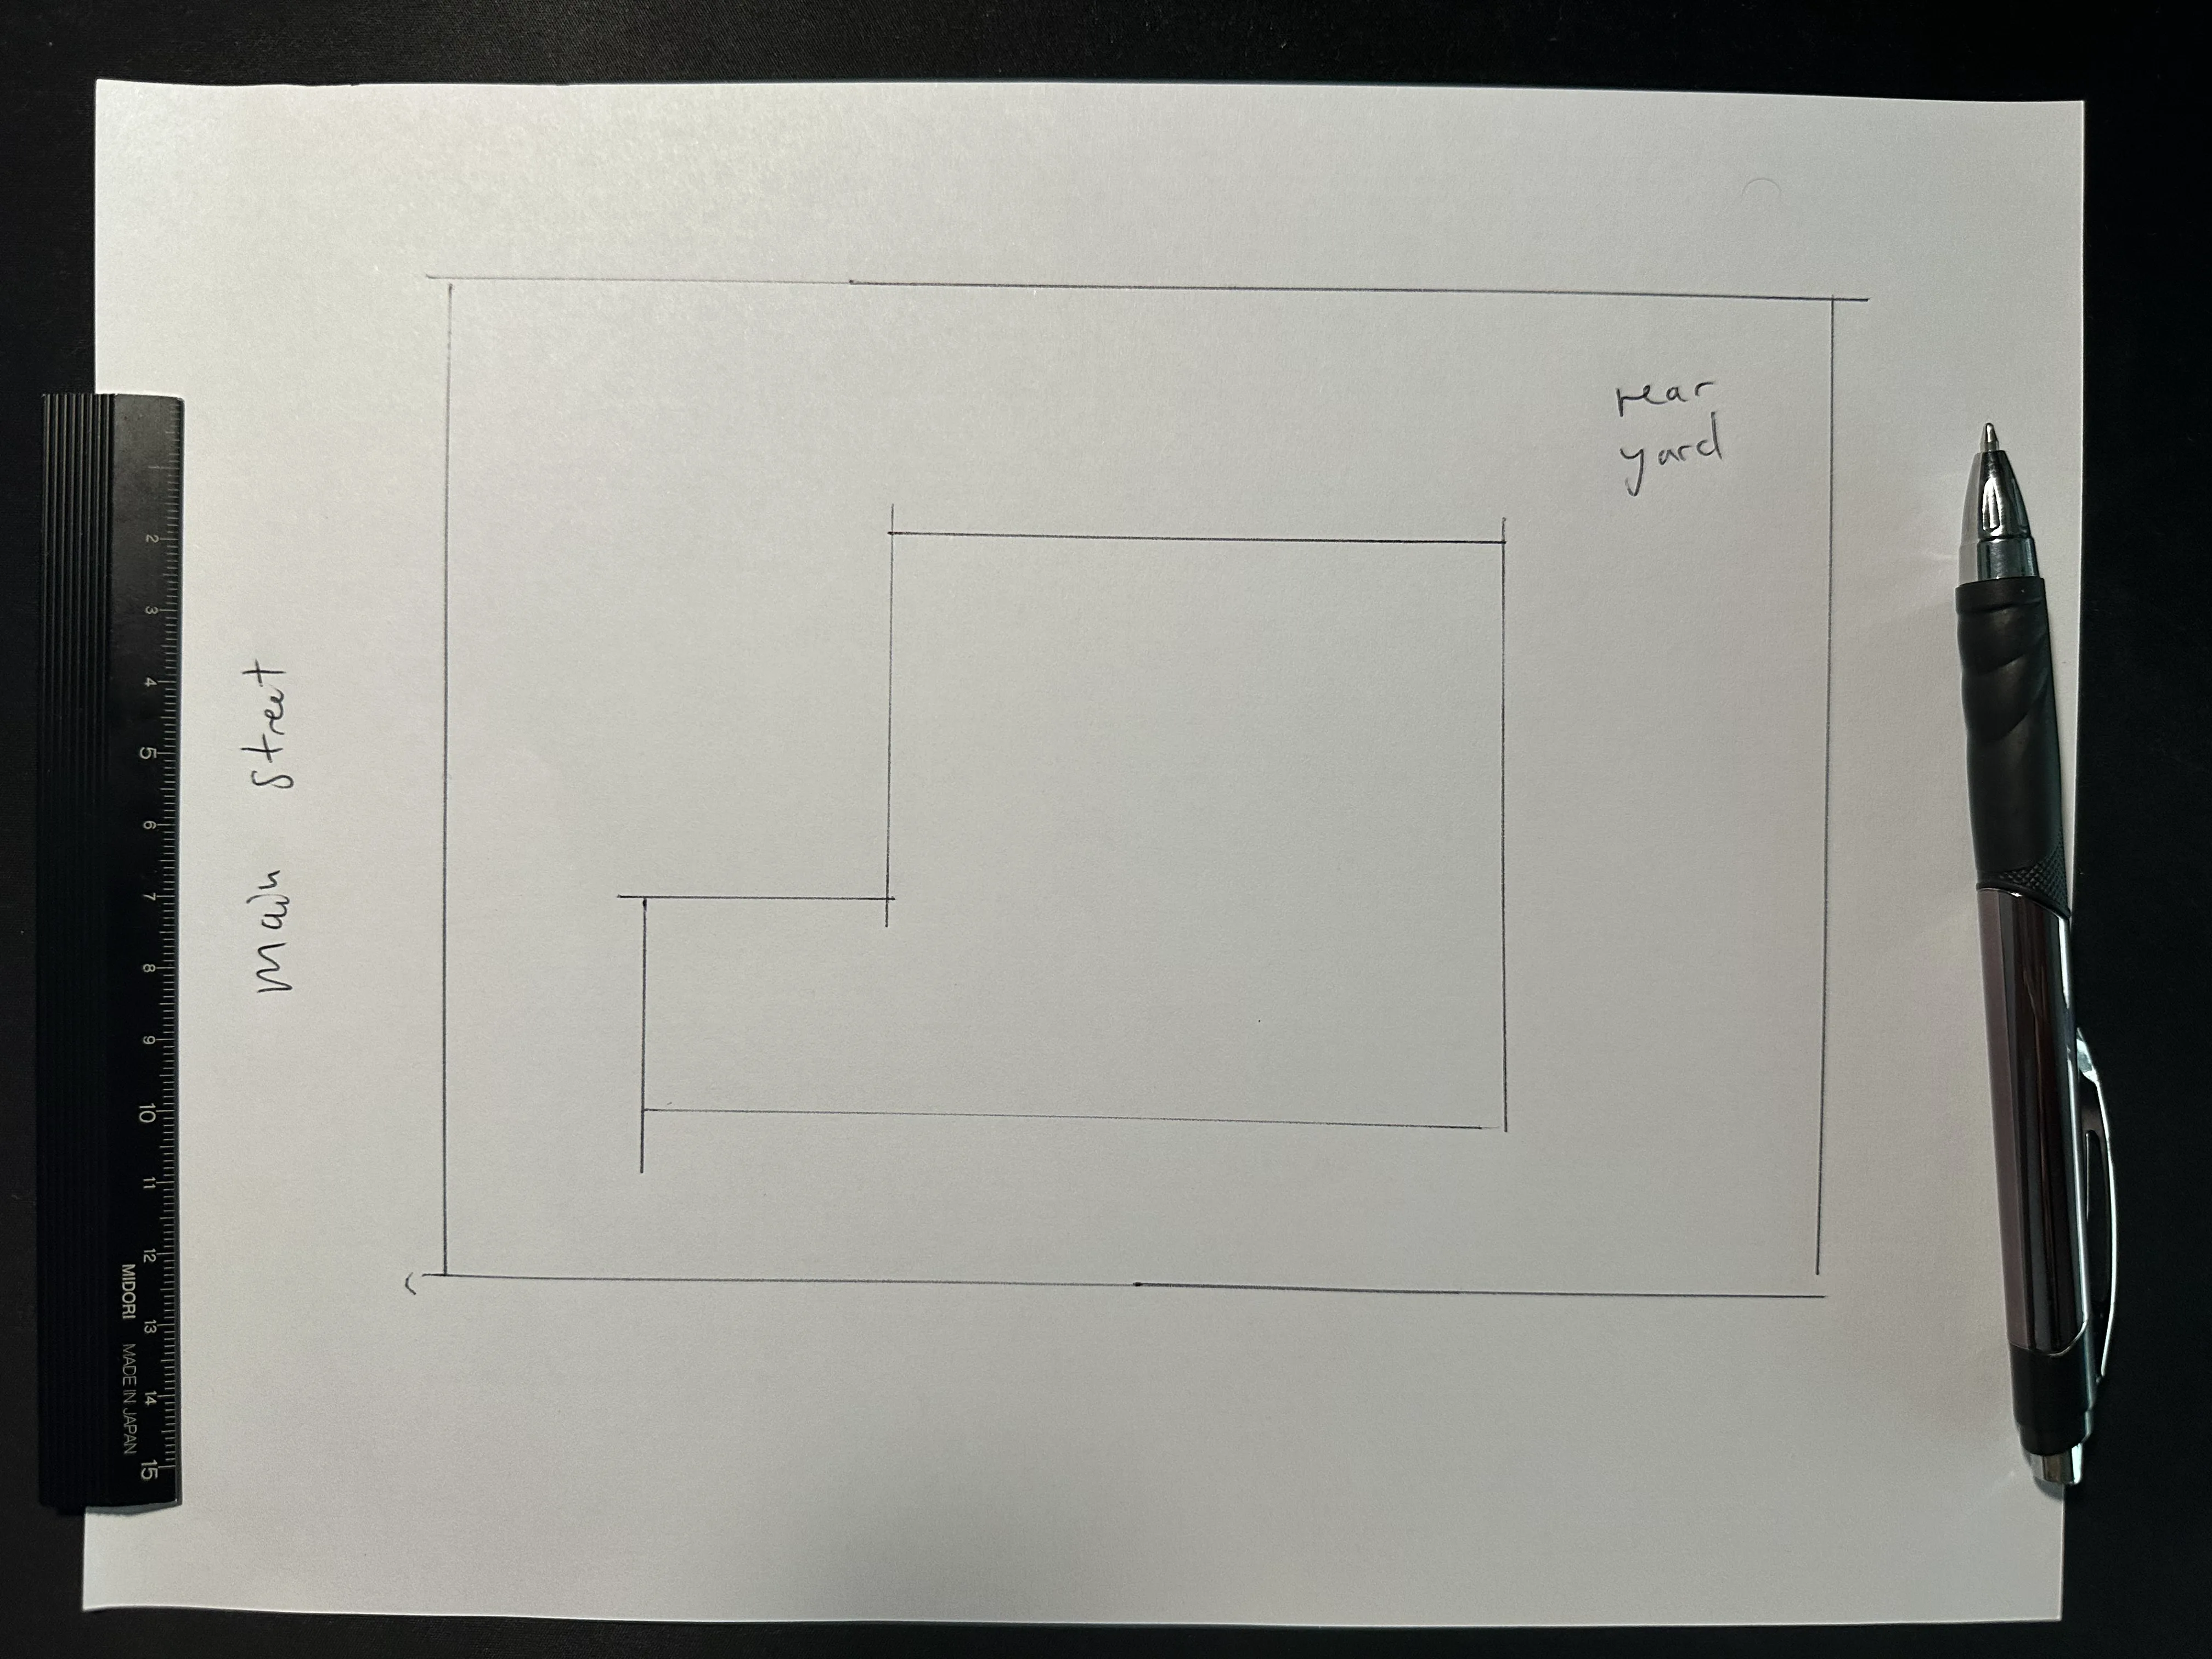
5. Draw existing and proposed structures
Add the other structures already on the lot, then draw the proposed work, clearly distinguished from what exists.
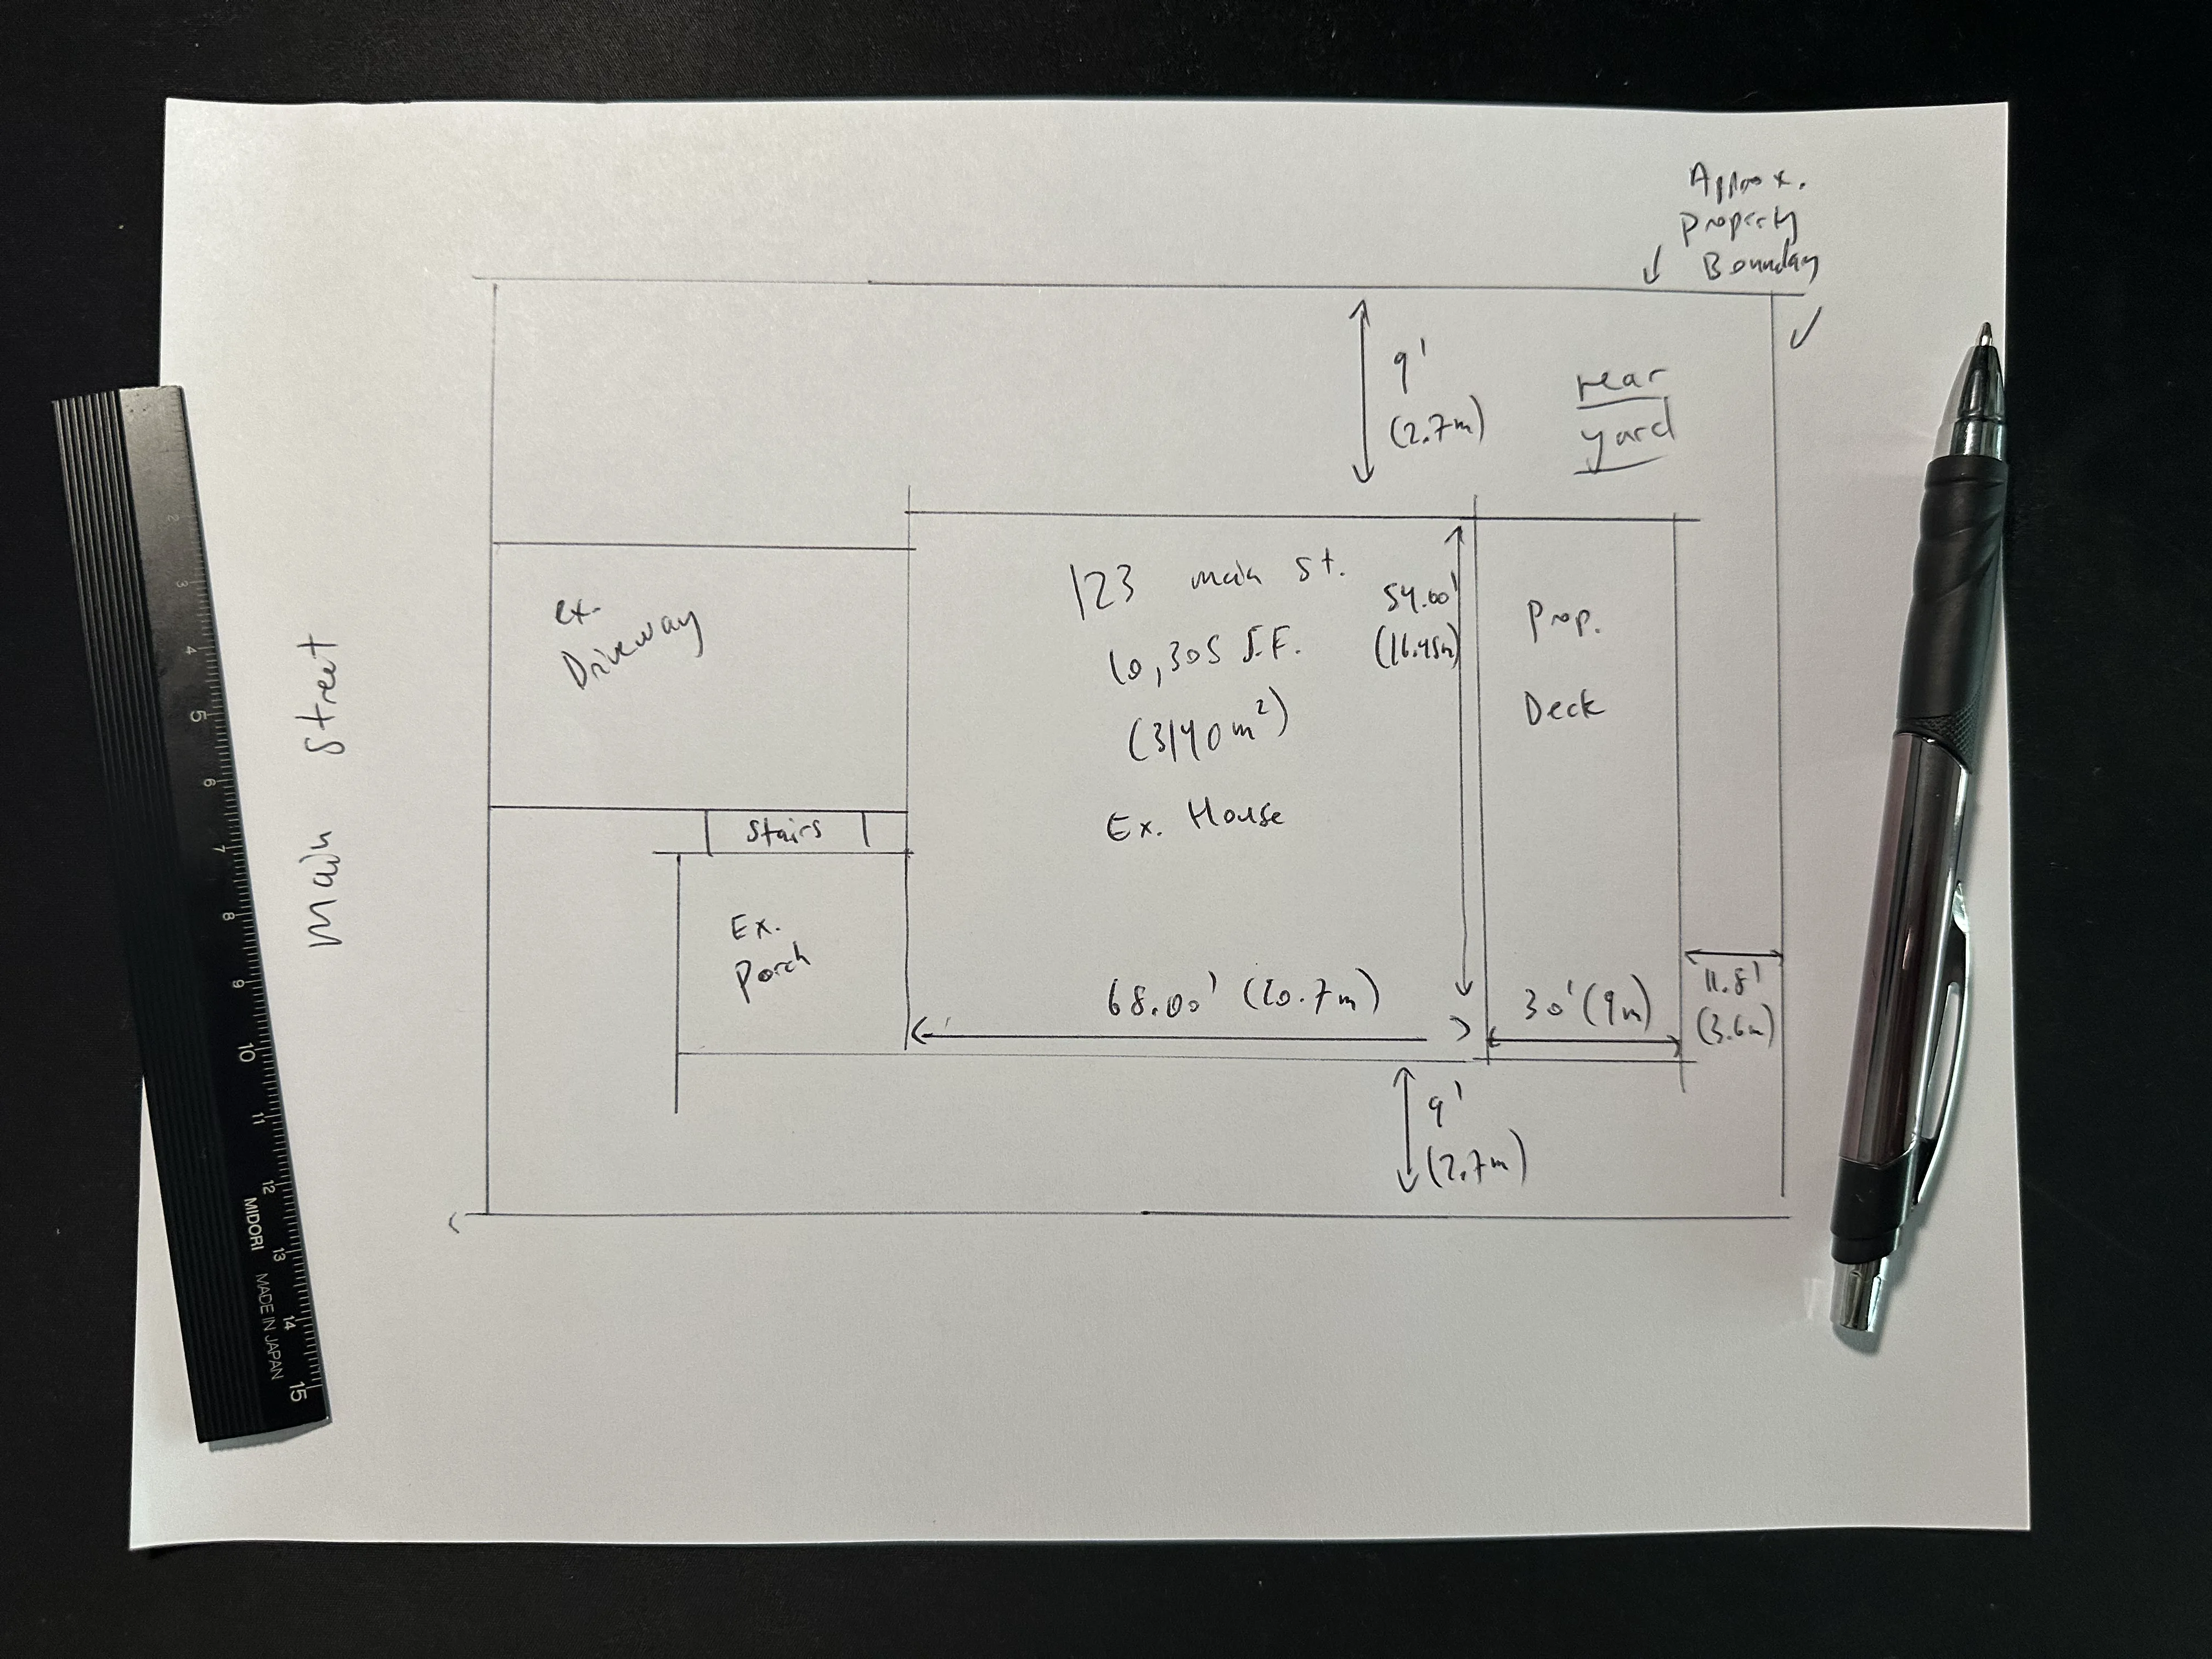
6. Measure and write in every dimension
Measure with the tape and write the numbers directly on the drawing. This is the step that decides approval.
What every site plan must show
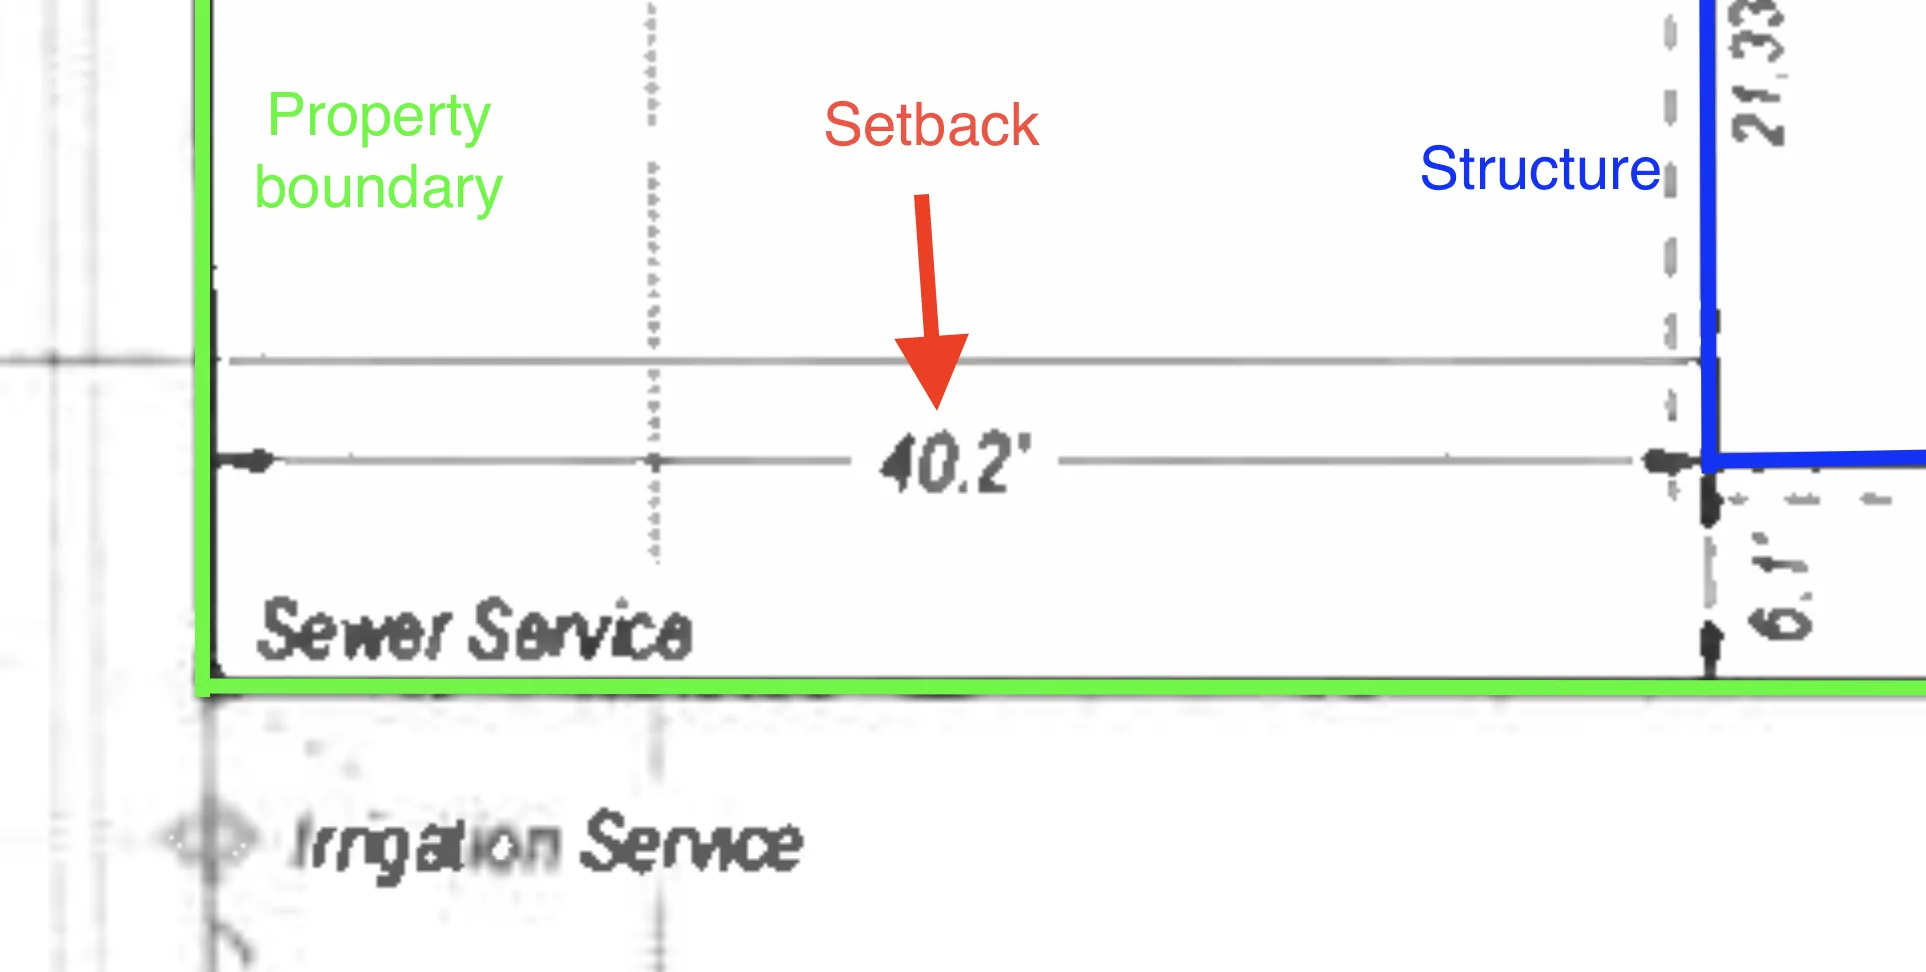
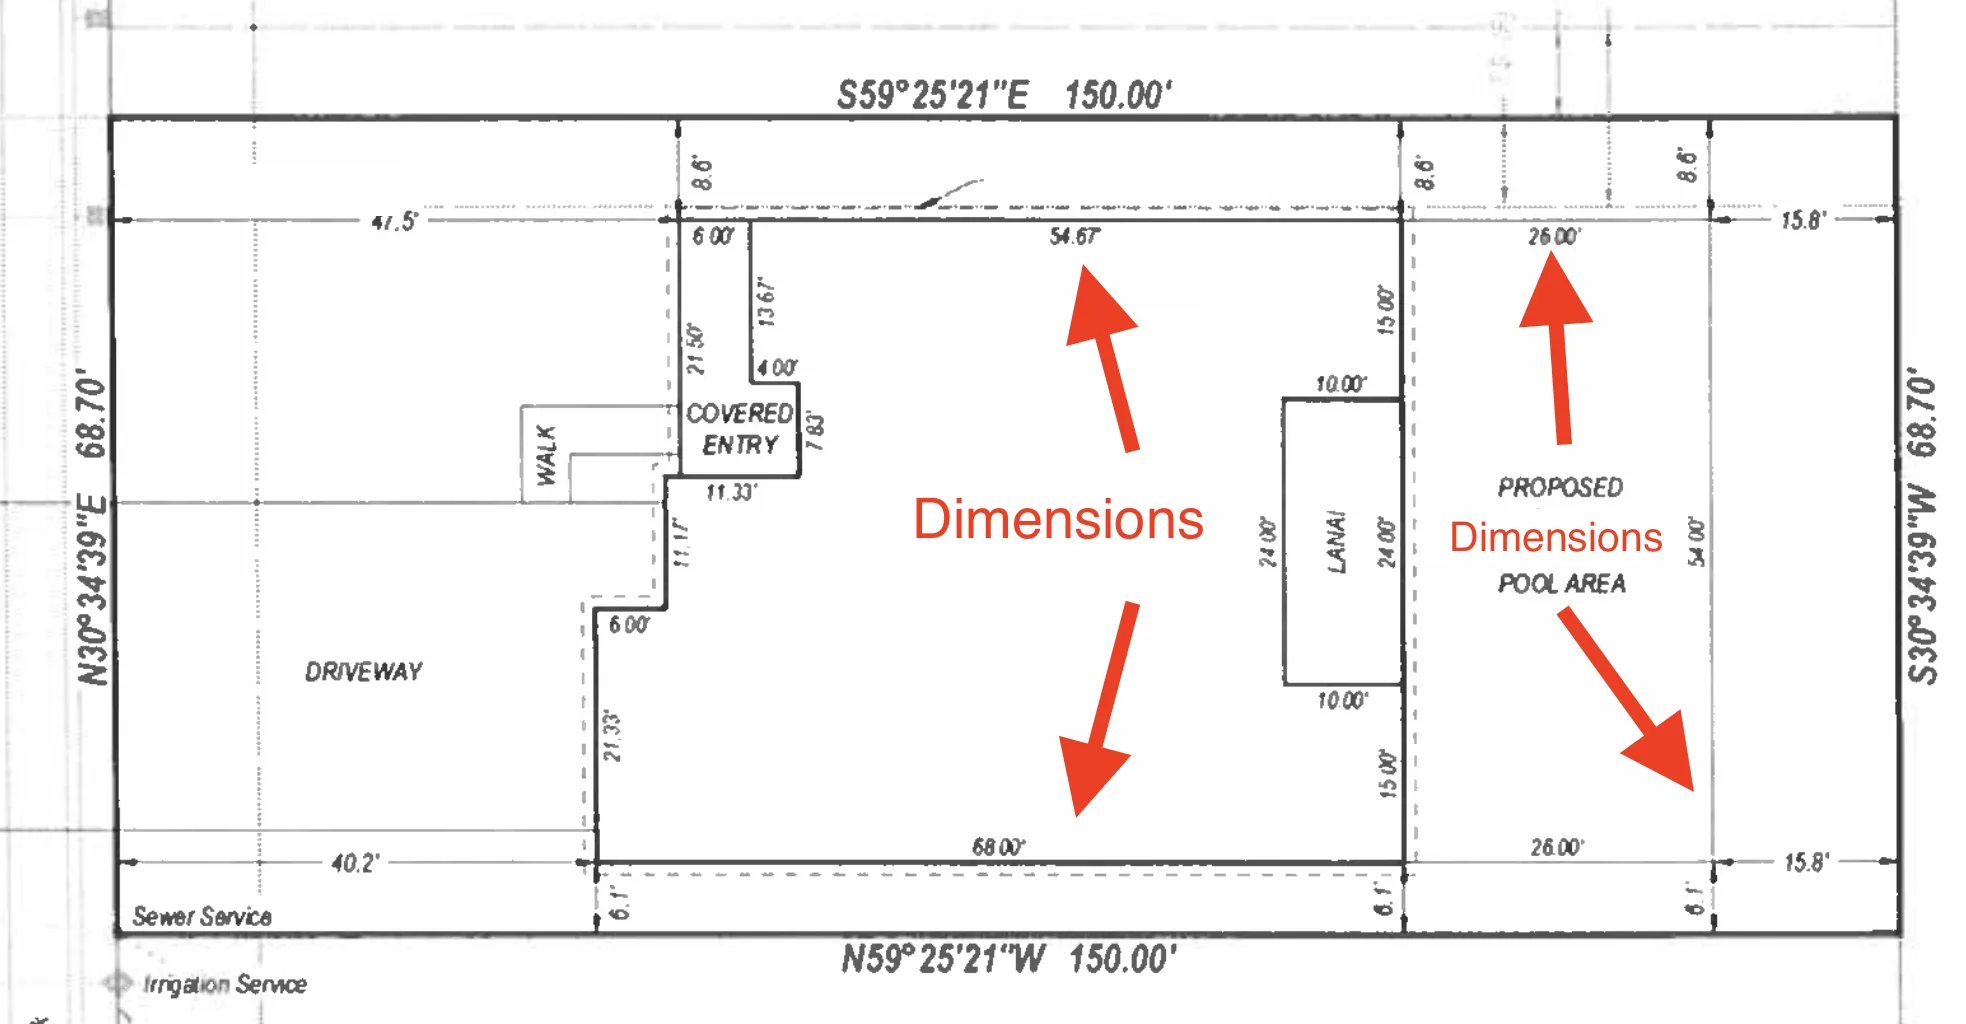
Whichever method you used, the finished drawing needs:
- The property boundary with lot dimensions
- The existing house and other existing structures
- The proposed work, clearly labelled as proposed
- The size of the proposed structure
- The distance from the proposed work to every property line, not only the closest
- The distance from the existing house to the property lines
- A north arrow
- The property address
- Units on every measurement
Common reasons a site plan is sent back
- Setbacks missing on one or more sides. The most frequent single cause.
- No visual distinction between existing and proposed, everything in one line weight and unlabelled.
- Numbers without units, leaving feet and metres ambiguous.
- Structures built after the survey never added, so the drawing contradicts what an inspector sees on site.
- Easements drawn but not labelled.
- Scale claimed but not true, because the survey was printed “fit to page”.
- Text too small to read once printed at submission size.
Conclusion
Drawing a site plan yourself is a measuring job, not a drafting one. If you have a survey, trace it and add the proposed work. If you do not, either trace a satellite screenshot or build the drawing up from the house outward with a tape measure—and label the boundary as approximate when it is. Either way, most rejections come from missing labels and missing setbacks rather than untidy drawing, so before you submit, read your plan as though you have never seen the property and check that every distance is written down.
Walk your property with your phone and get a permit-ready site plan from HomeCat, for free. Get started