
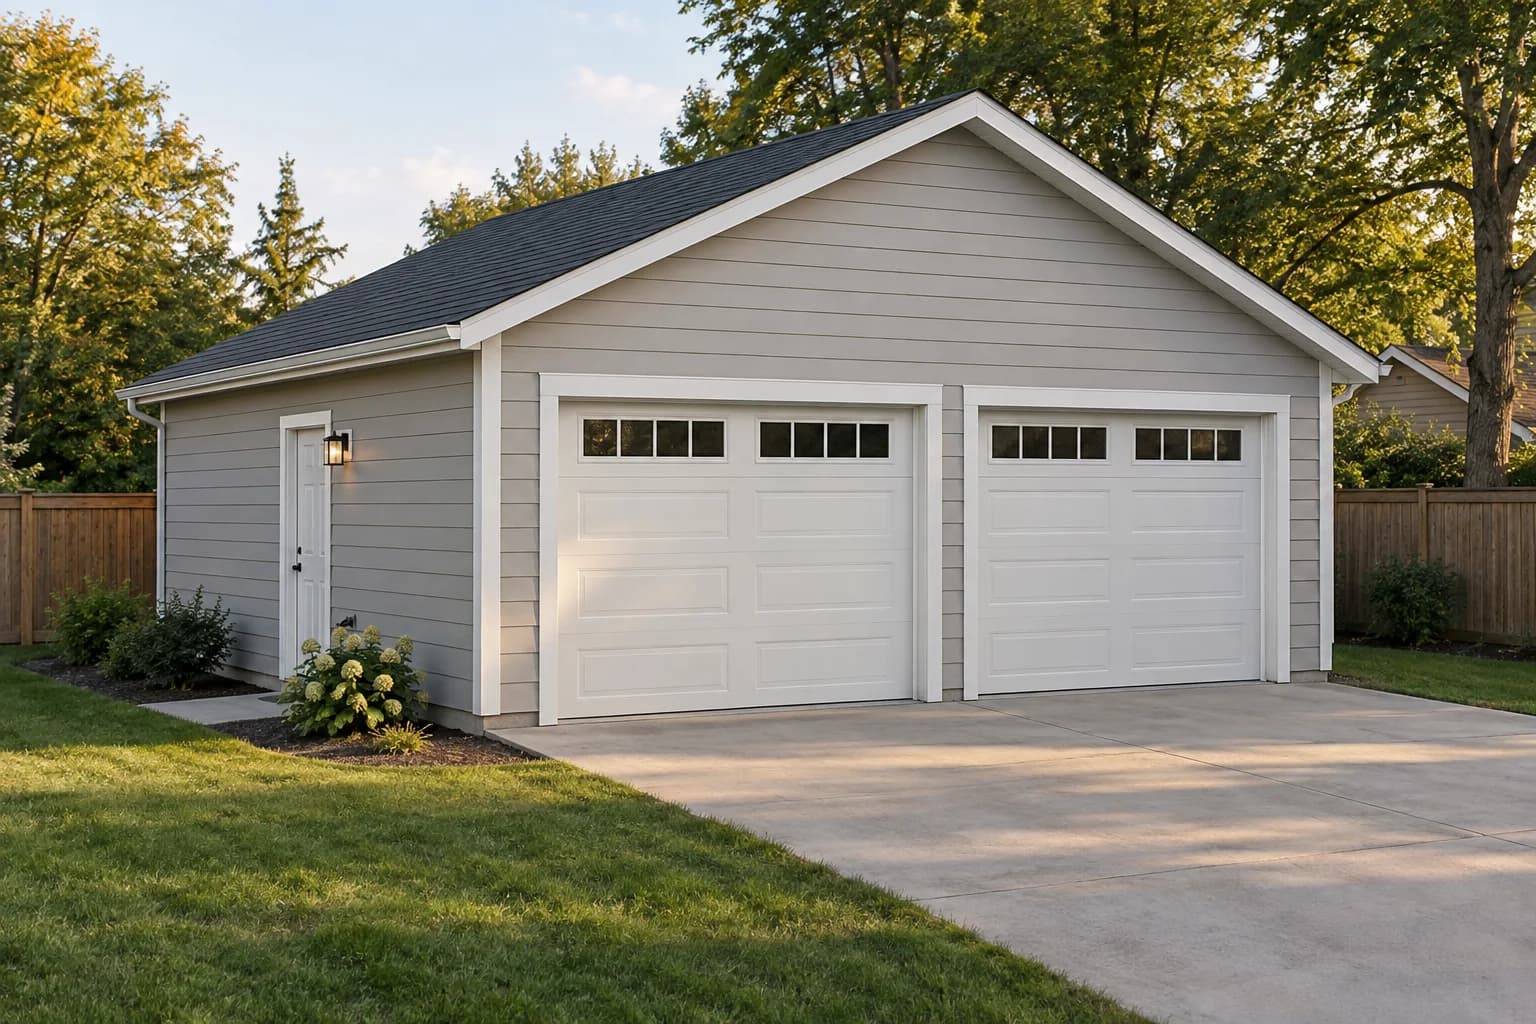
A 20×20 garage is the smallest common square footprint marketed for two cars. It can work for compact or midsize vehicles, but the design succeeds or fails in the inches between mirrors, doors, workbenches, and the route to the service door.
Treat this as an illustrated planning sequence, not permit-ready construction drawings. A garage carries vehicle loads, has large wall openings, and may store fuel-powered equipment. Soil, frost, snow, wind, seismic demand, fire separation, electrical work, and local zoning all affect the final design.
Have the foundation and large openings designed for the site, and submit the required drawings before excavation. Locate buried utilities and confirm the overhead service route as well.
Fit before form
Test the parking layout at full scale
Nominal dimensions are measured outside the structure. With 2×6 walls and interior finishes, the useful width is appreciably less than 20 feet. Two 8-foot overhead doors help each driver line up independently, while the center pier provides a place for controls and can reduce individual header spans. It also creates a fixed obstacle between cars.
Park both vehicles on a driveway and mark the proposed inside faces of the walls. Open every passenger door and the rear hatch, then walk from each seating position to the service door. Keep that route free of shelving, charging cables, steps, and stored tires. If a large SUV or pickup is part of the plan, a 24×24 footprint is usually much more forgiving.
Budgeting takeoff
Material allowances and tools
These are early planning ranges only. Reconcile all quantities with the approved structural, energy, fire, and door documents before ordering.
| Assembly | Planning basis | Allowance |
|---|---|---|
| Concrete | Slab and perimeter system | Engineer/site-specific |
| Granular base | Compacted clear stone or road base | About 10–14 yd³ |
| Exterior walls | 2×6 studs, plates, blocking | About 115–130 pieces |
| Door headers | Engineered wood or built-up assembly | Per structural schedule |
| Wall sheathing | Structural panels | About 30 sheets |
| Roof framing | Engineered 20-foot trusses | About 11 at 24″ o.c. |
| Roof sheathing | Rated panels | About 18 sheets |
| Roofing | Underlayment and shingles | About 5 squares |
| Exterior finish | WRB, flashing, siding, trim | About 750 sq. ft. |
Concrete and framing equipment
- Rotary laser and grade rod
- Plate compactor
- Rebar cutter and bender
- Concrete screed and floats
- Circular and miter saws
- Framing nailer and compressor
- Wall and truss bracing
- Scaffold and fall protection
Approvals + layout
Resolve the site before the structure
Confirm setbacks, lot coverage, maximum height, driveway width and slope, curb-cut rules, easements, and utility clearances. Check whether the garage must be located or fire-rated differently because of proximity to the house or property line. Establish finished-floor elevation high enough to drain, without making the apron too steep for the vehicles.
- Survey the corners and verify both diagonals.
- Plan roof runoff so it cannot discharge onto a neighbouring lot or freeze across the driveway.
- Coordinate power, lighting, EV charging, and any future heat before concrete.
Earthwork + foundation
Build on verified bearing and drainage
Strip organic material and excavate to the elevations on the approved drawings. Proof-roll or compact the subgrade, correct soft areas, and place the granular base in controlled lifts. Depending on climate and soil, the edge may be a conventional frost footing and stem wall, an engineered thickened slab, or another approved frost-protected system.
Concrete
Place a slab made for vehicles
Set forms, reinforcement, thickened areas, anchor bolts, and door-jamb protection to the structural plan. Maintain the required concrete cover. Use the specified vapor barrier and insulation where the garage will be conditioned or local code requires them. Slope only the areas and directions permitted by the designer—an improvised slope can complicate wall plates and overhead-door installation.
Place, consolidate, finish, saw control joints at the specified time, and cure the slab. Do not frame or park vehicles on green concrete before the supplier or engineer’s stated strength and curing interval.
Wall framing
Anchor the shell and frame both large openings
Install sill gasket and pressure-treated bottom plates, drill accurately around anchors, and frame 2×6 walls to the approved stud and sheathing schedule. Garage door jambs need straight, continuous fastening surfaces for the tracks. The narrow wall segments at corners and between openings are structurally important; do not trim them down to gain another few inches of door width.
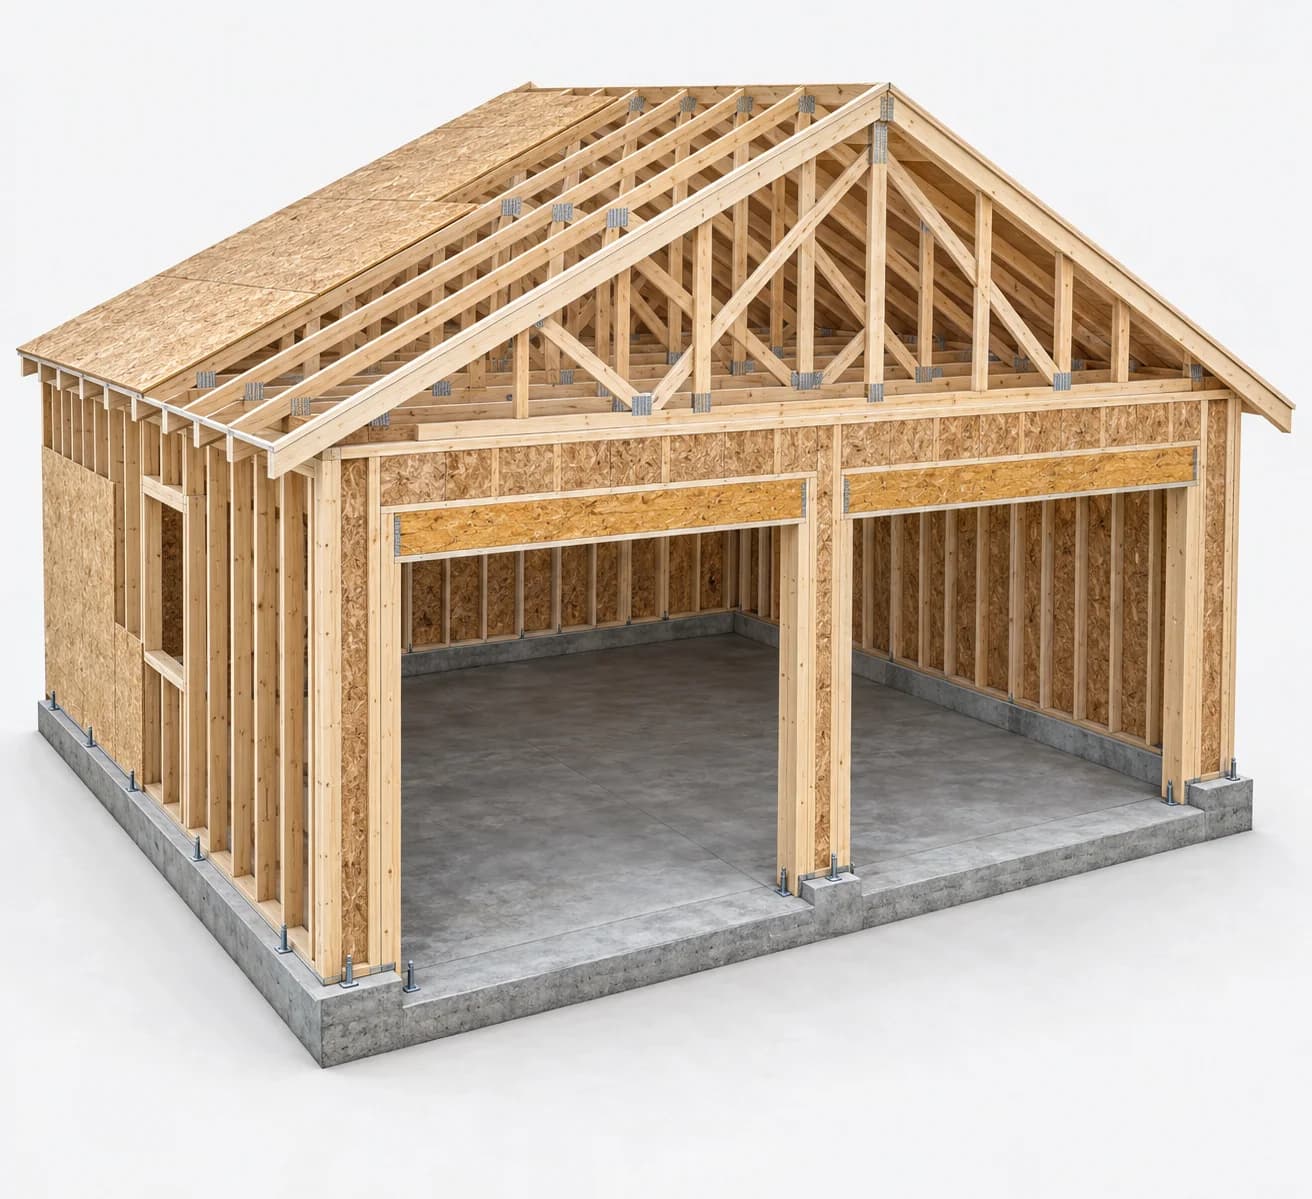
- Confirm the overhead-door manufacturer’s exact rough opening.
- Check wall diagonals, plumb, and top-plate elevation before sheathing.
- Keep temporary bracing until the permanent lateral system is complete.
Roof structure
Set trusses from the placement drawing
Verify truss identification, bearing points, orientation, and girder locations before lifting. Brace the first truss securely, then set the remaining trusses at the specified spacing. Install temporary and permanent web, chord, and diagonal bracing exactly as the truss package requires. Never cut, drill, or field-alter a truss without a repair detail from its engineer.
Building envelope
Sheath, flash, and dry in the shell
Fasten wall and roof panels to the approved schedule, including blocked edges and tighter nailing where required. Install drip edge, underlayment, roofing, and ridge ventilation as one compatible system. Apply the weather-resistive barrier from the bottom up and integrate every window and door flashing in shingle fashion.
Doors + services
Finish without compromising egress or fire safety
Have the overhead doors, tracks, springs, and openers installed to their listed instructions; high-tension spring work is not a casual DIY task. Test manual release, photo-eyes, force reversal, locks, and door travel. Keep the side service door operable without moving a vehicle or stored item.
Use permitted trades for electrical, EV charging, gas, or heating work. Where the garage is close to or connected with living space, the required gypsum protection, opening protection, air sealing, and carbon-monoxide precautions are jurisdiction- specific. Never idle a vehicle in the garage, even with the overhead doors open.
Make it property-specific
Turn the concept into coordinated drawings
Adjust the foundation, door layout, roof loads, exterior finish, and site relationship together. HomeCat helps keep the garage model, site plan, and drawing set aligned.
Customize these garage plansCommon questions
Before you commit to 20×20
Is 20×20 really large enough for two cars?
It can be, but it is tight. Measure mirror-to-mirror width, vehicle length, door swing, hatch travel, charging connections, shelving depth, and the exit path. Owners of pickups and full-size SUVs should mock it up before choosing this footprint.
Do I need a building permit?
Almost certainly. Expect zoning review, a building permit, structural documents, and inspections. Electrical, plumbing, gas, heating, or a curb cut may require separate permits.
Can I use one 16-foot door instead?
Possibly, but it replaces the center pier with a much longer header and changes lateral resistance at the front wall. Have the header, posts, connections, braced-wall segments, and foundation redesigned as a system.
Can living space be added above later?
Do not assume so. A future occupied floor changes foundation loads, fire separation, stairs, emergency escape, energy performance, plumbing, structure, and zoning. Design and permit that load path from the beginning.