
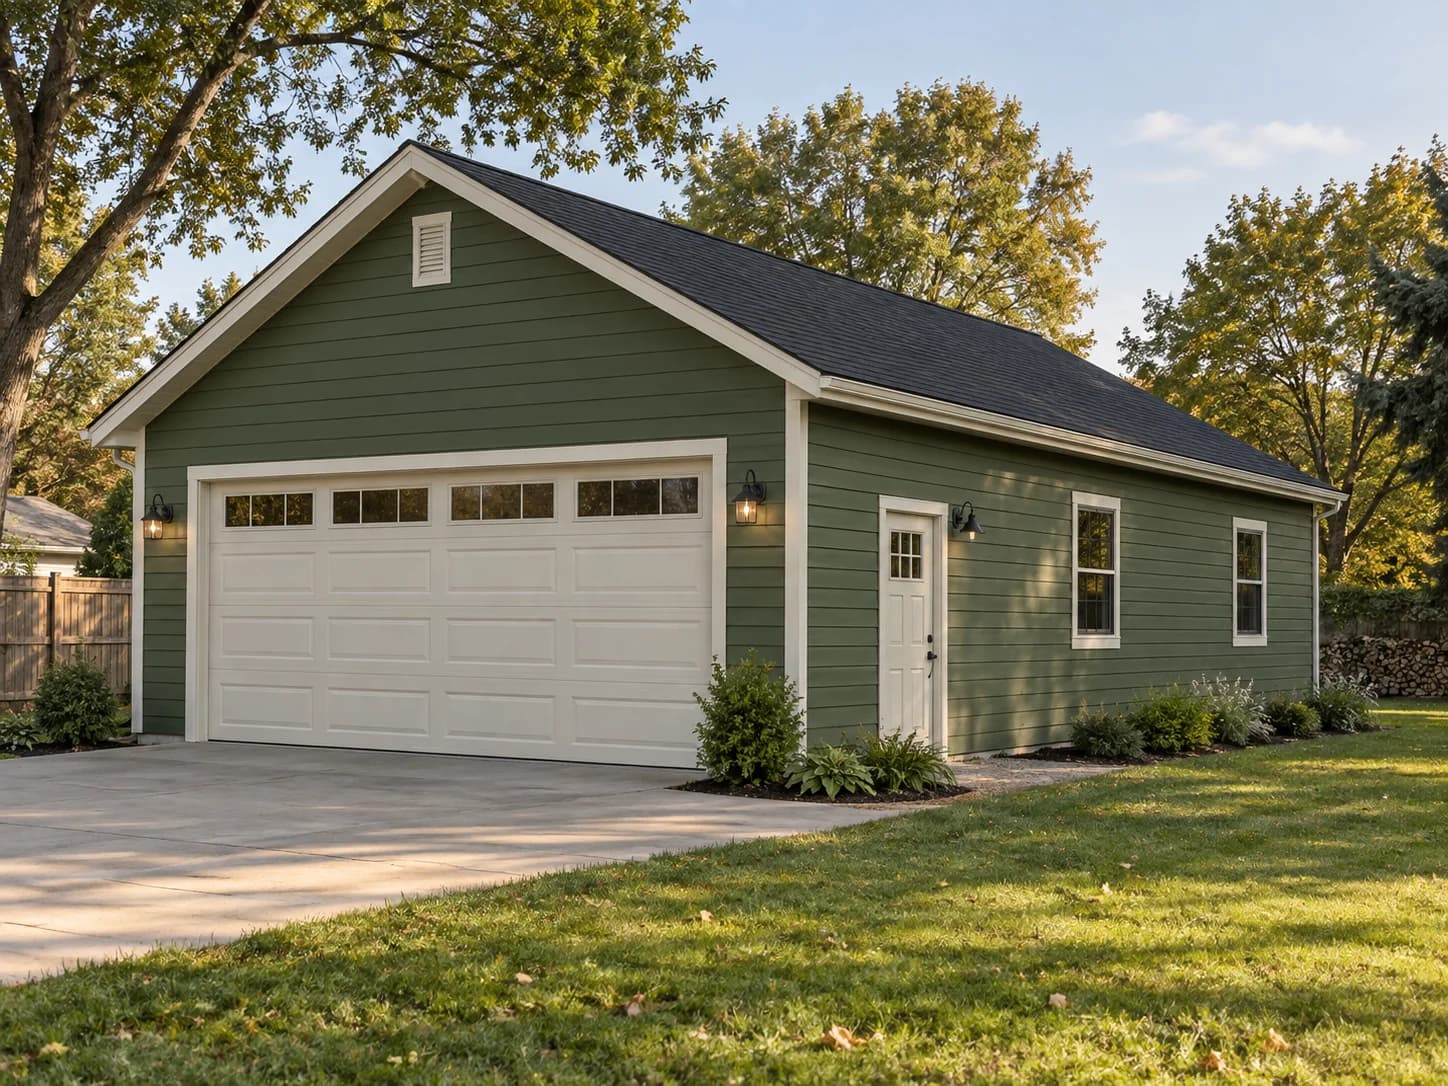
At 24 feet wide and 30 feet deep, this garage separates daily parking from messy work. The front roughly 23 feet serves two vehicles; a rear band about seven feet deep can hold benches, tool cabinets, or seasonal equipment without squeezing the passenger-door aisles.
The added depth also adds structure, concrete, roof area, power demand, and occupancy questions. This illustrated guide shows a sensible sequence, but it is not a substitute for a surveyed site plan, engineered foundation and framing, truss documents, trade design, or local approvals.
Wood dust, welding, finishing products, vehicle exhaust, battery charging, gas appliances, and high-amperage tools require different electrical, ventilation, fire, and separation strategies. Tell the designer and permit authority how the space will actually be used.
Parking + workshop
Keep dirty work behind the vehicles, not beside them
A 24-inch-deep bench across the rear leaves roughly five feet of open project space within a seven-foot work zone. That is useful for repairs and benchtop tools, but large stationary machines need mapped infeed and outfeed paths. Put windows above bench height, keep the service door near the work zone, and preserve an unobstructed path from both parking bays.
Ten-foot walls give room for an 8-foot overhead door and tracks while improving vertical storage. They also increase wind area and wall cost. Check opener rail, lift type, lighting, garage-door high point, and any ceiling-mounted equipment against the actual truss profile before ordering.
Budgeting takeoff
Plan for the longer shell and its services
The quantities below are deliberately rounded allowances. Foundation, reinforcement, structural openings, trusses, panel nailing, and mechanical or electrical systems must follow approved drawings and supplier schedules.
| Assembly | Planning basis | Allowance |
|---|---|---|
| Foundation | Slab, perimeter, reinforcement | Site and engineer-specific |
| Granular base | Compacted layer below slab | About 19–25 yd³ |
| Exterior walls | 2×6 studs, plates, blocking | About 175–200 pieces |
| Door header | Engineered 16-foot opening assembly | Per structural schedule |
| Wall sheathing | Structural rated panels | About 45–50 sheets |
| Roof framing | Engineered 24-foot trusses | About 16 at 24″ o.c. |
| Roof sheathing | Rated panels | About 31–35 sheets |
| Roofing | Underlayment and shingles | About 8 squares |
| Exterior finish | WRB, flashing, siding, trim | About 1,100 sq. ft. |
| Workshop rough-in | Lighting, receptacles, dedicated circuits | Per equipment plan |
Construction equipment
- Survey tools and rotary laser
- Excavation and compaction equipment
- Concrete forming and finishing tools
- Rebar cutter, bender, and chairs
- Circular and miter saws
- Framing nailer and compressor
- Truss lifting and bracing plan
- Scaffold and fall protection
Use + approvals
Map vehicles, tools, and hazards at full size
Place the actual vehicle footprints first, including mirrors, open doors, hatches, hitches, and charging ports. Behind them, draw every bench and machine with its operating, infeed, and service clearance. Then trace a path to the service door that never passes through a machine envelope or relies on moving a car.
- Confirm survey, setbacks, lot coverage, height, driveway, and grading rules.
- Discuss workshop use, noise, ventilation, fire hazards, and home-occupation limits.
- Size incoming electrical service for vehicles, heat, dust collection, and tools together.
Earthwork + forms
Prepare 720 square feet of uniform support
Strip topsoil and variable fill across the full building pad plus safe working room. Correct soft areas and compact the approved granular base in lifts. A longer slab is sensitive to settlement and drainage errors; check grade on a tight grid rather than only at the corners. Form the frost footings, stem walls, or engineered slab edge exactly as approved.
Services + concrete
Rough in the workshop before the pour
Install only approved underslab conduit, drainage, insulation, vapor or soil-gas layers, reinforcement, thickened equipment pads, and grounding provisions. Photograph and measure every concealed run. Keep reinforcement supported and maintain required concrete cover at edges and around openings.
Place concrete to the specified thickness and strength, finish for safe traction, and install planned joints before random cracks choose their own locations. Cure it as specified and protect both the slab surface and anchor positions during wall framing.
Wall structure
Frame long walls straight and the front wall strong
Long 30-foot plates magnify small layout errors. Snap control lines, select straight plates, stagger joints where permitted, and check the wall in sections as it is anchored. Frame window and service-door openings to manufacturer dimensions while preserving designed bracing lengths. At the front, install the entire engineered portal or braced-wall detail around the 16-foot opening.
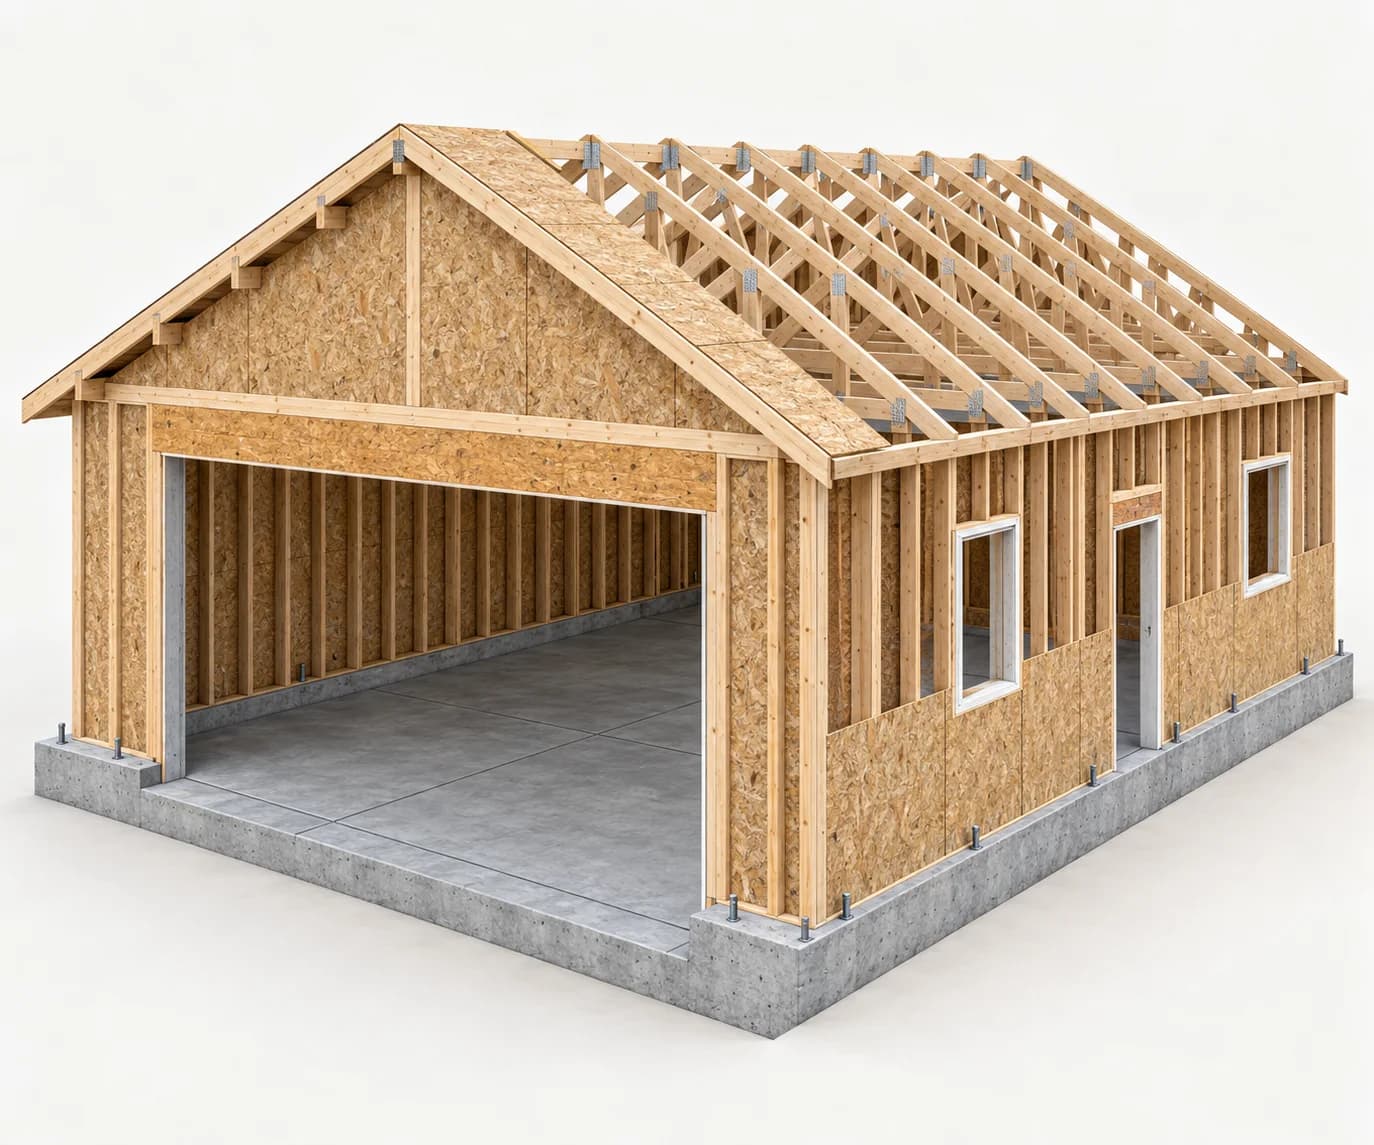
- Verify plate lines, wall length, diagonals, and opening locations before anchoring.
- Keep window sills high enough for the final bench and backsplash.
- Maintain temporary bracing until roof and wall diaphragms are complete.
Roof framing
Set a repeated truss line over 30 feet
Review the truss placement and bracing sheets before delivery. Mark locations from one datum so spacing errors do not accumulate down the building. Secure the first truss to engineered temporary bracing, set each succeeding truss plumb, and install continuous lateral and diagonal restraint as work advances. Finish permanent web and chord bracing before removing temporary work.
Weather control
Close the roof and manage every water path
Sheath the roof to the panel layout and fastening schedule, then install compatible eave protection, underlayment, flashings, shingles, and ventilation. Complete wall sheathing and weather barrier before inserting windows. Sill flashing must drain outward; jamb and head layers overlap it. Maintain siding clearances above slabs, roofing, and grade.
Openings + utilities
Commission doors and inspected services
Use trained installers for the large overhead door and high-tension springs. Test balance, tracks, seals, manual release, photo-eyes, force reversal, locks, and opener travel. Verify that the service door opens fully onto a safe landing and that snow, benches, or parked vehicles cannot trap it.
Complete permitted electrical, EV, heating, ventilation, plumbing, or gas work with qualified trades. Garage fire-separation and carbon-monoxide rules depend on the relationship to the house and property lines. Do not penetrate a required assembly casually, and never operate engines inside for warmth.
Workshop fit-out
Install benches around safe working envelopes
Begin with fixed benches at the rear wall, then add mobile storage only after parking both vehicles. Keep electrical panels, disconnects, doors, windows, combustion appliances, and fire extinguishers accessible. Provide task lighting without strobing around rotating tools, and put receptacles where cords will not cross the exit route.
Dust-producing tools need source collection and make-up air planned for the actual machines. Welding and finishing introduce different fire and ventilation demands. Store fuels, solvents, batteries, and compressed cylinders in accordance with product and fire-code requirements—not simply wherever a cabinet fits.
Make it property-specific
Design the workshop and shell as one project
Coordinate the vehicle layout, machine clearances, structure, foundation, power, ventilation, doors, and site plan before construction locks them in.
Customize these garage plansCommon questions
Before you build 24×30
How much workshop space does the extra depth add?
A rear band roughly six to eight feet deep can fit 24-inch benches and a useful aisle while preserving parking length for many ordinary vehicles. Deep trucks, open hatches, and machines with long infeed need a measured mock-up.
Is 24×30 enough for two pickup trucks?
Depth is usually comfortable, but 24-foot nominal width still needs checking after wall thickness, mirrors, open doors, and storage. Lay out both exact trucks before choosing cabinets or a single wide door.
Can I add an attic or storage trusses?
Only by selecting a truss package designed for the intended storage load and access. Stairs or ladders, floor loading, fire and energy requirements, headroom, and overhead-door equipment all need coordination. Never add a floor to ordinary trusses.
Can the rear workshop become an office later?
Not without review. Habitable use changes zoning, exits, windows, insulation, ventilation, heating, fire separation, plumbing, and possibly accessibility and parking requirements. Design that use from the outset.